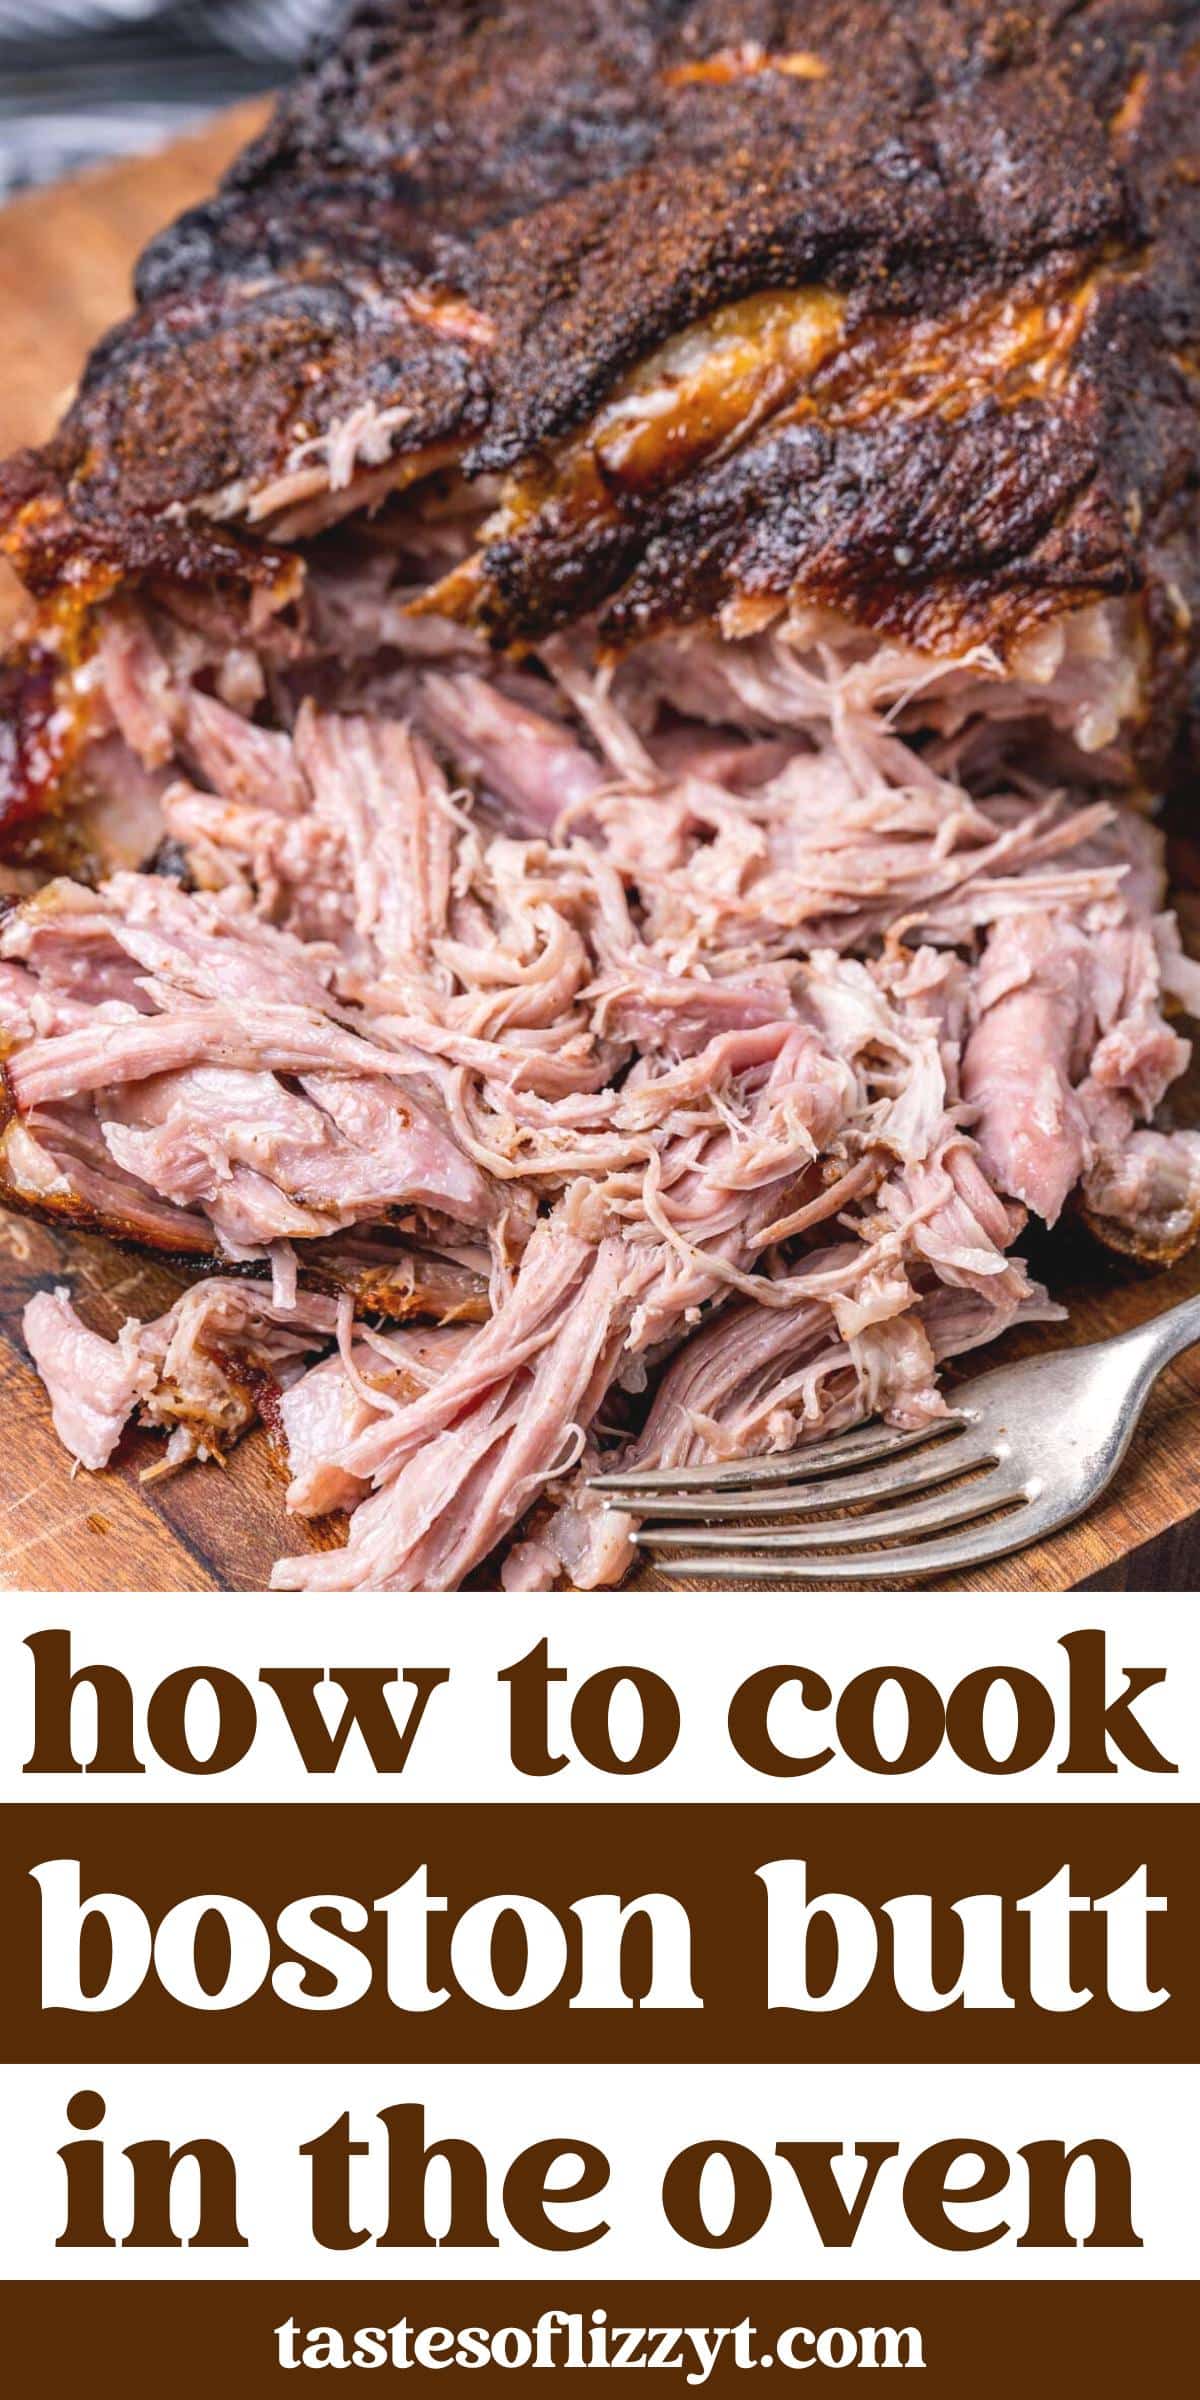
Embarking on a culinary adventure often involves exploring iconic dishes that tell a story of place and tradition. While the title “How To Cook A Boston Butt” might evoke images of smoky barbecue pits in the American South, its origins are fascinatingly diverse, touching upon historical trade routes and the evolution of regional cuisines. Understanding how to prepare this cut of pork is more than just a recipe; it’s an invitation to delve into the rich tapestry of food culture that complements our explorations of travel, accommodation, and local experiences.
A “Boston butt,” also known as a pork shoulder, is a remarkably versatile and flavorful cut of pork. Despite its name, it doesn’t actually originate from Boston. The term is believed to have originated during the pre-Revolutionary War era in the colonies. Butchers in Boston would pack pork into barrels for export, and the upper portion of the pork shoulder was often kept in these barrels, hence the “Boston butt.” This historical anecdote, much like discovering a hidden alleyway in Rome or a breathtaking vista in the Canadian Rockies, adds a layer of depth to the dish. The culinary journey often mirrors our travel experiences – uncovering the stories behind what we see, taste, and do.
The beauty of a Boston butt lies in its high fat content and the connective tissues that run through it. These elements, when subjected to slow and low-temperature cooking, break down beautifully, resulting in incredibly tender, succulent, and flavorful meat that practically melts in your mouth. This process, much like the patient exploration of a UNESCO World Heritage site or the careful consideration of booking the perfect suite at a luxury resort like the Ritz Paris, requires time and a nuanced understanding of the ingredients and techniques involved.
This guide will walk you through the essential steps to master cooking a Boston butt, transforming it into a centerpiece for any gathering or a delicious meal for any occasion. Whether you’re a seasoned home cook or a novice looking to impress, the principles remain the same: quality ingredients, patience, and a love for good food. Think of it as planning your next family trip to Disneyland – careful preparation leads to an unforgettable experience.
Understanding Your Boston Butt: The Foundation of Flavor
Before we even think about heat and spices, it’s crucial to understand the cut of meat you’re working with. A Boston butt is a large cut, typically weighing between 5 to 10 pounds. It’s characterized by its rich marbling of fat, which is precisely what makes it ideal for slow cooking methods like smoking, braising, or slow roasting. This fat renders down during the cooking process, basting the meat from within and contributing to its incredible tenderness and juicy texture.
When selecting your Boston butt, look for a piece that has a good amount of visible fat marbling throughout. The skin, if present (often referred to as the rind or bark), can also add to the flavor and texture, especially if you’re aiming for a crispy exterior. Sometimes, a Boston butt might come with the bone in, and other times it will be boneless. Both options work well, but the bone can add extra flavor and moisture to the meat during cooking. For those planning a stay in a vacation rental with a well-equipped kitchen, like a villa in Tuscany, you’ll have all the tools at your disposal to experiment with different cuts and preparations.
The Importance of Trimming and Seasoning
While the Boston butt is forgiving, a little preparation goes a long way. Trimming any excessively thick, hard fat caps can be beneficial, as this fat may not render down effectively and could result in an unpleasantly greasy texture. However, don’t be too aggressive; leave a good layer of fat to melt and penetrate the meat.
The seasoning stage is where you lay the foundation for the final flavor profile. This is akin to choosing the right hotel in New York City – the initial choice sets the tone for your entire stay. A simple yet effective rub often consists of salt, black pepper, and paprika. However, the possibilities are endless. Consider adding garlic powder, onion powder, chili powder, brown sugar for a touch of sweetness, or even a hint of cayenne for a little heat. The goal is to create a flavorful crust that will develop during the cooking process.
For a classic pulled pork, a dry rub is essential. Apply the rub generously to all surfaces of the Boston butt, ensuring it adheres well. Don’t be afraid to get your hands in there and massage the rub into the meat. The salt in the rub will help to draw out some moisture initially, but as the cooking progresses, it will reabsorb, leading to a more tender and flavorful result. This step is comparable to selecting an unforgettable cultural experience in Kyoto, where immersing yourself in local customs and flavors is paramount.
Mastering the Low and Slow: Cooking Methods for a Perfect Boston Butt
The key to unlocking the full potential of a Boston butt is employing a “low and slow” cooking method. This means cooking the meat at a relatively low temperature for an extended period. This gradual cooking process allows the tough connective tissues to break down into gelatin, which contributes to the succulence and melt-in-your-mouth texture that Boston butt is famous for. This patience mirrors the thoughtful planning required for a long-term stay in a new city, allowing you to truly get to know its rhythms and hidden gems.
Smoking: The Traditional Path to Flavor
Smoking is perhaps the most revered method for cooking a Boston butt, especially in the barbecue traditions of the American South. This method imparts a deep, smoky flavor that is unparalleled.
How to Smoke a Boston Butt:
- Prepare Your Smoker: Preheat your smoker to a temperature between 225°F and 275°F (107°C to 135°C). The type of wood you use will significantly influence the flavor. Popular choices include hickory, mesquite, oak, and fruitwoods like apple or cherry.
- Place the Butt: Once the smoker is at temperature, place the seasoned Boston butt directly on the grates, fat-side up if possible. This allows the rendered fat to baste the meat as it cooks.
- Monitor and Maintain: The cooking time will vary greatly depending on the size of the butt and the smoker’s temperature. A general rule of thumb is 1.5 to 2 hours per pound. You’ll want to monitor the internal temperature using a meat thermometer. The butt is typically considered done when it reaches an internal temperature of around 195°F to 205°F (90°C to 96°C).
- The Stall: Be prepared for “the stall,” a point where the internal temperature of the meat plateaus for hours. This is a natural part of the smoking process. Some pitmasters choose to wrap the butt in butcher paper or foil at this stage to help push through the stall and retain moisture. This is a technique that requires a bit of intuition, much like navigating the bustling markets of Marrakech.
- Resting is Crucial: Once the desired internal temperature is reached, remove the Boston butt from the smoker and let it rest for at least 30 minutes to an hour, loosely tented with foil. This resting period allows the juices to redistribute throughout the meat, resulting in a more tender and flavorful final product. This pause for reflection is as important as enjoying the views from a luxurious suite at the Four Seasons Resort Orlando at Walt Disney World Resort.
Braising: A Moist and Tender Alternative
If you don’t have access to a smoker or prefer a moister cooking environment, braising is an excellent method. This involves searing the Boston butt and then slow-cooking it in a liquid in a covered pot.
How to Braise a Boston Butt:
- Sear the Meat: Preheat your oven to 300°F (150°C). In a Dutch oven or heavy, oven-safe pot, heat some oil over medium-high heat. Sear the seasoned Boston butt on all sides until deeply browned. This searing step is crucial for developing rich flavor.
- Add Braising Liquid: Remove the butt from the pot. Deglaze the pot with a liquid like beef broth, chicken broth, apple cider, or even a dark beer. Scrape up any browned bits from the bottom of the pot, as these are packed with flavor. Return the Boston butt to the pot. Add enough braising liquid to come about halfway up the sides of the meat. You can also add aromatics like onions, garlic, carrots, and celery to the pot.
- Slow Cook: Cover the pot tightly with a lid and transfer it to the preheated oven. Braise for 3 to 5 hours, or until the meat is fork-tender and easily shreds. The internal temperature should reach around 195°F (90°C).
- Rest and Shred: Once tender, carefully remove the Boston butt from the pot. Let it rest for about 15-20 minutes before shredding. The braising liquid can be strained and reduced to create a delicious sauce. This slow, comforting process is reminiscent of a peaceful retreat to a serene resort in the Bahamas.
Slow Roasting: Simplicity and Succulence
Slow roasting in the oven offers a simpler approach to achieving tender and flavorful Boston butt, especially for those who want to avoid the complexities of smoking or braising.
How to Slow Roast a Boston Butt:
- Preheat Oven: Preheat your oven to 275°F (135°C).
- Prepare the Roasting Pan: Place the seasoned Boston butt in a roasting pan. You can add a small amount of liquid to the bottom of the pan, such as water or broth, to help keep the environment moist.
- Roast Low and Slow: Roast the Boston butt for approximately 1 to 1.5 hours per pound, or until the internal temperature reaches 195°F to 205°F (90°C to 96°C).
- Rest: Similar to other methods, resting the meat for at least 30 minutes after cooking is essential for optimal juiciness. This method is straightforward, much like enjoying a scenic drive through the vineyards of Napa Valley, focusing on the simple pleasures.
Achieving the Perfect Pull: Shredding and Serving Your Boston Butt
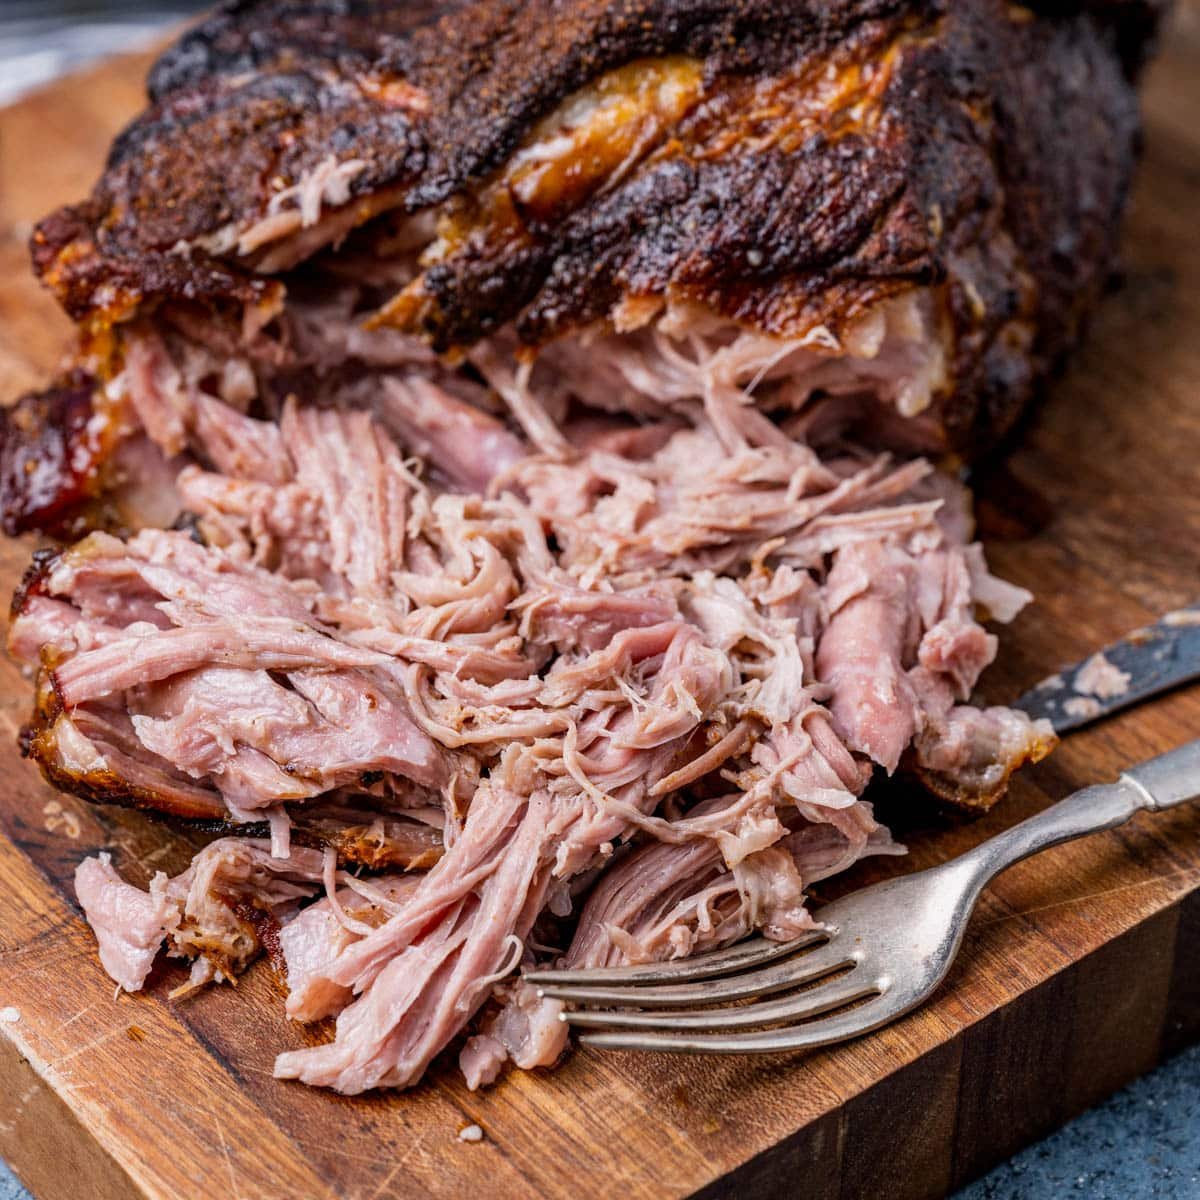
Once your Boston butt has undergone its patient transformation, the final act is to shred it and prepare it for serving. This is where the magic of low and slow cooking truly shines, as the meat will be so tender that it will practically fall apart. This step is as rewarding as reaching the summit of Mount Kilimanjaro after a long trek.
The Art of Shredding
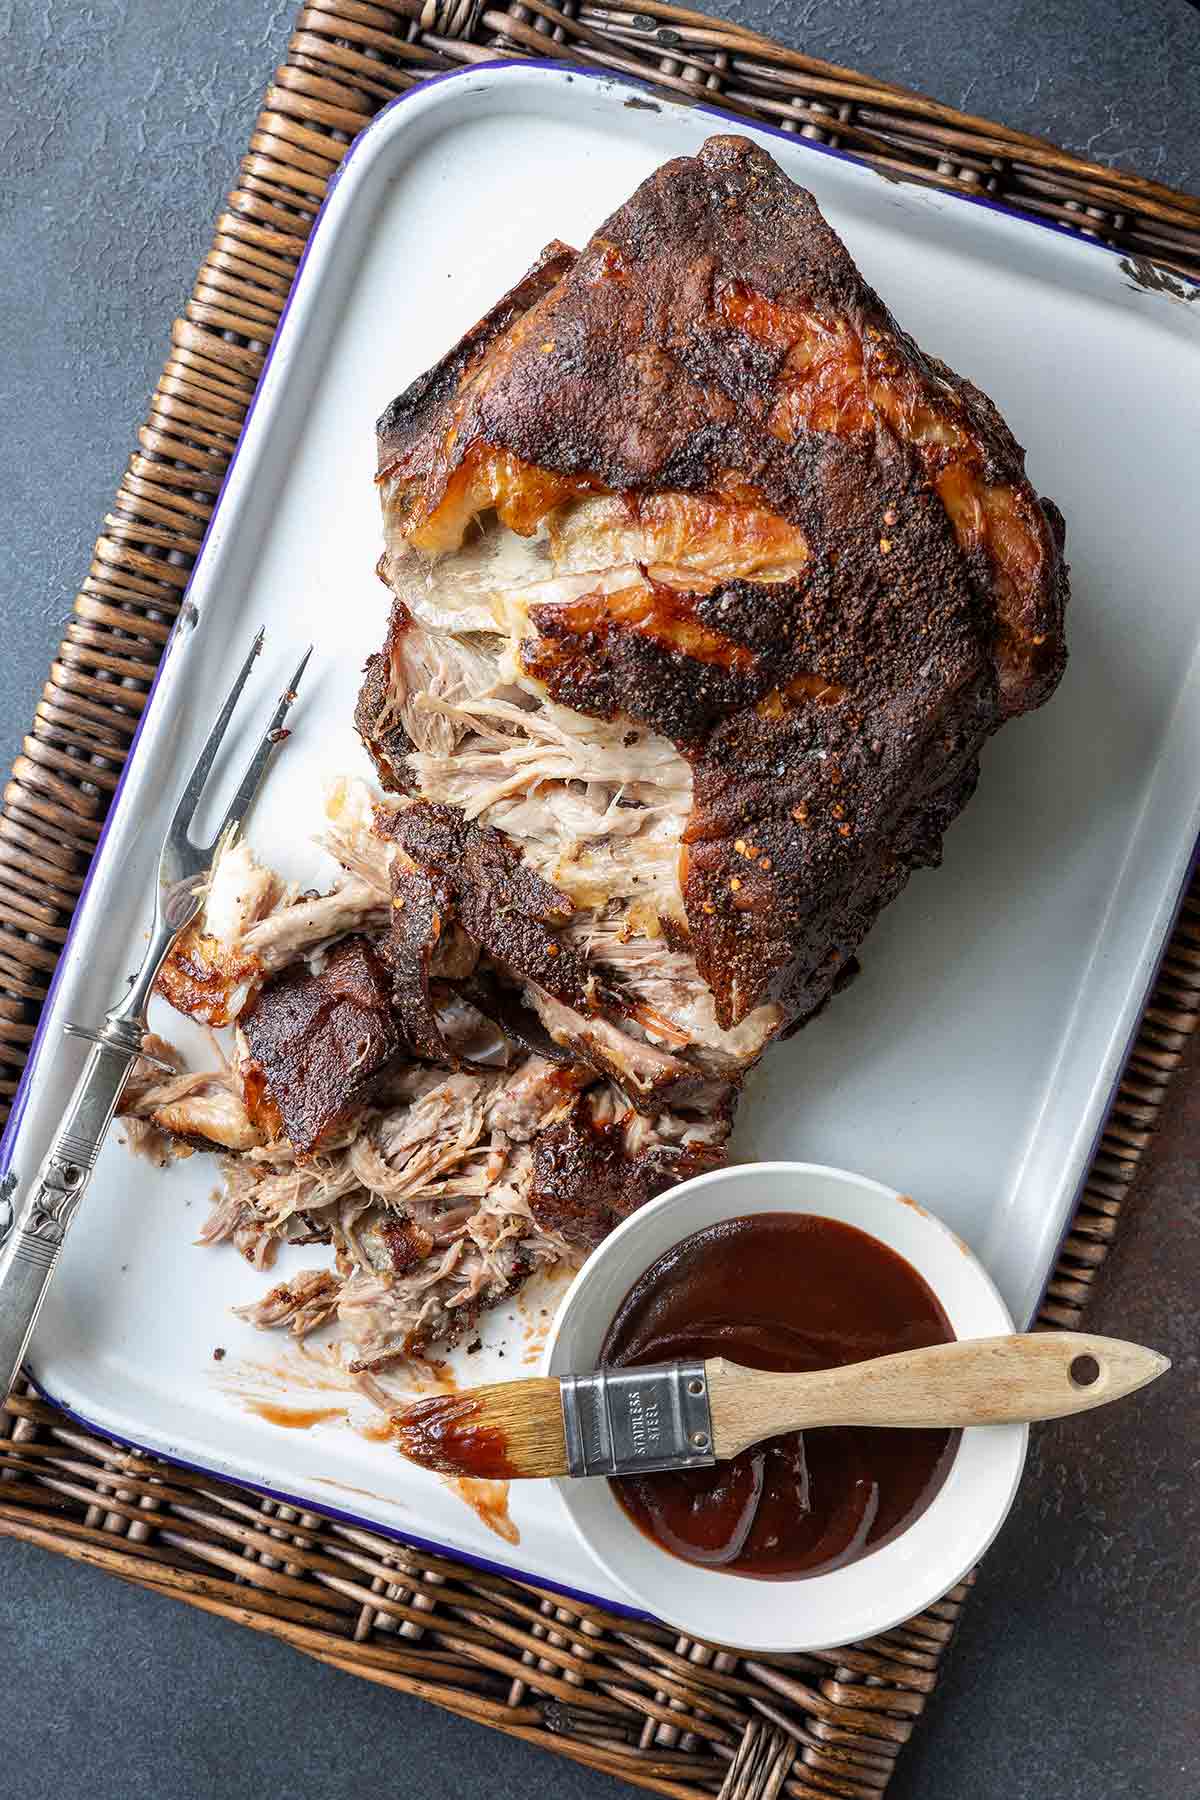
After resting, the Boston butt should be incredibly easy to pull apart. You can use two forks to shred the meat, discarding any large pieces of fat or bone (if applicable). The fat that has rendered will have melted into the meat, making it incredibly moist. If you’ve smoked the butt, the bark – the dark, flavorful crust – will be a highly prized element. Don’t discard it; chop it up and mix it back in with the shredded meat for added flavor and texture. This tactile process is as engaging as exploring the vibrant street food scene in Bangkok.
Sauces and Pairings
Pulled Boston butt is incredibly versatile. While it’s a staple in barbecue, its tender texture and rich flavor make it suitable for a wide range of applications.
- Classic Barbecue: Toss the shredded meat with your favorite barbecue sauce. Serve on buns for pulled pork sandwiches, or as a main dish with classic sides like coleslaw, potato salad, and baked beans.
- Tacos and Burritos: The shredded pork is perfect for filling tacos or burritos. Top with your favorite salsa, pico de gallo, or a creamy avocado sauce.
- Sandwiches and Sliders: Beyond the classic barbecue sandwich, pulled pork makes for fantastic sliders or can be incorporated into other sandwich creations.
- Quesadillas and Nachos: Shredded pork adds a delicious layer of flavor and protein to quesadillas and nachos.
The choice of sauce and accompaniments can significantly enhance the dining experience, much like choosing the right tours and activities to complement your stay in a new destination. For instance, pairing rich, slow-cooked pork with a bright, tangy coleslaw is a classic combination that balances the richness. Consider the cultural nuances of food pairings when traveling, whether it’s enjoying fresh pasta in Italy or savoring dim sum in Hong Kong.
Cooking a Boston butt is a journey that rewards patience and attention to detail. It’s a culinary endeavor that, much like the planning and execution of a memorable trip, offers immense satisfaction. From understanding the cut to mastering the slow cooking process and finally achieving that perfect, tender pull, each step brings you closer to a delicious and satisfying meal. So, gather your ingredients, choose your preferred method, and embark on your own adventure in cooking a Boston butt – a dish that’s as rich in history as it is in flavor. Whether you’re enjoying it at home or perhaps even after a day of exploring the historic streets of Charleston, South Carolina, the experience is sure to be memorable.
LifeOutOfTheBox is a participant in the Amazon Services LLC Associates Program, an affiliate advertising program designed to provide a means for sites to earn advertising fees by advertising and linking to Amazon.com. Amazon, the Amazon logo, AmazonSupply, and the AmazonSupply logo are trademarks of Amazon.com, Inc. or its affiliates. As an Amazon Associate we earn affiliate commissions from qualifying purchases.