
Maintaining a spa is an integral part of owning a high-quality hot tub, and knowing how to properly drain it is a key skill for any owner. Whether you are preparing for a deep clean, moving your Master Spa, or simply performing routine maintenance, understanding the process ensures your spa remains in pristine condition. This guide will walk you through the essential steps for effectively emptying your Master Spa water, ensuring a smooth and efficient experience.
Understanding the Importance of Draining Your Master Spa
Regularly draining and refilling your Master Spa is crucial for several reasons, directly impacting the water quality, the longevity of your equipment, and your overall spa experience. Neglecting this maintenance can lead to a host of issues, from cloudy water and unpleasant odors to more serious problems like damage to the heating elements and pumps.

Water Quality and Sanitation
Over time, the water in your spa accumulates contaminants. These include dissolved solids, lotions, oils, sweat, and microbial life. While sanitizers like chlorine or bromine work diligently to keep the water clean, their effectiveness diminishes as the concentration of dissolved solids increases. High levels of these solids, known as Total Dissolved Solids (TDS), can make sanitizers less effective, leading to:
- Cloudy or Dull Water: A lack of clarity is often the first sign that your water needs to be changed.
- Unpleasant Odors: Bacterial growth, unchecked by weakened sanitizers, can produce musty or chemical smells.
- Skin Irritation: Imbalanced water chemistry can irritate your skin, leading to rashes or dryness.
- Increased Risk of Algae Growth: Even with regular chemical additions, old water can foster algae blooms, turning the water green.
Draining the spa removes these accumulated contaminants, providing a fresh start for your water and allowing your sanitizers to work optimally.
Protecting Your Spa Equipment
The water in your Master Spa is not just for your enjoyment; it’s also the lifeblood of its operational systems. The water’s chemical balance directly affects the lifespan of your spa’s components.
- Corrosion: Imbalanced water, particularly if it’s too acidic, can corrode metal parts within your plumbing and heating systems, leading to leaks and eventual failure.
- Scale Buildup: If the water has high levels of calcium and other minerals, it can lead to scale formation. This scale can clog pipes, reduce water flow, and damage pumps and heaters.
- Filter Degradation: While filters are designed to capture debris, old water with high TDS can clog filters more rapidly, reducing their efficiency and potentially leading to premature replacement.
Regularly emptying and refilling ensures that the water chemistry is reset, minimizing the risk of corrosion and scale buildup, thereby extending the life of your valuable spa components.
Seasonal Considerations and Moving
There are specific times when draining your Master Spa becomes essential.
- Winterization: If you live in a region with freezing temperatures and plan to shut down your spa for the winter, complete draining is a mandatory step to prevent water from freezing and damaging the shell, plumbing, and equipment.
- Moving Your Spa: When relocating your Master Spa to a new location, it must be completely empty to facilitate safe and damage-free transportation.
- Major Repairs or Deep Cleaning: For significant maintenance tasks, such as replacing a jet, repairing a pump, or performing an exhaustive deep clean of the shell and plumbing, draining is a prerequisite.
In essence, draining your Master Spa is not merely an occasional chore but a fundamental aspect of responsible spa ownership that contributes to its longevity, performance, and your overall enjoyment.
Preparing for the Drain: Essential Steps and Tools
Before you begin the process of emptying your Master Spa, thorough preparation is key to ensuring a smooth and efficient operation. This includes gathering the necessary tools and taking crucial preliminary steps to safeguard your spa and its surroundings.
Safety First: Powering Down the Spa
The absolute first step, and the most critical, is to ensure that your Master Spa is completely disconnected from its power source. This is not just a recommendation; it’s a vital safety measure to prevent electrical hazards and damage to your spa’s components.
- Locate the Circuit Breaker: Your spa is connected to your home’s electrical system via a dedicated circuit breaker. This breaker is usually located in your main electrical panel. It’s essential to know which breaker controls your spa. If you are unsure, consult your home’s electrical diagram or a qualified electrician.
- Turn Off the Breaker: Once identified, flip the circuit breaker to the “OFF” position. For added safety, especially if you are performing extensive maintenance, consider placing a lock or a warning tag on the breaker to ensure no one accidentally turns it back on while you are working.
- Verify Power Disconnection: After turning off the breaker, try to turn on the spa’s control panel. If it remains completely unresponsive, you have successfully disconnected the power. This step is crucial as water and electricity are a dangerous combination.
Gathering Your Tools and Supplies
Having the right equipment readily available will make the draining process significantly easier and more efficient. Here’s a list of items you’ll likely need:
- Owner’s Manual: Always refer to your Master Spa owner’s manual for specific instructions tailored to your model. It will detail the location of drain valves and any model-specific procedures.
- Drain Hose: Most Master Spa models are equipped with an integrated drain valve or port. You may need a garden hose to connect to this drain port and direct the water to a suitable drainage area. Ensure the hose is long enough to reach your chosen drainage location.
- Submersible Pump (Optional but Recommended): For faster draining or if your spa’s built-in drain is slow or difficult to access, a submersible utility pump is an excellent tool. These pumps can significantly reduce draining time, especially for larger spas.
- Buckets or Containers: Useful for catching any residual water or for cleaning purposes.
- Wrench or Pliers (if applicable): Some drain valves might require a specific tool for operation, though many are designed for hand-turning.
- Towels or Rags: For wiping up any spills or residual water.
- Protective Gear: Gloves and eye protection are advisable, especially if you are dealing with older or potentially unclean water.
- Discharge Hose for Pump: If using a submersible pump, you’ll need a hose compatible with the pump to direct the water.
- Drainage Location Plan: Before you start, decide where the water will go. Ensure it complies with local regulations for wastewater disposal.
Checking Your Spa’s Drainage Mechanism
Master Spa models typically employ one or more methods for draining. Familiarizing yourself with these before you begin is highly beneficial.
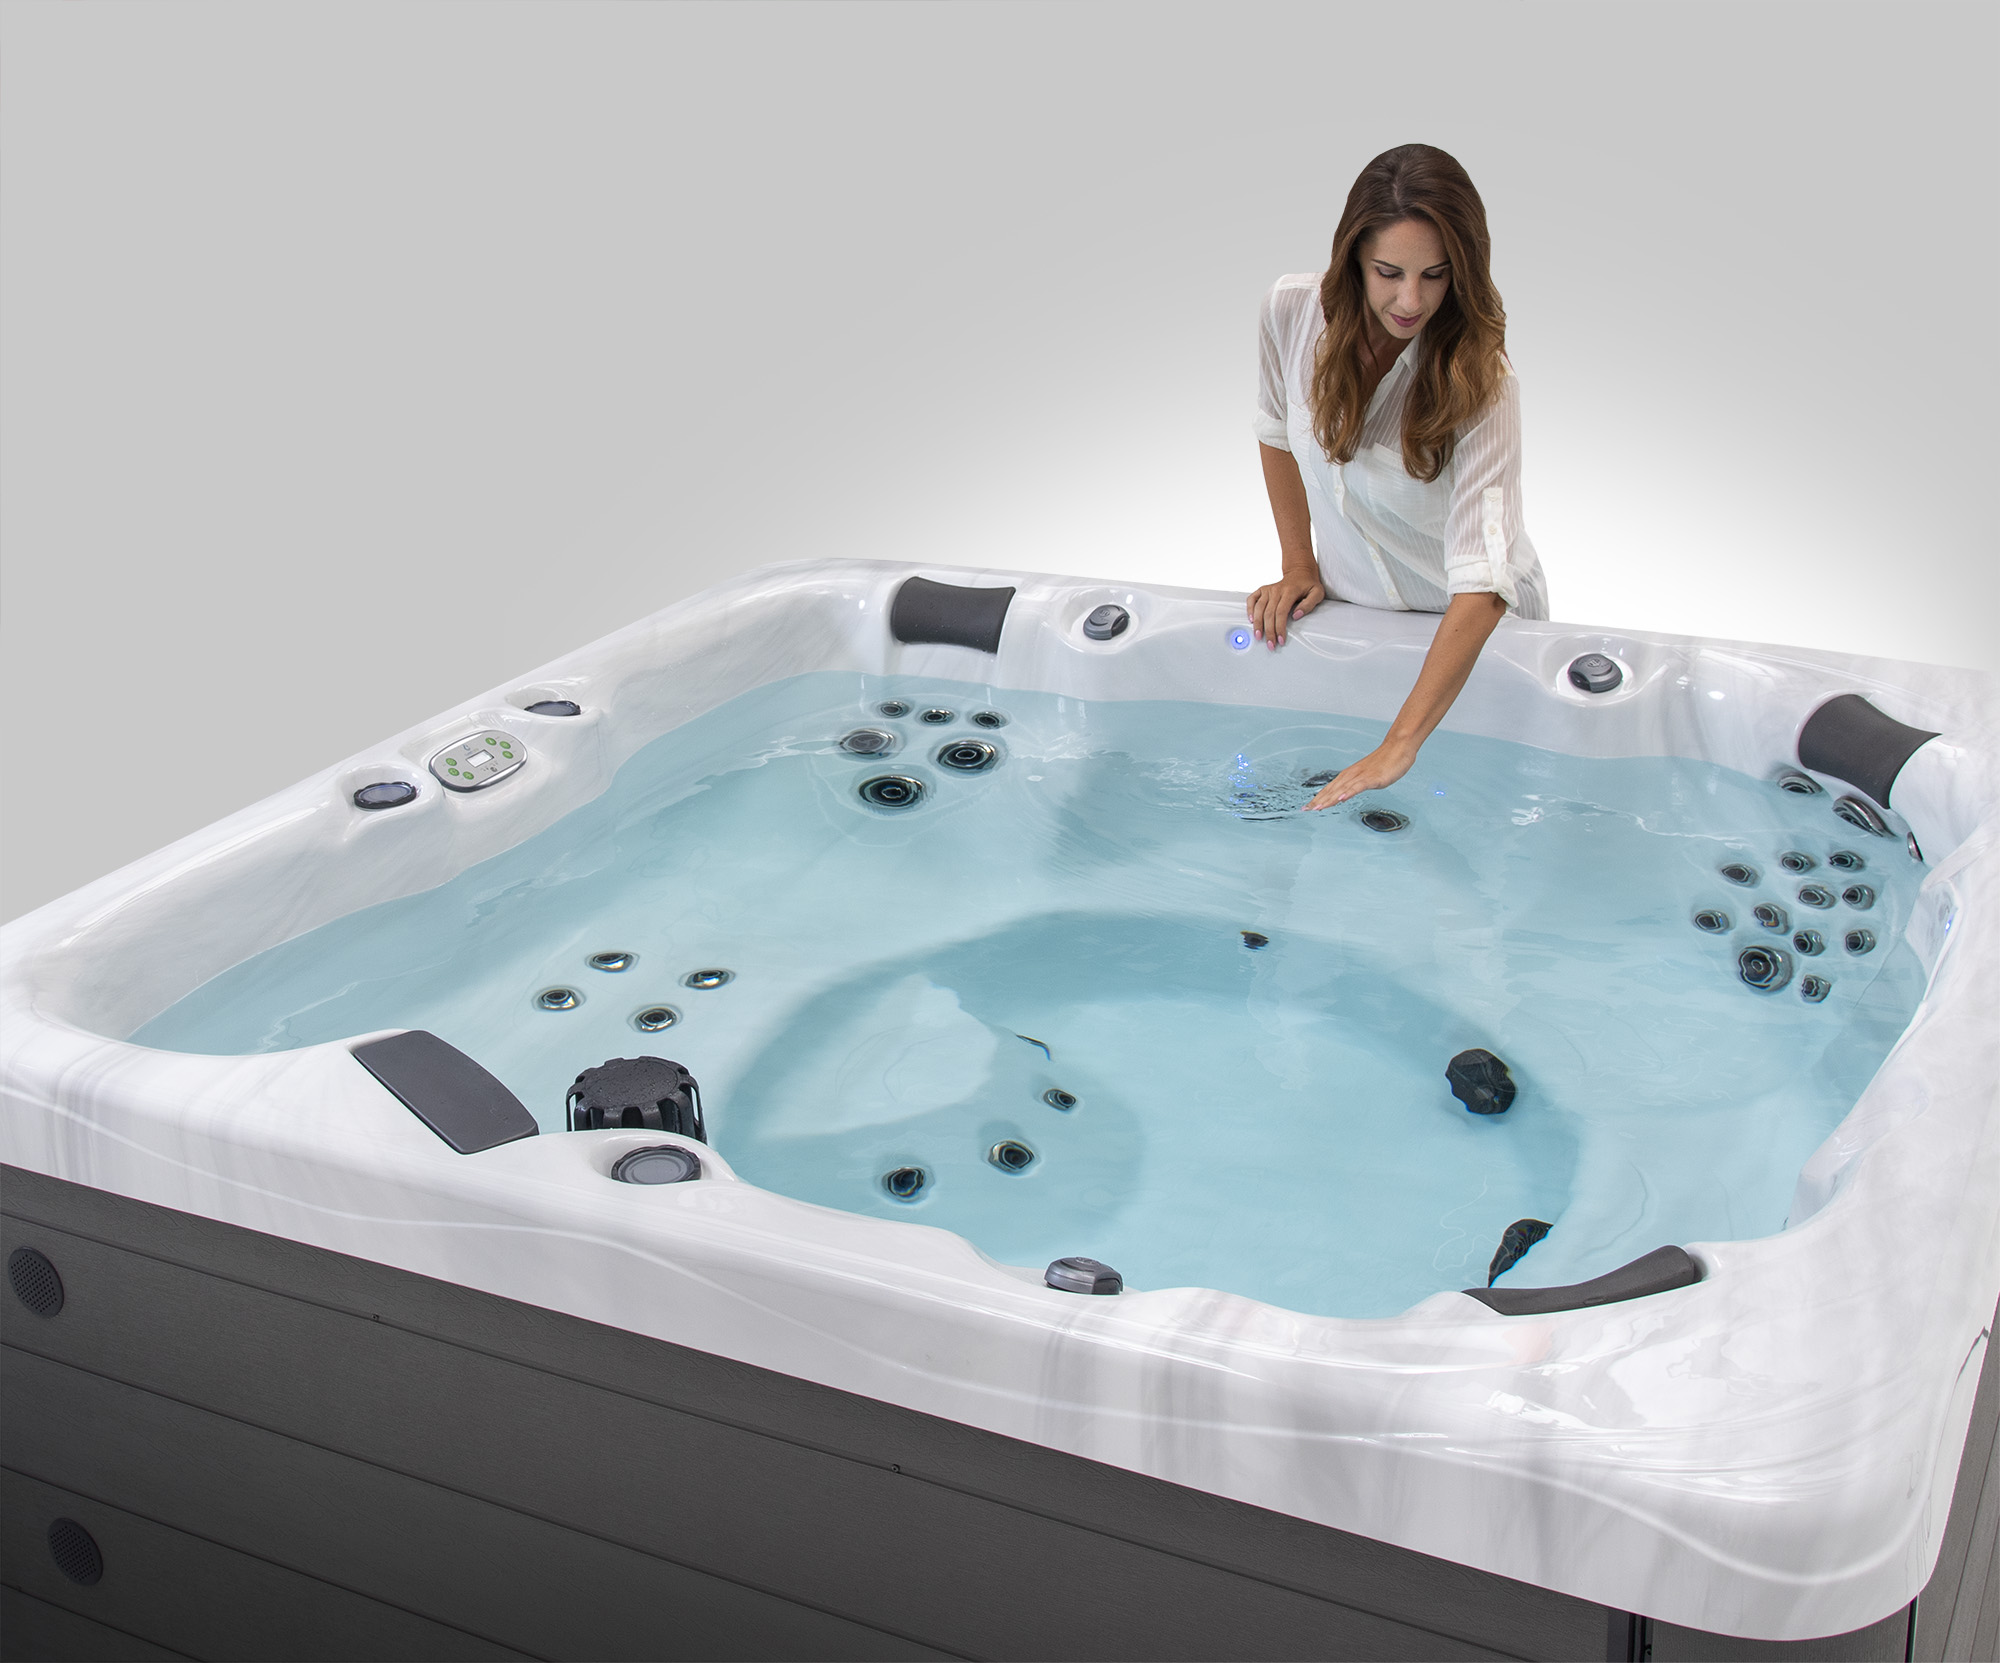
- Integrated Drain Valve: Many models feature a built-in drain valve, often located at the base of the spa shell or near the equipment compartment. This valve is usually a simple turn-knob or lever mechanism. Some may require a hose to be attached to direct the water.
- Drain Plug: Some older or specific models might have a simple drain plug that needs to be unscrewed.
- Pump Priming and Hose Method: In some cases, you might need to use your spa’s circulation pump to expel water. This usually involves attaching a hose to a suction fitting (with the filter removed) and running the pump on a high setting to push water out. Caution: This method requires careful attention to avoid running the pump dry, which can cause damage. Refer to your manual for specifics.
- Submersible Pump: As mentioned, a submersible pump placed inside the spa is a universal and often the fastest method, independent of the spa’s built-in systems.
Consult your Master Spa owner’s manual to identify the exact drainage mechanism(s) for your specific model. This will prevent surprises and ensure you have the correct tools and approach.
The Draining Process: Step-by-Step Guide
With your preparation complete, it’s time to proceed with the actual draining of your Master Spa. This section will detail the most common methods, from using the integrated drain valve to employing a submersible pump.
Method 1: Using the Integrated Drain Valve
This is the most straightforward method for many Master Spa owners and is often the primary method recommended by the manufacturer.
- Access the Drain Valve: Locate the drain valve on your Master Spa. It is typically found near the bottom of the spa shell, often on the exterior skirting, or near the equipment bay. Consult your owner’s manual if you are having trouble finding it.
- Connect the Hose (if applicable): If your drain valve has a threaded outlet, attach a garden hose. Ensure the hose is securely connected to prevent leaks. Position the other end of the hose in a suitable drainage area. If you don’t have a hose, the water will drain directly from the valve, which might be slower and can create a large puddle around the spa.
- Open the Drain Valve: Turn the valve counter-clockwise (or as indicated in your manual) to open it. You may need to use a wrench for stubborn valves, but avoid over-tightening when closing it later.
- Monitor the Drainage: Water will begin to flow out of the valve or the attached hose. The speed of drainage will depend on the size of your spa and the flow rate of the drain. It can take anywhere from a few hours to a full day to drain a large spa completely.
- Close the Valve: Once the water level has dropped significantly and only a small amount remains, close the drain valve by turning it clockwise. Ensure it is shut tightly to prevent leaks when you refill the spa.
- Remove the Hose: Disconnect the garden hose if one was used.
Method 2: Using a Submersible Pump
A submersible pump offers a much faster and more efficient way to drain your Master Spa, especially for those who need to drain it quickly or who have models with difficult-to-access drain valves.
- Place the Pump: Carefully lower the submersible pump into the spa water. Position it on the spa floor, ensuring it is fully submerged according to the pump manufacturer’s instructions.
- Connect the Discharge Hose: Attach a suitable discharge hose to the outlet of the submersible pump. Run this hose to your designated drainage location. Ensure the hose is not kinked and can freely expel water.
- Power On the Pump: Connect the submersible pump to a power source and turn it on. It will immediately begin to draw water from the spa and discharge it through the hose.
- Monitor and Adjust: Keep an eye on the water level. You may need to reposition the pump as the water level drops to ensure it remains submerged and continues to operate effectively.
- Final Draining: Once the pump has removed as much water as possible, you may need to manually tilt the spa slightly (if possible and safe) or use towels to remove the last remaining puddles.
- Remove the Pump and Hose: Once the spa is empty, disconnect the discharge hose and remove the submersible pump. Ensure the pump is cleaned and dried before storage.
Method 3: Using the Spa’s Own Pump (with Caution)
This method is less common and requires strict adherence to your owner’s manual. It involves using the spa’s circulation pump to force water out, typically through a dedicated drain port or by modifying a filter housing. This method carries a risk of damaging the pump if run dry.
- Consult Your Manual: This is paramount. Your Master Spa manual will detail if this method is supported and how to execute it safely.
- Prepare the Setup: This might involve removing a filter and attaching a hose to the filter housing, or connecting a hose to a specific drain fitting.
- Turn on the Pump: Once the setup is complete, turn on the spa’s circulation pump. The pump should then draw water from the spa and expel it through the connected hose.
- Monitor and Turn Off Promptly: It is critical to monitor the water level closely and turn off the pump before it starts to suck air. Running a spa pump dry can lead to overheating and severe damage.
Always prioritize safety and refer to your owner’s manual. If in doubt, use the integrated drain valve or a submersible pump.
Post-Drainage Procedures and Refilling
Once your Master Spa is successfully emptied, a few crucial steps remain before you can enjoy fresh, clean water. These procedures ensure a thorough clean and proper refilling.
Cleaning the Spa Shell
With the spa empty, it’s the perfect opportunity to give the shell a deep clean. This removes any accumulated grime, mineral deposits, or residue that may have built up.
- Wipe Down Surfaces: Use a soft cloth or sponge and a spa-specific cleaner or a mild solution of dish soap and water to wipe down the entire interior of the spa shell. Pay attention to the waterline, where scum can often accumulate.
- Address Stubborn Stains: For tougher spots, you might use a non-abrasive spa cleaning pad. Avoid using harsh chemicals or abrasive materials that could scratch or damage the acrylic surface.
- Rinse Thoroughly: After cleaning, rinse the shell thoroughly with clean water to remove all traces of cleaning solution. You can use a hose for this, directing the rinse water towards the drain or out of the spa.
- Wipe Dry: Use clean towels to dry the shell. This helps prevent water spots and ensures a clean surface for your new water.
Checking and Cleaning Filters
While the spa is empty, inspect your spa filters.
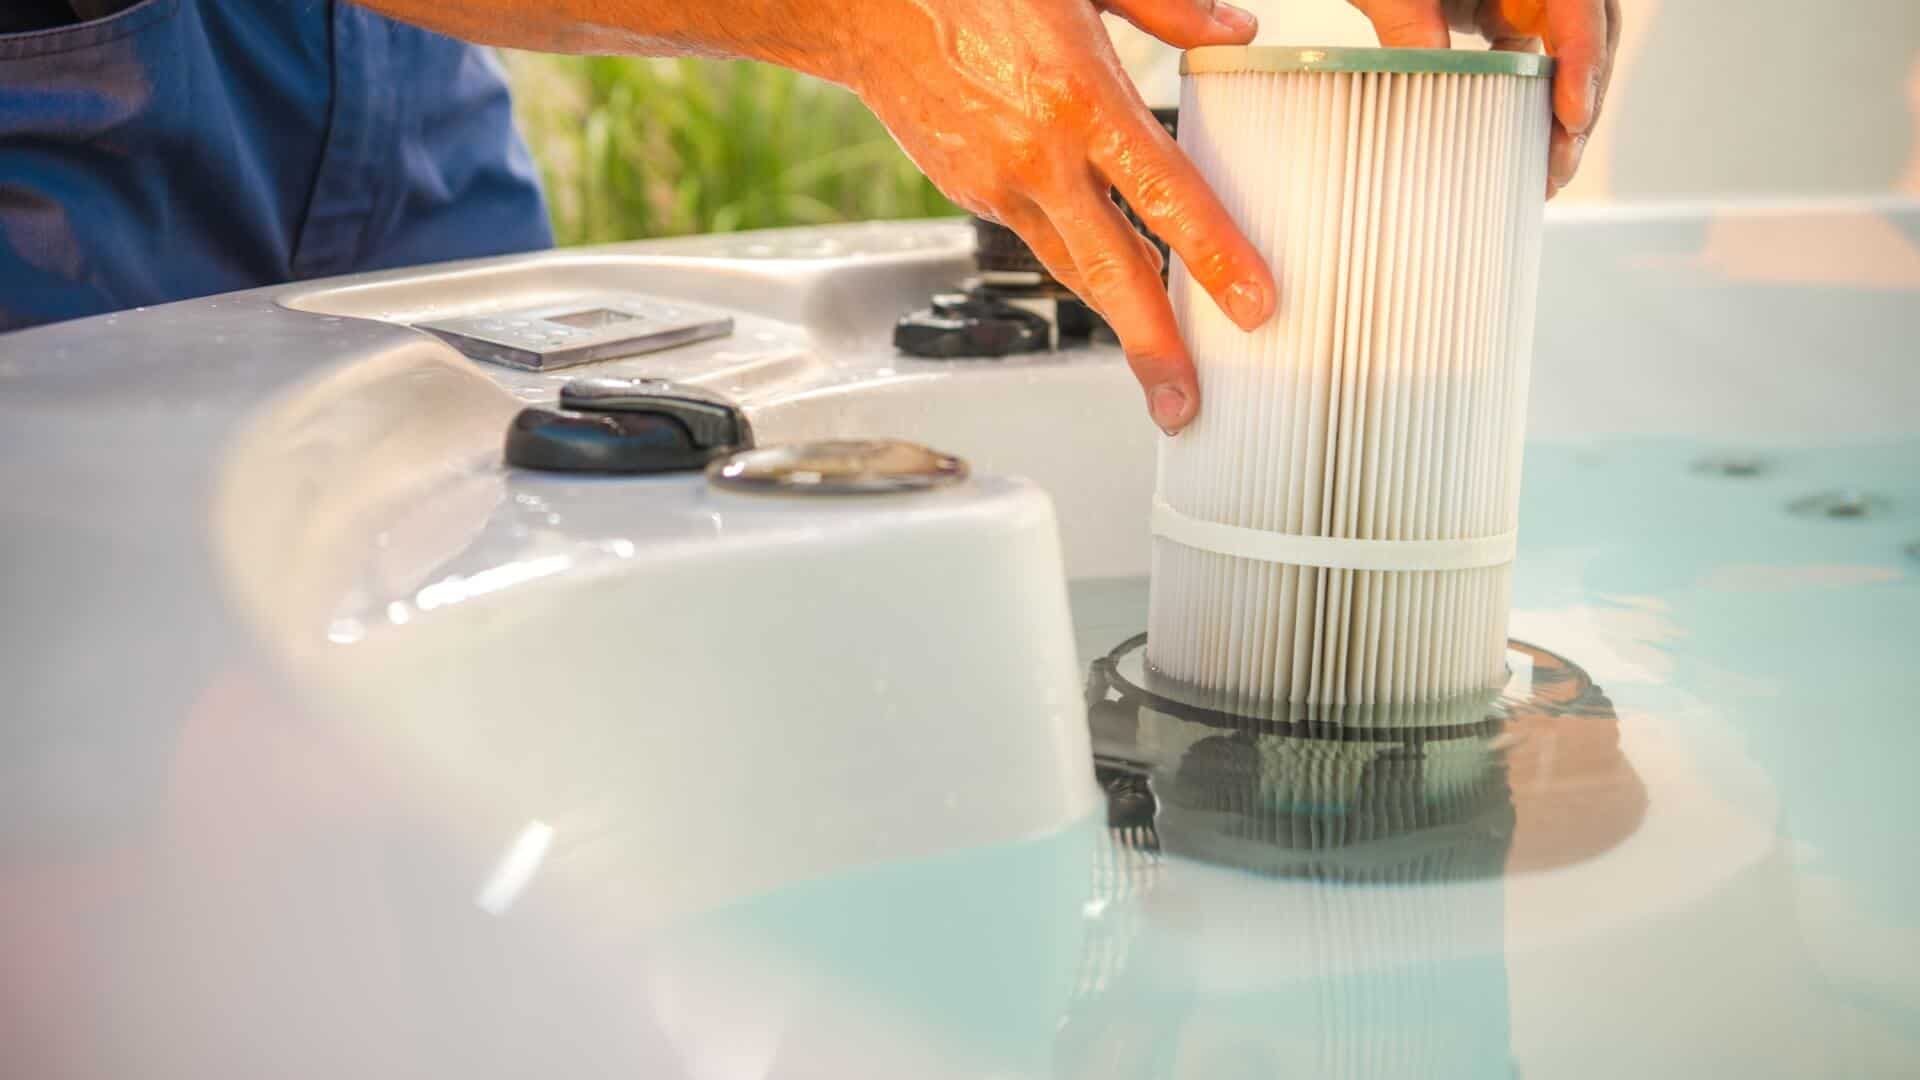
- Remove Filters: Carefully remove the spa filters. Refer to your manual if you are unsure how.
- Inspect for Damage: Check for any tears, cracks, or excessive wear. If damaged, they will need to be replaced.
- Clean Filters: Rinse them thoroughly under a strong stream of water. For a deeper clean, use a filter cleaning solution or soak them in a mild detergent solution. Allow them to dry completely before reinstalling, or have spare filters ready to use.
Refilling Your Master Spa
Refilling your Master Spa is a straightforward process, but it’s important to do it correctly to avoid introducing air into the system and to ensure optimal water chemistry from the start.
- Use a Garden Hose: Place a garden hose into the main suction fitting of your spa. This helps to pre-fill the plumbing lines with water and minimize the amount of air that gets trapped in the system. Some owners recommend placing the hose end over the filter housing to achieve this.
- Start Filling: Turn on the water supply to the hose. Let the spa fill to approximately the level recommended in your owner’s manual (usually covering the jets).
- Monitor Water Level: Keep an eye on the water level as it rises.
- Remove the Hose: Once the water level is adequate, remove the garden hose.
- Turn On Power: Go back to your electrical panel and turn the circuit breaker for your spa back to the “ON” position.
- Prime the Pumps: Immediately after restoring power, turn on your spa’s circulation pump. You may need to manually prime the pumps if they are not drawing water. This often involves loosening a union fitting slightly until water begins to flow, then re-tightening it. Consult your manual for the specific priming procedure for your model.
- Check for Leaks: While the pumps are running, inspect all visible plumbing connections and the drain valve area for any signs of leaks.
- Add Chemicals: Once the pumps are running smoothly and you’ve confirmed no leaks, begin adding your spa chemicals according to your water test results and the manufacturer’s recommendations. This includes sanitizers, pH balancers, and any other necessary treatment.
By following these post-drainage and refilling procedures, you ensure your Master Spa is not only clean but also ready for optimal operation and enjoyment.
LifeOutOfTheBox is a participant in the Amazon Services LLC Associates Program, an affiliate advertising program designed to provide a means for sites to earn advertising fees by advertising and linking to Amazon.com. Amazon, the Amazon logo, AmazonSupply, and the AmazonSupply logo are trademarks of Amazon.com, Inc. or its affiliates. As an Amazon Associate we earn affiliate commissions from qualifying purchases.