
Pan-frying a New York strip steak is a cornerstone technique for any home cook aiming to achieve restaurant-quality results. This method, when executed with precision, yields a steak with a beautifully seared, flavorful crust and a tender, juicy interior. It’s a straightforward process that relies on understanding the principles of heat transfer, fat rendering, and resting. Mastering this technique opens the door to enjoying a classic steakhouse experience in the comfort of your own dining room, transforming a simple cut of beef into a culinary masterpiece. Whether you’re a seasoned chef or a novice in the kitchen, this guide will walk you through the essential steps to pan-fry a New York strip steak to perfection, elevating your home dining to new heights.
Understanding the Cut and Preparation
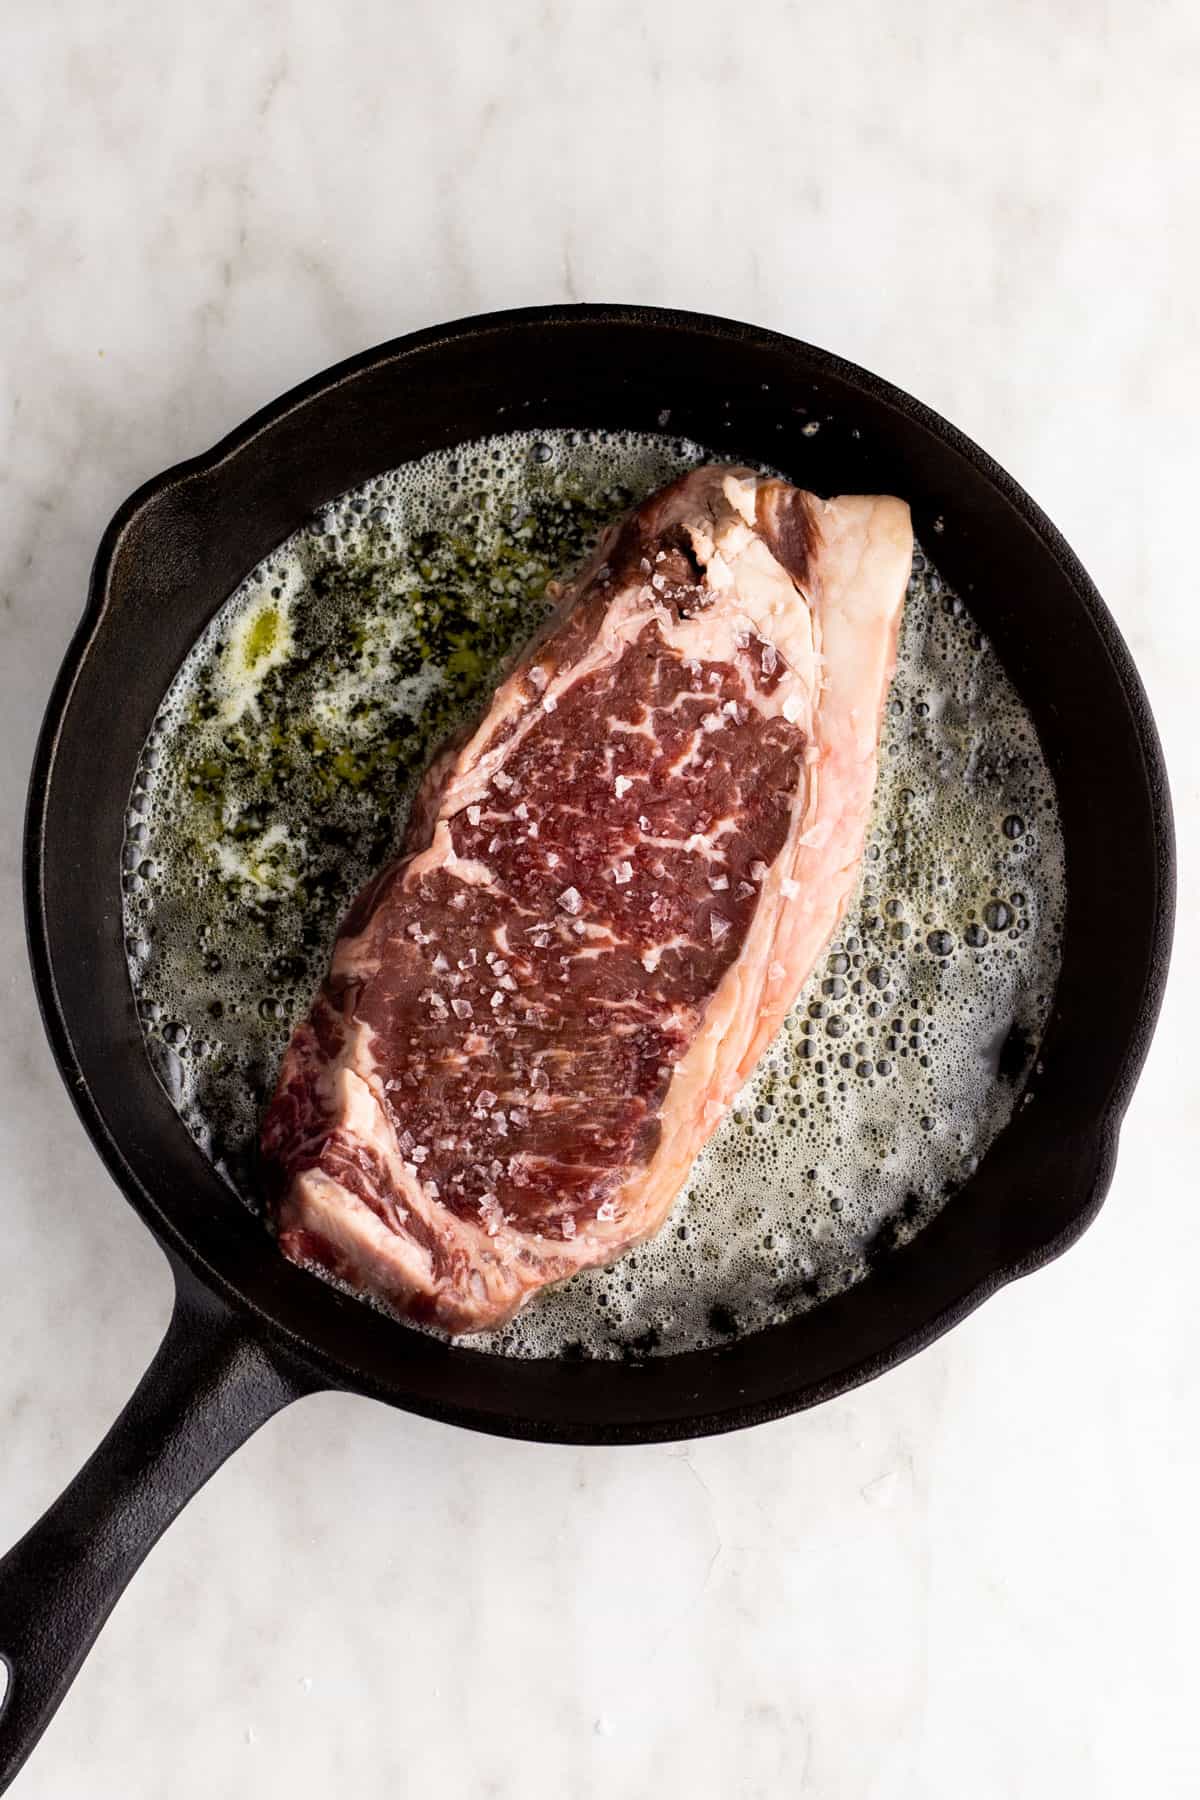
The New York strip, also known as a Kansas City strip or top loin, is prized for its balanced marbling, substantial beefy flavor, and a satisfying chew that is not overly tough. Its characteristic strip of fat along one edge renders beautifully during cooking, adding moisture and a rich taste to the steak.
Selecting the Perfect Steak
When choosing a New York strip, look for a steak that is at least 1 to 1.5 inches thick. Thicker steaks are more forgiving and allow for better control over the internal temperature, reducing the risk of overcooking. Opt for steaks with good marbling – those thin, white flecks of fat distributed throughout the meat. These marbling lines melt during cooking, basting the steak from within and contributing to its tenderness and juiciness. A USDA Prime or Choice grade will generally offer the best quality and flavor.
Bringing to Room Temperature
One of the most critical, yet often overlooked, steps is bringing the steak to room temperature. Remove the steak from its packaging and let it sit on a plate or wire rack at room temperature for at least 30 minutes, and up to an hour for thicker cuts. This allows the steak to cook more evenly. A cold steak will have a cool center while the exterior is overcooked, resulting in an undesirable gradient of doneness.
Seasoning for Success
Generous seasoning is key to developing a delicious crust. For a classic New York strip, simple kosher salt and freshly ground black pepper are often all that’s needed. Season the steak liberally on all sides just before cooking. The salt not only enhances the beef’s natural flavor but also helps to draw out moisture, which aids in the formation of a beautiful crust through the Maillard reaction. For those seeking more complexity, a light dusting of garlic powder or a sprig of fresh rosemary and thyme can be added to the pan during the final basting stage.
The Pan-Frying Process: Achieving the Perfect Sear
The pan-fry method relies on direct, high heat to create a flavorful crust while cooking the interior to your desired doneness. The right pan and oil are crucial for achieving optimal results.
Choosing the Right Pan
A heavy-bottomed skillet is essential for even heat distribution and retention. Cast iron skillets are the preferred choice for many steak enthusiasts due to their exceptional heat-holding capabilities, which promote a consistent sear. Stainless steel skillets are also a good option. Avoid non-stick pans, as they typically cannot withstand the high temperatures required for a proper sear and can be damaged by metal utensils.
Selecting Your Cooking Fat
The cooking fat should have a high smoke point to withstand the intense heat of the pan without burning. Common choices include:
- High Smoke Point Oils: Grapeseed oil, canola oil, or avocado oil are excellent for their neutral flavor and ability to handle high heat.
- Clarified Butter (Ghee): Ghee has a higher smoke point than regular butter and imparts a delicious nutty flavor.
- A Combination: Many chefs use a combination of a neutral oil for the initial sear and then add butter towards the end for basting.
The High-Heat Sear
Place your chosen skillet over medium-high to high heat. Add a tablespoon or two of your cooking fat and let it get shimmering hot, but not smoking excessively. Carefully lay the seasoned steak into the hot pan, laying it away from you to avoid splattering. You should hear an immediate, satisfying sizzle.
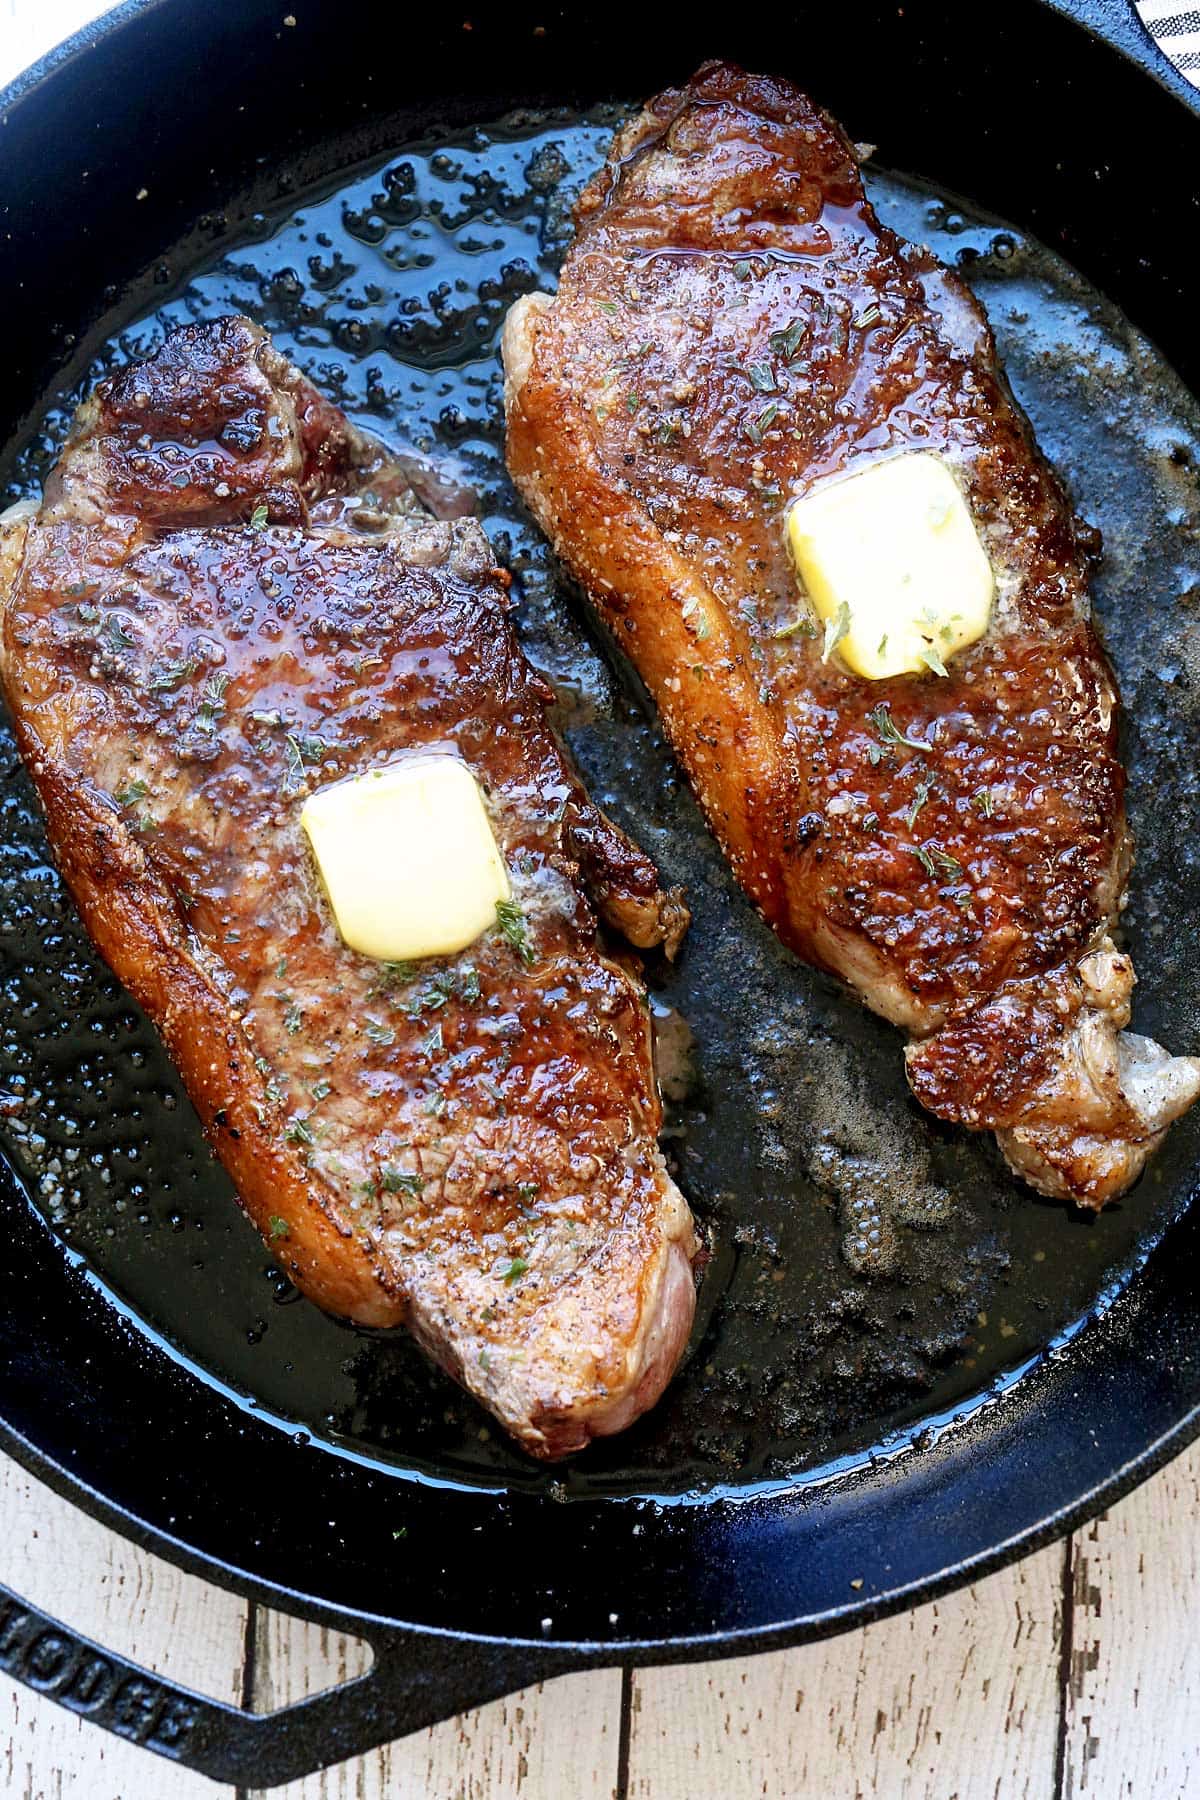
Resist the urge to move the steak for the first 2–3 minutes. This allows a deep, golden-brown crust to form. The exact time will depend on the thickness of the steak and the heat of your pan. After this initial sear, flip the steak and sear the other side for another 2–3 minutes.
Searing the Edges
For a truly professional finish, don’t forget to sear the edges of the steak. Using tongs, carefully hold the steak on its side, pressing the fat cap against the pan for about 30–60 seconds until it renders and crisps up. Repeat this for all sides.
Achieving Desired Doneness
The internal temperature of the steak is the most reliable indicator of its doneness. A good instant-read thermometer is an indispensable tool for this. The temperatures below are approximate and account for carryover cooking during resting.
Using a Thermometer
Insert the thermometer into the thickest part of the steak, avoiding any bones or large pockets of fat.
- Rare: 120–125°F (49–52°C)
- Medium-Rare: 130–135°F (54–57°C) – Often considered the ideal for New York strip
- Medium: 135–145°F (57–63°C)
- Medium-Well: 145–155°F (63–68°C)
- Well-Done: 155°F+ (68°C+)
Basting for Extra Flavor (Optional but Recommended)
Once the steak has been seared on both sides and you’re approaching your desired internal temperature, you can opt to baste it. Lower the heat slightly. Add a tablespoon or two of butter to the pan along with aromatics like crushed garlic cloves and a sprig of fresh rosemary or thyme. As the butter melts and foams, tilt the pan and use a spoon to continuously ladle the melted butter and aromatics over the steak for 1–2 minutes. This enriches the flavor and adds a beautiful sheen.
The Crucial Resting Period
This is perhaps the most vital step in achieving a juicy steak, and one that many home cooks rush. Resting allows the muscle fibers to relax and reabsorb the juices that have been pushed to the center during cooking.
Why Resting Matters
When a steak cooks, the muscle fibers contract, squeezing out moisture. If you cut into the steak immediately after cooking, these juices will spill out onto your cutting board, leaving you with a dry steak. Resting gives these juices time to redistribute throughout the meat.
How to Rest Your Steak
Once the steak reaches your target internal temperature, remove it from the skillet and place it on a clean cutting board or a wire rack set over a plate. Tent it loosely with aluminum foil. Allow the steak to rest for at least 5–10 minutes for thinner steaks, and 10–15 minutes for thicker cuts. The internal temperature will rise by a few degrees during this resting period (carryover cooking), so factor this into your target temperature.
Slicing and Serving
After the essential rest, your New York strip steak is ready to be sliced and enjoyed. Proper slicing not only presents the steak beautifully but also enhances its tenderness.
Slicing Against the Grain
Identify the direction of the muscle fibers (the “grain”). Using a sharp knife, slice the steak against the grain. This shortens the muscle fibers, making each bite more tender and easier to chew. Aim for slices about ¼ to ½ inch thick.

Serving Suggestions
A perfectly pan-fried New York strip steak is a delight on its own. However, it pairs wonderfully with classic steakhouse sides such as:
- Creamy Mashed Potatoes: A comforting and classic accompaniment.
- Roasted Asparagus: A fresh and slightly crisp counterpoint.
- Garlic Green Beans: Simple, flavorful, and always a good choice.
- A simple salad: To add a refreshing element.
For an elevated experience, consider serving with a red wine reduction sauce, a béarnaise sauce, or a dollop of compound butter.
By following these detailed steps, you can consistently pan-fry a New York strip steak that rivals those found in the finest steakhouses, demonstrating a mastery of fundamental cooking techniques and a dedication to delicious, home-cooked meals.
LifeOutOfTheBox is a participant in the Amazon Services LLC Associates Program, an affiliate advertising program designed to provide a means for sites to earn advertising fees by advertising and linking to Amazon.com. Amazon, the Amazon logo, AmazonSupply, and the AmazonSupply logo are trademarks of Amazon.com, Inc. or its affiliates. As an Amazon Associate we earn affiliate commissions from qualifying purchases.