
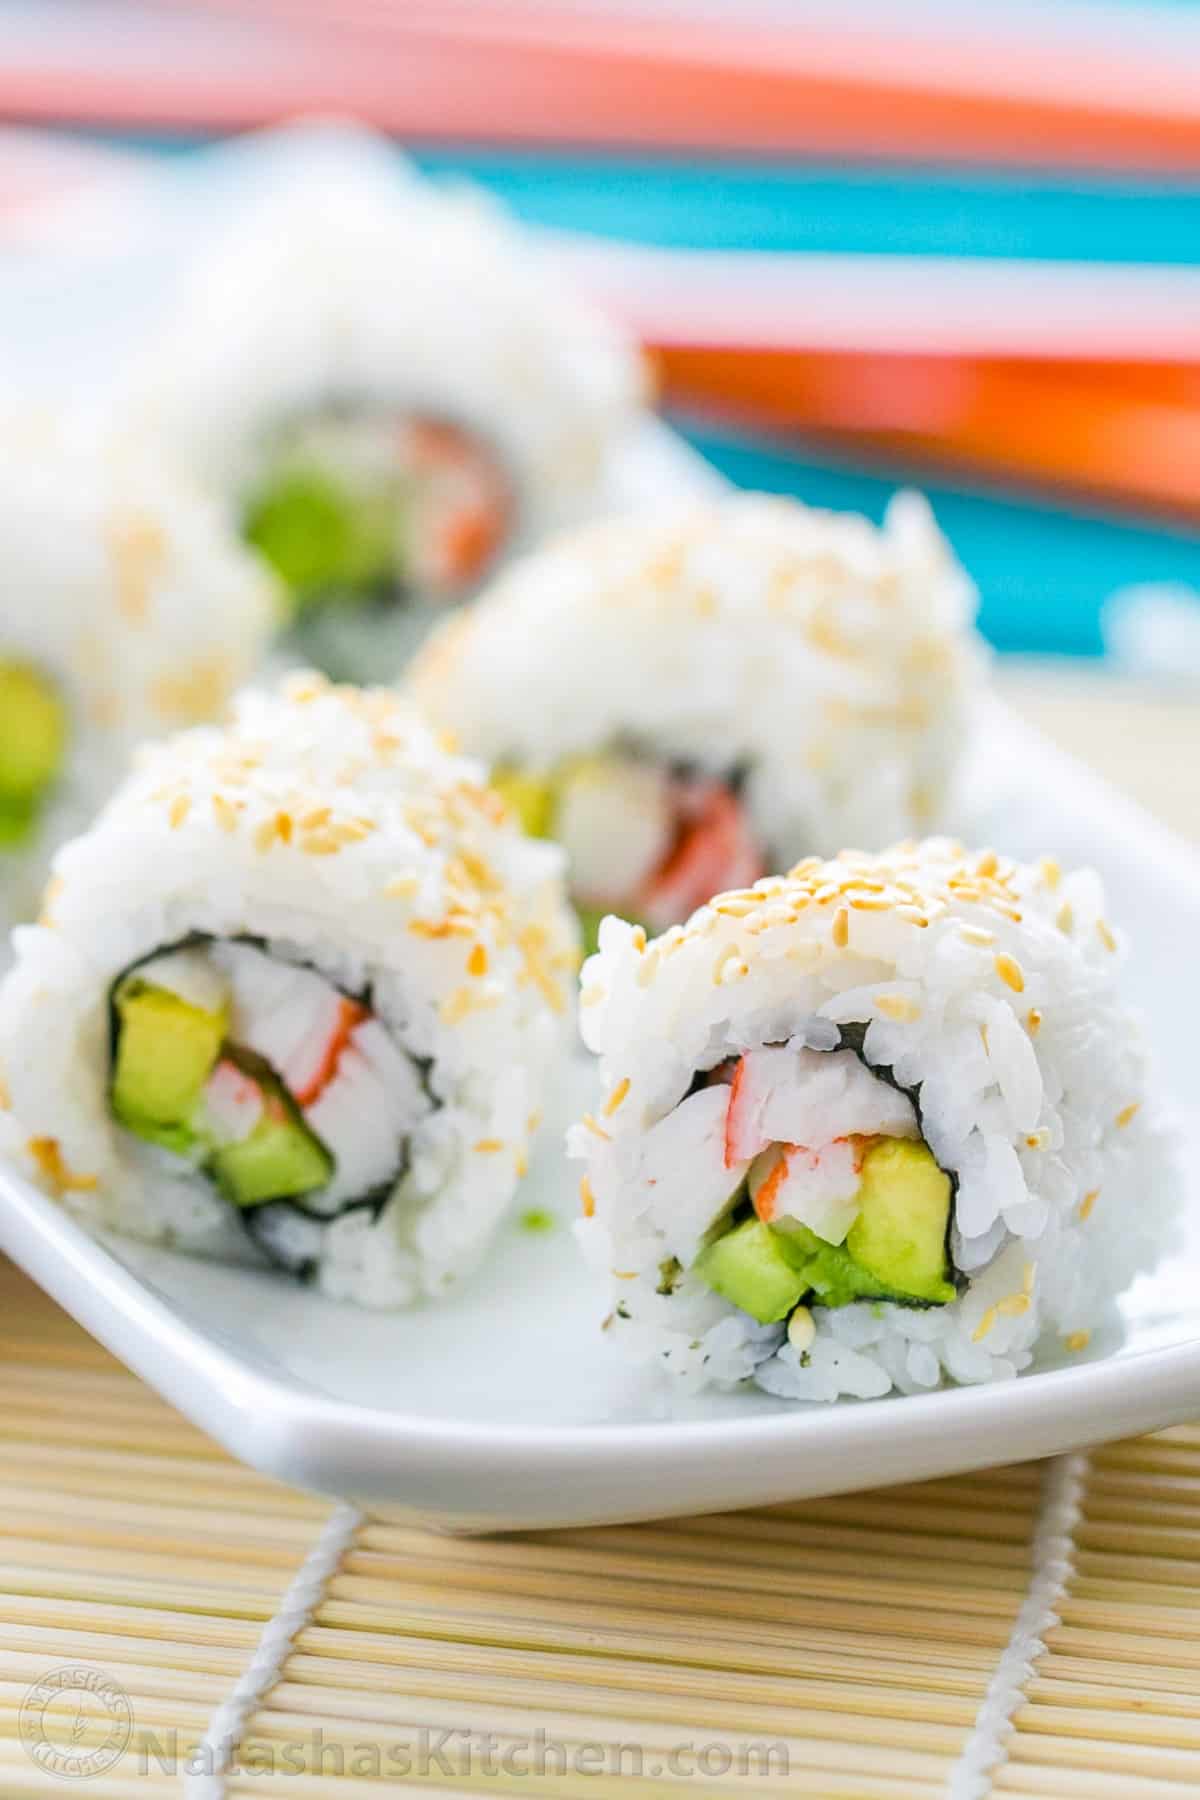
California sushi rolls, a beloved staple in the world of Japanese-American cuisine, offer a delightful introduction to the art of sushi making. Unlike traditional maki rolls, which typically feature nori (seaweed) on the outside, California rolls are known for their “inside-out” construction, with the rice encasing the nori and fillings. This technique not only makes them visually appealing but also easier to handle for those new to rolling sushi. Perfect for a culinary adventure at home, these rolls are a fantastic way to experience the vibrant flavors and textures that have made sushi a global phenomenon. This guide will walk you through the process, from preparing the essential ingredients to mastering the rolling technique, allowing you to recreate this popular dish in your own kitchen, offering a taste of the California coast right at your dining table.

Understanding the Essentials for Perfect California Rolls
Crafting delicious California rolls begins with a foundation of high-quality ingredients and proper preparation. The rice, the heart of any sushi, requires meticulous attention to detail to achieve the right sticky texture and delicate flavor. Equally important are the fresh fillings that contribute to the roll’s signature taste and visual appeal.
The Art of Sushi Rice
The success of any sushi roll hinges on perfectly cooked and seasoned sushi rice. This isn’t just plain white rice; it’s a carefully prepared short-grain rice that absorbs seasonings beautifully.
Selecting and Washing the Rice
- Rice Type: Opt for short-grain Japanese sushi rice. Its high starch content is crucial for achieving the sticky texture needed to hold the roll together. Brands like Nishiki or Kokuho Rose are excellent choices.
- Washing Process: Thoroughly wash the rice under cold running water until the water runs clear. This removes excess starch, preventing the rice from becoming gummy. Gently rub the grains between your fingers as you wash.
- Soaking: After washing, drain the rice and let it sit for at least 30 minutes. This allows the grains to absorb moisture evenly, leading to a better texture when cooked.
Cooking the Rice
- Ratio: The typical rice-to-water ratio for sushi rice is 1:1.1 (e.g., 1 cup of rice to 1.1 cups of water). Adjust slightly based on your rice cooker or stovetop instructions.
- Cooking Method: You can use a rice cooker or a stovetop pot. For a stovetop, bring the water and rice to a boil, then reduce heat to low, cover tightly, and simmer for about 15-20 minutes, or until all water is absorbed. Let it steam, covered, for another 10 minutes off the heat.
- Seasoning (Sushi-zu): While the rice is still hot, transfer it to a large, non-metallic bowl (traditionally a wooden hangiri). Prepare the sushi vinegar (sushi-zu) by gently heating rice vinegar, sugar, and salt until the sugar and salt dissolve. A common ratio is 5 tablespoons of rice vinegar, 2 tablespoons of sugar, and 1 teaspoon of salt per 2 cups of uncooked rice.
- Mixing: Gradually pour the sushi-zu over the hot rice, using a cutting motion with a rice paddle or spatula. Simultaneously, fan the rice to cool it quickly and give it a glossy sheen. Avoid mashing the rice; the goal is to coat each grain evenly. Cover the seasoned rice with a damp cloth to prevent it from drying out while you prepare other ingredients.
The Freshness Factor: Key Fillings
The beauty of California rolls lies in their combination of creamy avocado, crisp cucumber, and succulent imitation crab (or real crab for a luxurious twist).
Imitation Crab (Kani Kama)
- Preparation: Imitation crab sticks, or kani kama, are a hallmark of traditional California rolls. They are pre-cooked and ready to use. Simply unwrap them and cut them in half lengthwise or into thinner strips, depending on your preference for filling thickness.
- Quality: Look for brands that have a good texture and a mild, sweet flavor. Some high-quality imitation crab can even be flaked to mimic the texture of real crab meat.
Avocado
- Ripeness: Choose ripe but firm avocados. They should yield slightly to gentle pressure but not be mushy.
- Preparation: Halve the avocado, remove the pit, and peel. Slice the avocado into uniform strips, about ¼ inch thick. To prevent browning, you can toss the avocado slices with a tiny bit of lemon juice or rice vinegar.
Cucumber
- Type: English cucumbers or Japanese cucumbers are ideal as they have fewer seeds and thinner skin, requiring less prep.
- Preparation: Wash the cucumber and trim the ends. You can peel it or leave the skin on for added color and nutrients. Cut the cucumber in half lengthwise, and then scoop out the watery seeds with a spoon. Slice the remaining flesh into thin, matchstick-like strips.
Optional Additions
While the classic trio is perfect, you can elevate your California rolls with other ingredients:

- Mango: For a sweet and tropical twist.
- Shrimp: Cooked and halved shrimp can add a delightful seafood element.
- Mayonnaise: A light drizzle of Japanese mayonnaise (like Kewpie) adds a creamy richness.
- Sesame Seeds: Toasted sesame seeds can be sprinkled on the outside of the rice for added texture and nutty flavor.
Mastering the Rolling Technique
The “inside-out” style of the California roll, also known as uramaki, involves placing the rice on the outside. This requires a bit of practice but is achievable with the right tools and a systematic approach.
Setting Up Your Rolling Station
Before you begin rolling, ensure you have everything in place. A well-organized station will streamline the process and prevent mishaps.
Essential Tools
- Bamboo Rolling Mat (Makisu): This is the cornerstone of sushi rolling. Choose a tightly woven, clean mat. To prevent rice from sticking, cover the mat with plastic wrap. This is crucial for uramaki rolls, especially when the rice is on the outside.
- Sharp Knife: A sharp knife is essential for cleanly slicing the finished rolls. A Japanese sushi knife (yanagiba) is ideal, but any sharp chef’s knife will suffice.
- Small Bowl of Water: Keep a small bowl of water mixed with a splash of rice vinegar (tezu) nearby. This is used to wet your hands to prevent the sticky sushi rice from clinging to them.
Preparing Your Workspace
- Plastic Wrap: Cover your bamboo mat completely with a layer of plastic wrap, ensuring it’s smooth and taut. This prevents the rice from sticking to the bamboo and makes cleanup effortless.
- Nori Sheets: Have your nori sheets ready. For California rolls, the nori will be placed inside the rice. Cut full sheets in half horizontally for easier handling if preferred.
The Step-by-Step Rolling Process
Follow these steps carefully to create perfectly formed California rolls.
- Place Nori on the Mat: Lay a half-sheet of nori (shiny side down) horizontally on the plastic-wrapped bamboo mat, with the rough side facing up. If using full sheets, you can cut them in half lengthwise to create more manageable pieces for uramaki.
- Spread the Rice: Dip your hands in the tezu (vinegar water) to moisten them. Take a generous handful of sushi rice (about ¾ to 1 cup) and spread it evenly over the nori sheet, leaving a small border (about ½ inch) along the top edge uncovered. Ensure the rice layer is even in thickness.
- Add Sesame Seeds (Optional): If you wish to have sesame seeds on the outside of your roll, sprinkle them evenly over the rice layer at this stage. You can also flip the rice-covered nori over so the rice is against the plastic wrap, sprinkle seeds on the nori, and then flip it back so the seeds are on the outside when you roll.
- Flip the Nori: Carefully flip the nori sheet over so the rice side is down, resting on the plastic-wrapped bamboo mat. The nori should now be facing up, with the rice layer against the plastic wrap.
- Arrange the Fillings: Place your prepared fillings horizontally in a line across the nori, about one-third of the way up from the bottom edge. Do not overfill, as this will make rolling difficult. Arrange the imitation crab, avocado, and cucumber neatly.
- Begin Rolling: Using your thumbs to lift the edge of the bamboo mat, start rolling the nori and fillings over the ingredients. Use your fingers to hold the fillings in place as you roll.
- Tighten the Roll: Once you have rolled over the fillings, gently pull the bamboo mat forward while applying even pressure to tuck the roll tightly. Continue rolling, using the mat to shape the roll into a firm cylinder. The plastic wrap will help keep everything together.
- Shape and Seal: You can gently shape the roll by pressing the mat around it. The residual moisture from the rice should help seal the seam.
- Remove from Mat: Carefully unroll the bamboo mat and plastic wrap, revealing your perfectly formed sushi roll.
The Art of Slicing and Serving
A beautifully rolled sushi is only as good as its presentation. Proper slicing and serving elevate the dining experience, making your homemade California rolls restaurant-worthy.
Achieving Clean Cuts
The key to neat sushi slices is a sharp, slightly damp knife.
- Knife Preparation: Dampen your sharp knife with tezu or plain water. This prevents the sticky rice from adhering to the blade, ensuring clean cuts. Wipe the knife clean and re-dampen between cuts as needed.
- Cutting Technique: Place the sushi roll on a clean cutting board. Cut the roll in half first, then line up the halves and cut them into thirds, yielding six to eight pieces per roll. Use a gentle sawing motion rather than pressing straight down, which can compress the roll.
Accompaniments and Presentation
The finishing touches are essential for a truly satisfying sushi experience.
- Soy Sauce: Serve with high-quality Japanese soy sauce. Consider using a reduced-sodium option if preferred.
- Wasabi: A small dollop of real wasabi paste (grated from the rhizome, if possible) or prepared wasabi paste provides a pungent kick.
- Pickled Ginger (Gari): Thinly sliced pickled ginger acts as a palate cleanser between different pieces of sushi.
- Garnishes: A sprinkle of toasted sesame seeds on the cut edges of the rolls or a side of finely shredded nori can add visual appeal.
- Plating: Arrange the sushi pieces attractively on a platter or individual plates. You can also serve them alongside other Japanese delicacies like miso soup or edamame for a complete meal.
Making California sushi rolls at home is a rewarding culinary journey that offers a delicious glimpse into the world of sushi. With practice, you’ll find the process enjoyable and the results impressive. Enjoy sharing your homemade creations with friends and family, bringing a taste of California’s vibrant culinary scene into your home.
LifeOutOfTheBox is a participant in the Amazon Services LLC Associates Program, an affiliate advertising program designed to provide a means for sites to earn advertising fees by advertising and linking to Amazon.com. Amazon, the Amazon logo, AmazonSupply, and the AmazonSupply logo are trademarks of Amazon.com, Inc. or its affiliates. As an Amazon Associate we earn affiliate commissions from qualifying purchases.