Embarking on a culinary adventure, especially when it involves a prime cut of beef like the New York strip, is an experience that can elevate any meal from ordinary to extraordinary. While the allure of dining out at renowned steakhouses in cities like New York City is undeniable, the satisfaction of perfectly preparing this steak at home is equally rewarding. This guide will delve into the art of cutting a New York strip steak, transforming a beautiful cut of meat into a masterpiece ready to be savored, whether you’re enjoying a luxurious meal in a private villa or a simple, yet delicious, dinner after a day exploring local culture in a charming town.
The New York strip, also known as the Kansas City strip, strip loin, or ambassador steak, is a highly prized cut for its excellent balance of tenderness and flavor. Its rich marbling ensures a juicy and tender steak when cooked properly. However, the journey from a whole strip loin to individual, perfectly portioned steaks involves careful butchery. This process is not only essential for presentation but also for consistent cooking and maximizing the enjoyment of each bite. Whether you are a seasoned home cook or a novice looking to impress, understanding how to cut a New York strip will unlock a new level of culinary confidence. This skill is particularly valuable when planning a family trip and wanting to prepare a special meal, or even for a business stay where a quiet, well-prepared dinner can be a welcome respite.
Understanding the New York Strip Loin
Before we delve into the actual cutting process, it’s crucial to understand what the New York strip loin is and its anatomical origins. The strip loin is a large, boneless primal cut of beef that comes from the short loin, situated behind the rib cage and in front of the sirloin. It’s a muscle that doesn’t do a lot of work, which contributes to its inherent tenderness. The characteristic of this cut is its lean muscle with a strip of fat running along one edge, which renders during cooking, adding immense flavor and juiciness.
The entire strip loin is a substantial piece of meat, typically weighing between 10 to 12 pounds. It tapers slightly from the wider end, which is closer to the ribeye, to the narrower end, which is closer to the sirloin. This tapering means that steaks cut from the wider end might be slightly thicker and more uniform in shape compared to those from the narrower end. When purchasing a whole strip loin, it’s often sold as a “whole strip loin” or “strip loin roast.” You’ll notice a layer of fat on the top and a significant fat cap on one side. There might also be a membrane, often called the silver skin, that needs to be removed.
The quality of the beef is paramount, and understanding grades like USDA Prime, USDA Choice, or USDA Select will help you choose the best cut for your needs. For a truly exceptional steak experience, investing in a higher grade with more marbling will yield superior results. This is akin to choosing a luxurious resort over a standard hotel; the enhanced quality translates to a better overall experience.
Preparation for Butchery
Proper preparation is key to achieving clean cuts and ensuring food safety. You’ll need a few essential tools to make the job easier and more precise.
Essential Tools
- A Sharp Chef’s Knife or Boning Knife: This is the most critical tool. A dull knife will tear the meat, making for uneven cuts and a less appealing final product. A chef’s knife offers good control, while a boning knife, with its flexible blade, is excellent for navigating around any connective tissues. Investing in good quality knives is as important as choosing a premium cut of beef, much like selecting a high-end suite for a special vacation.
- A Sturdy Cutting Board: A large, stable cutting board is essential for safety and to prevent the loin from slipping. Wood or plastic boards are suitable. Ensure it’s clean and dry.
- Paper Towels: For patting the loin dry, which helps in getting a cleaner cut and a better sear when cooking.
- Gloves (Optional but Recommended): For hygiene, especially when handling raw meat for extended periods.
Cleaning and Trimming the Strip Loin
- Pat Dry: Begin by thoroughly patting the entire strip loin dry with paper towels. Moisture on the surface can make it slippery and hinder clean cuts.
- Remove the Silver Skin: The strip loin is often covered with a thin, iridescent membrane called silver skin. This connective tissue does not break down during cooking and can be tough and chewy. Using your sharp boning knife, gently get under the silver skin at one end. Angle the knife slightly upwards, almost parallel to the cutting board, and use a sawing motion to carefully peel it away from the meat. Work slowly and deliberately to avoid cutting too deeply into the muscle.
- Trim Excess Fat: The strip loin has a fat cap on one side. While some fat is desirable for flavor, a very thick cap can be trimmed. Aim to leave about ¼ to ½ inch of fat. This fat will render during cooking, basting the meat and contributing to its succulence. You can also trim any large, hard pieces of fat or gristle from other areas of the loin. The goal is to create a uniform shape for consistent cooking.

This preparation phase is akin to preparing your itinerary before a travel adventure; having everything in order ensures a smoother and more enjoyable experience.
Cutting the New York Strip Steaks
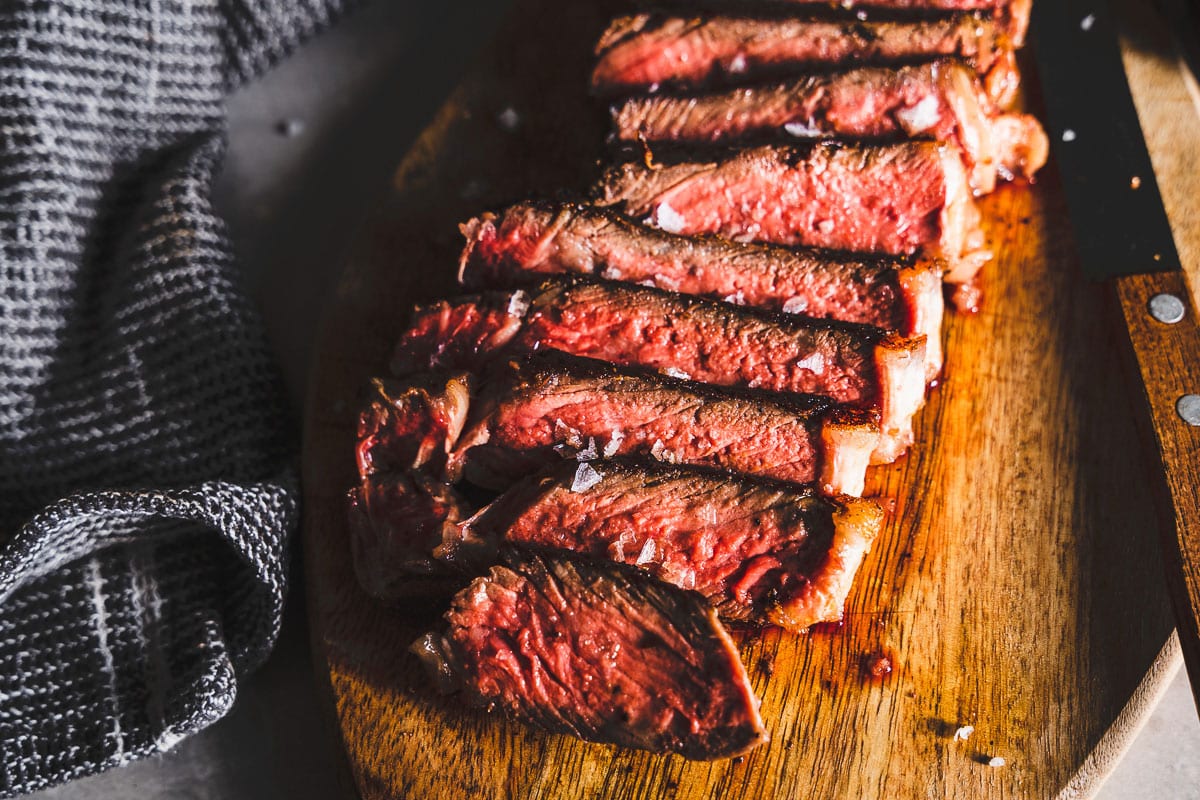
Once the strip loin is prepped, you’re ready to cut it into individual steaks. The thickness of your steaks will depend on your preference and how you plan to cook them. For a standard steakhouse experience, 1 to 1.5 inches thick is ideal.
The Cutting Process
- Orient the Loin: Place the trimmed strip loin on the cutting board with the fat cap facing upwards or to the side, whichever provides a stable surface for cutting. It’s often easiest to cut when the loin is lying flat on its longest side.
- Determine Steak Thickness: Decide on the desired thickness of your steaks. For consistent results, you can use a ruler or simply eyeball it, aiming for uniformity. If you’re cutting from the wider end of the loin, you might find it easier to achieve even thickness.
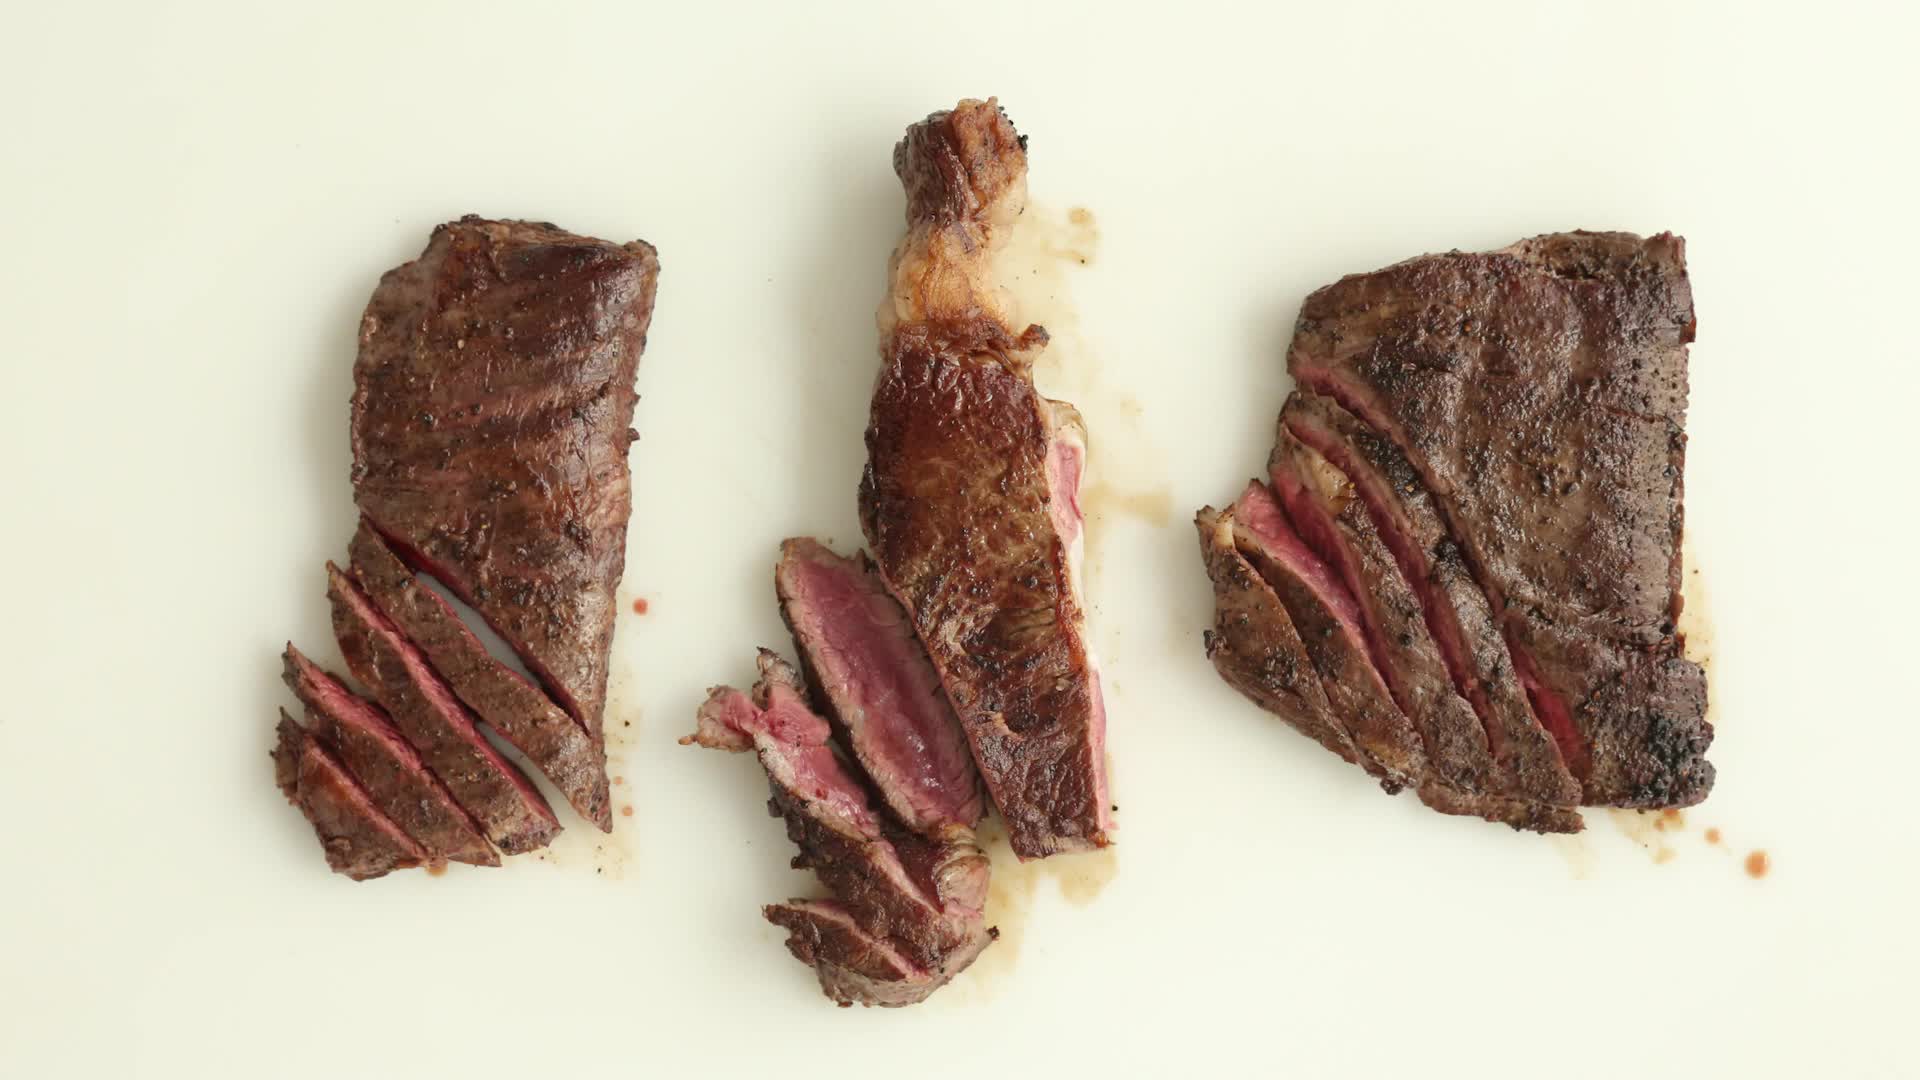
- Make the First Cut: With your sharp knife, begin cutting perpendicular to the length of the loin. Place the knife where you want the first steak to end and make a firm, decisive cut. It’s better to cut with a single, smooth motion rather than sawing back and forth excessively, which can compress the meat.
- Continue Cutting: Continue cutting steaks to your desired thickness, working your way down the length of the loin. Try to maintain consistent pressure and angle for uniform steaks. If the loin starts to become unstable, adjust its position on the cutting board.
- Address the Narrower End: As you reach the narrower end of the loin, the steaks may become thinner or irregularly shaped. These can be cooked as thinner steaks or even used for other purposes, like stir-fries or beef tips.
The precision in cutting is similar to planning the perfect accommodation for your stay, ensuring every detail aligns for the best outcome. Whether you’re looking for a cozy apartment or a sprawling villa, attention to detail makes all the difference.
Storing and Cooking Your Steaks
Once your New York strip steaks are cut, you can either cook them immediately or store them for later.
Storage
- Refrigeration: Wrap individual steaks tightly in plastic wrap, then place them in an airtight container or a heavy-duty resealable bag. They will keep in the refrigerator for 2-3 days. For longer storage, consider vacuum sealing them.
- Freezing: For long-term storage, vacuum sealing is the best option. If not using a vacuum sealer, wrap each steak tightly in plastic wrap, then in aluminum foil, and place them in a freezer bag. Label with the date. Frozen steaks can last for 6-12 months.
Cooking Tips
When it’s time to cook your perfectly cut New York strip steaks, a few key principles will ensure a delicious result.
- Bring to Room Temperature: Before cooking, let the steaks sit at room temperature for 30-60 minutes (depending on thickness). This allows for more even cooking.
- High Heat Sear: Use a very hot skillet or grill to sear the steaks. This creates a beautiful crust and locks in juices.
- Cook to Desired Doneness: Use a meat thermometer to check for your preferred level of doneness:
- Rare: 125-130°F (52-54°C)
- Medium-Rare: 130-135°F (54-57°C)
- Medium: 135-140°F (57-60°C)
- Medium-Well: 140-145°F (60-63°C)
- Well-Done: 150°F+ (65°C+)
- Rest the Steaks: After cooking, let the steaks rest for 5-10 minutes. This allows the juices to redistribute throughout the meat, resulting in a more tender and flavorful steak. This resting period is crucial, much like allowing downtime after a busy day of exploring landmarks or visiting famous places.
Cutting your own New York strip steaks is a rewarding skill that offers both economic benefits and the satisfaction of creating a restaurant-quality meal at home. It transforms a simple ingredient into an opportunity for a memorable dining experience, whether you’re hosting a luxury travel-themed dinner or enjoying a hearty meal after a day of budget travel. Mastering this technique opens the door to exploring other cuts and further enhancing your culinary repertoire, bringing the art of butchery into your home kitchen. It’s a simple yet profound way to elevate your appreciation for good food and the journey it takes to get to your plate, much like appreciating the intricate details of architecture or the raw beauty of nature.
LifeOutOfTheBox is a participant in the Amazon Services LLC Associates Program, an affiliate advertising program designed to provide a means for sites to earn advertising fees by advertising and linking to Amazon.com. Amazon, the Amazon logo, AmazonSupply, and the AmazonSupply logo are trademarks of Amazon.com, Inc. or its affiliates. As an Amazon Associate we earn affiliate commissions from qualifying purchases.