
The allure of a perfectly cooked New York strip steak is undeniable. It’s a dish that evokes images of sophisticated dining, celebratory meals, and the simple pleasure of a high-quality cut of beef. While often associated with renowned steakhouses, mastering the art of preparing a New York strip at home is an achievable and incredibly rewarding culinary endeavor. This guide will demystify the process, transforming a good cut of steak into an exceptional one, worthy of any table. We will delve into the selection of the prime cut, the crucial preparation steps, and the varied cooking techniques that yield mouthwatering results.
The Foundation: Selecting and Preparing Your New York Strip Steak
The journey to a flawless New York strip begins long before the heat is applied. Careful selection of the steak itself and meticulous preparation are paramount to unlocking its full potential.
Choosing the Perfect Cut
The New York strip steak, also known as the strip loin, Kansas City strip, or simply strip steak, is a premium cut celebrated for its balanced marbling, tender texture, and robust beefy flavor. When selecting your steak, several factors will contribute to a superior outcome:
- Thickness: Aim for a steak that is at least 1 to 1.5 inches thick. Thicker steaks are more forgiving during cooking, allowing you to achieve a beautiful sear on the outside while maintaining a perfectly cooked interior. Thinner steaks can easily overcook.
- Marbling: Look for consistent, fine flecks of intramuscular fat (marbling) throughout the meat. This fat renders during cooking, adding moisture, flavor, and tenderness. A well-marbled steak will be more flavorful and less prone to dryness.
- Color: The steak should have a vibrant, cherry-red color. Avoid steaks that appear dull, brown, or have excessive discoloration, which can indicate age or improper handling.
- Grade: While not always readily available to home cooks, understanding USDA grades can be helpful. Prime is the highest grade, followed by Choice and Select. A Choice grade steak will offer excellent quality and marbling for most home cooking scenarios.
- Source: If possible, purchase your steak from a reputable butcher shop or a high-quality grocery store. A butcher can offer personalized advice and ensure you are getting the freshest, best-cut steak.
The Art of Preparation
Once you have your chosen New York strip, proper preparation before cooking is crucial. These seemingly small steps can make a significant difference in the final texture and flavor.
- Bring to Room Temperature: This is perhaps the most critical preparatory step. Remove your steak from the refrigerator at least 30-60 minutes before cooking. A cold steak will cook unevenly, with the exterior overcooking before the interior reaches the desired temperature. Allowing the steak to temper to room temperature ensures more uniform heat penetration.
- Pat Dry Thoroughly: Moisture is the enemy of a good sear. Use paper towels to pat the entire surface of the steak completely dry. This removes surface moisture, allowing the Maillard reaction – the browning process that creates flavor and texture – to occur efficiently.
- Season Generously: Simplicity is often best when it comes to a quality New York strip. A generous application of coarse sea salt and freshly cracked black pepper is all that is truly needed to enhance its natural flavor. Season both sides liberally just before cooking. Some chefs advocate seasoning up to an hour in advance to allow the salt to draw out moisture and then reabsorb it, further seasoning the meat. Experiment to see what you prefer.
- Optional Flavor Enhancements: While salt and pepper are foundational, some cooks like to add a touch of garlic powder or other steak seasonings. However, be mindful not to overpower the inherent quality of the beef.
Mastering the Cook: Pan-Searing to Perfection
The pan-sear is a classic and highly effective method for cooking New York strip steak at home, delivering a beautifully caramelized crust and a juicy interior. This technique requires attention to detail and a good understanding of heat management.
The Pan-Searing Technique
For the best pan-seared New York strip, a heavy-bottomed skillet is essential. Cast iron or stainless steel pans are ideal as they retain heat exceptionally well and distribute it evenly, creating that sought-after crust.
- Preheat the Pan: Place your skillet over medium-high heat. Allow it to heat up for several minutes until it is very hot. A smoking hot pan is key to achieving a good sear.
- Add Fat: Once the pan is hot, add a high-smoke-point oil, such as canola, grapeseed, or avocado oil. You only need a thin layer to coat the bottom of the pan. Some cooks prefer to use a combination of oil and butter for flavor, adding the butter towards the end of the searing process.
- Sear the Steak: Carefully place the seasoned New York strip steak into the hot pan. You should hear a vigorous sizzle immediately. Resist the urge to move the steak for the first 2-3 minutes. This allows a crust to develop.
- Flip and Sear: Using tongs, flip the steak and sear the other side for another 2-3 minutes. Continue to flip the steak every minute or so, searing all sides, including the edges, for even cooking and a beautiful, all-around crust.
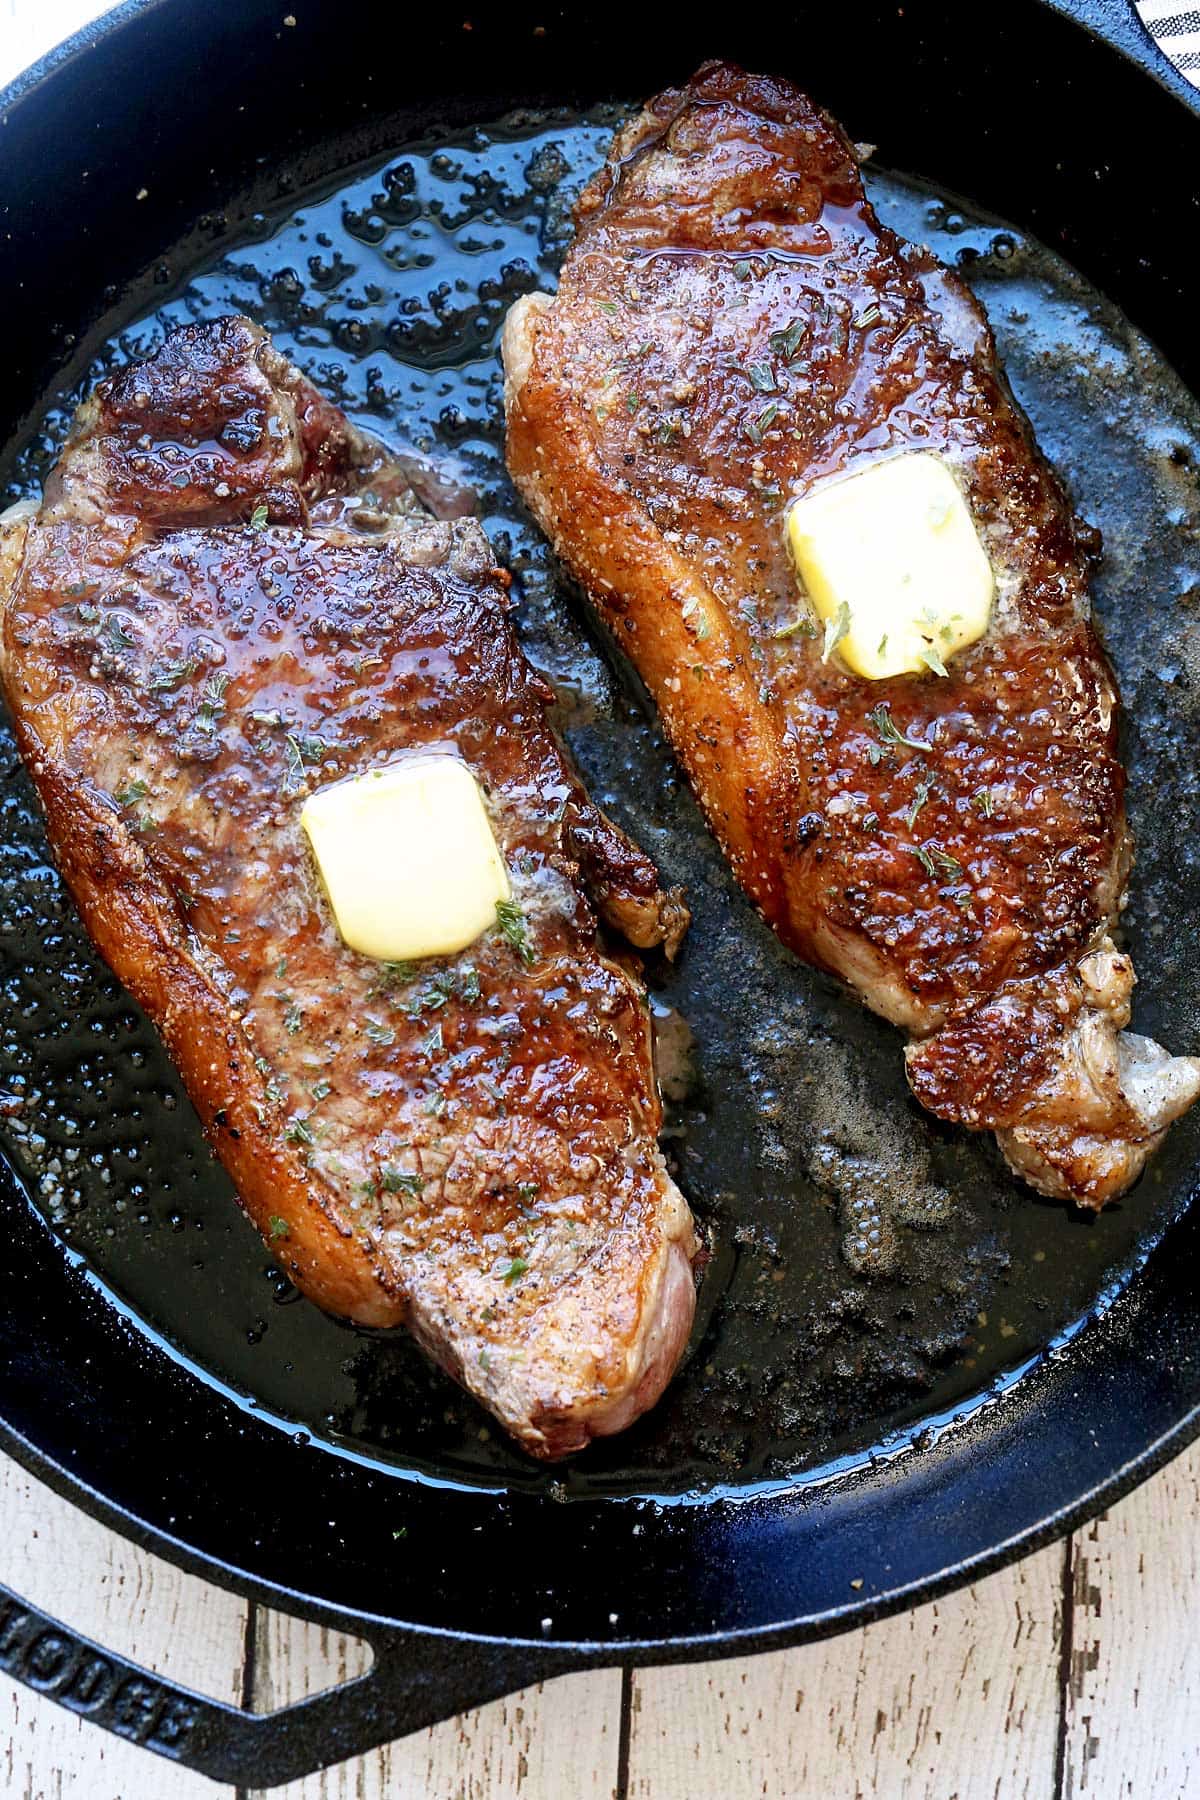
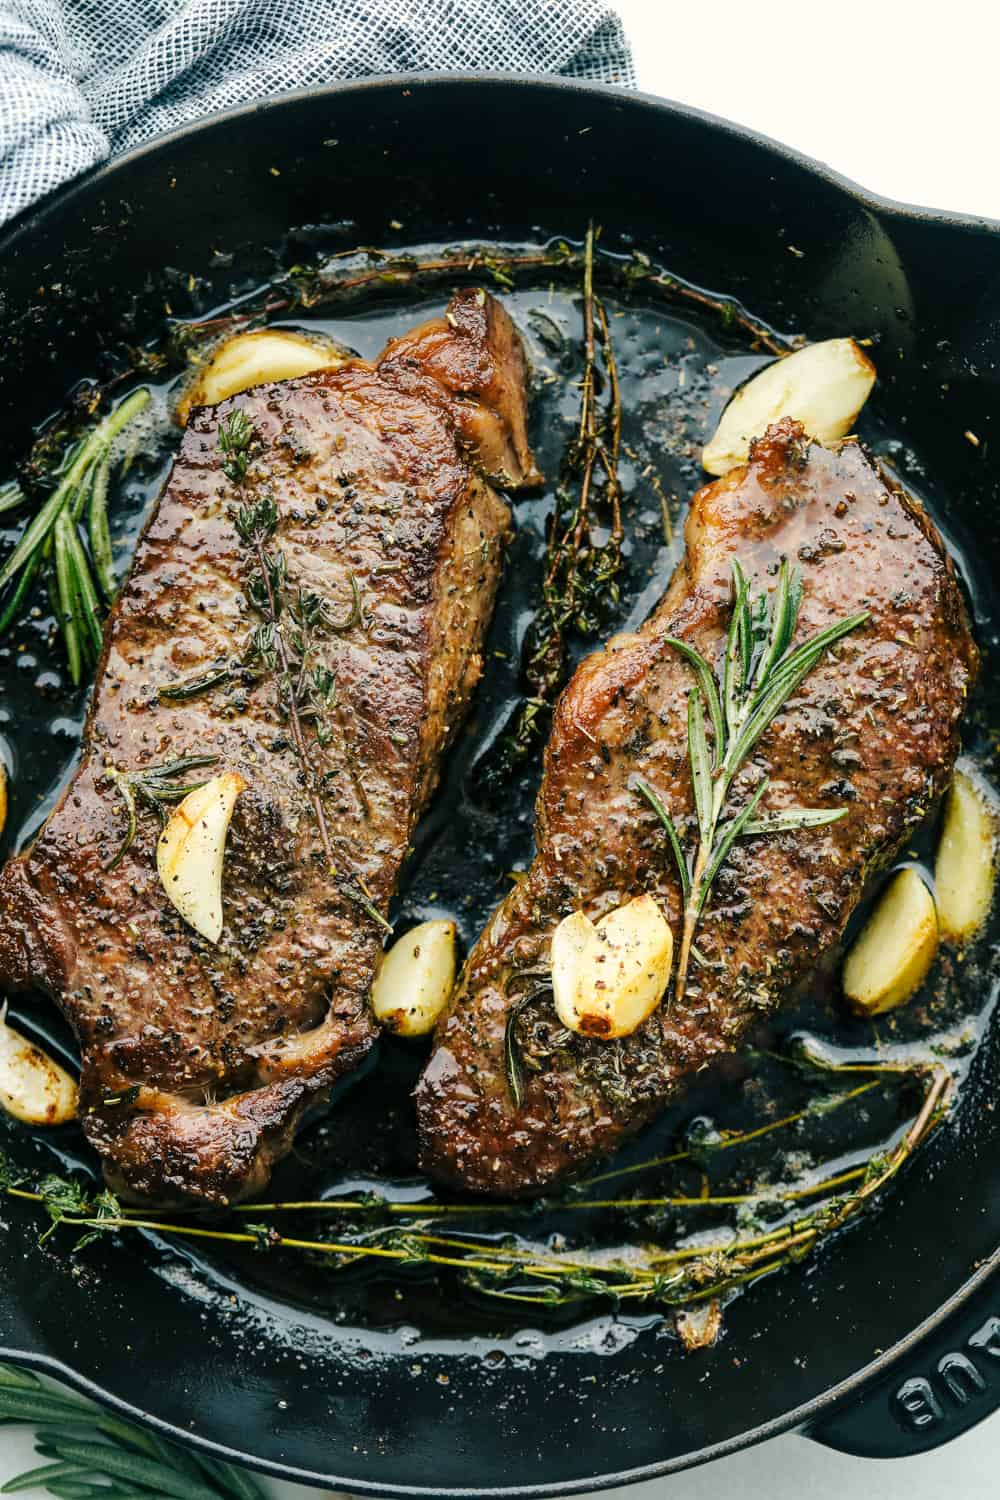
- Basting (Optional but Recommended): For an extra layer of flavor and moisture, you can baste the steak. Once the steak has developed a good sear on both sides, reduce the heat slightly to medium. Add a tablespoon or two of butter to the pan along with aromatics like garlic cloves (smashed) and fresh sprigs of rosemary or thyme. Tilt the pan and use a spoon to continuously ladle the melted butter and aromatics over the steak for 1-2 minutes. This infuses the steak with delicious flavor and helps it cook evenly.
- Monitor Internal Temperature: The most reliable way to ensure your steak is cooked to your desired doneness is to use an instant-read meat thermometer. Insert the thermometer into the thickest part of the steak, avoiding any bone or fat pockets.
- Rare: 120-125°F (49-52°C)
- Medium-Rare: 130-135°F (54-57°C)
- Medium: 140-145°F (60-63°C)
- Medium-Well: 150-155°F (66-68°C)
- Well-Done: 160°F+ (71°C+)
Remember that the steak’s temperature will continue to rise by 5-10°F after it’s removed from the heat (carry-over cooking). Remove the steak from the pan when it reaches about 5°F below your target temperature.
Achieving Perfect Doneness
The key to a perfect steak is achieving your desired level of doneness. For a New York strip, medium-rare is often considered the sweet spot, where the interior is warm, pink, and incredibly tender, while the exterior boasts a fantastic sear.
- Timing is Approximate: Cooking times will vary based on the thickness of your steak, the heat of your pan, and your stove. Rely on the internal temperature rather than strict timing guidelines.
- Resting is Non-Negotiable: Once the steak reaches its target temperature, remove it from the pan and place it on a clean cutting board or a warm plate. Crucially, let the steak rest for at least 5-10 minutes before slicing. This allows the juices, which have been driven to the center during cooking, to redistribute throughout the meat. If you slice too soon, all those precious juices will run out, leaving you with a dry steak. Tent the steak loosely with foil during resting if you are concerned about it cooling too much, but avoid wrapping it tightly, which can steam the crust.
Beyond the Pan: Alternative Cooking Methods for New York Strip
While pan-searing is a superb method, other techniques can also yield delicious New York strip steaks, offering variety and catering to different kitchen setups and preferences.
Grilling: The Outdoor Classic
Grilling offers a distinct smoky flavor that many steak aficionados crave. The high, direct heat of a grill is perfect for searing.
- Prepare the Grill: Preheat your grill to high heat. Clean the grill grates thoroughly and oil them to prevent sticking.
- Sear and Cook: Place the seasoned, room-temperature New York strip steak on the hottest part of the grill. Sear for 2-3 minutes per side until well-marked and browned.
- Indirect Heat (Optional): For thicker steaks or if you want more control over the internal temperature, move the steak to a cooler zone of the grill (indirect heat) to finish cooking to your desired doneness.
- Thermometer is Key: Again, use a meat thermometer to ensure accuracy.
- Rest: Allow the steak to rest after grilling, just as you would after pan-searing.
Broiling: An Indoor Grilling Alternative
Broiling in your oven can mimic the intense top-down heat of a grill, making it a viable option when outdoor grilling isn’t possible.
- Position the Rack: Place an oven rack about 4-6 inches from the broiler element. Preheat the broiler to high.
- Use a Broiler Pan: Place the seasoned steak on a broiler pan or a rack set over a baking sheet.
- Broil: Broil for 3-5 minutes per side, depending on thickness and desired doneness. Keep a close eye on the steak to prevent burning. The closer the steak is to the broiler, the faster it will cook.
- Thermometer and Rest: Use your thermometer and ensure you rest the steak afterward.
Reverse Sear: For Unparalleled Control
The reverse sear method involves cooking the steak gently at a low temperature first, then finishing with a high-heat sear. This is an excellent technique for achieving edge-to-edge consistent doneness with a perfect crust.
- Low Oven Cook: Preheat your oven to a low temperature, typically between 225°F and 275°F (107°C to 135°C). Place the seasoned steak on a wire rack set over a baking sheet. Cook until the internal temperature is about 10-15°F below your final target temperature. This can take anywhere from 20 minutes to over an hour, depending on thickness and oven temp.
- High Heat Sear: Once the steak has reached its pre-sear temperature, remove it from the oven. Heat a skillet (as described in the pan-searing section) or prepare your grill to very high heat.
- Sear Quickly: Sear the steak for only 60-90 seconds per side, just to develop a beautiful, caramelized crust.
- Rest: Due to the slow initial cooking, a shorter rest period of 5 minutes might suffice, but longer is never detrimental.
Elevating Your Steak Experience: Sides and Presentation
A perfectly cooked New York strip steak is a masterpiece on its own, but thoughtful accompaniments and elegant presentation can elevate the entire dining experience.
Complementary Flavors and Textures
The richness of a New York strip pairs beautifully with a variety of sides that offer contrasting flavors and textures, cutting through the savory notes of the beef.
-
Classic Companions:
- Potatoes: Creamy mashed potatoes, crispy roasted potatoes, or a classic baked potato provide a comforting and satisfying base.
- Vegetables: Asparagus, green beans, Brussels sprouts, or a simple side salad offer freshness and a welcome crispness. Consider sautéing vegetables with garlic and a touch of butter for added depth.
- Sauces: While a great steak needs little, a classic béarnaise, a rich red wine reduction, or a simple maître d’hôtel butter can add an extra layer of luxury.
-
Building a Balanced Plate: Consider the colors and textures when assembling your meal. A vibrant green vegetable can add visual appeal and a refreshing counterpoint to the deep red of the steak. A starchy side provides substance.
Presentation Matters
The way you serve your steak can enhance its perceived value and enjoyment.
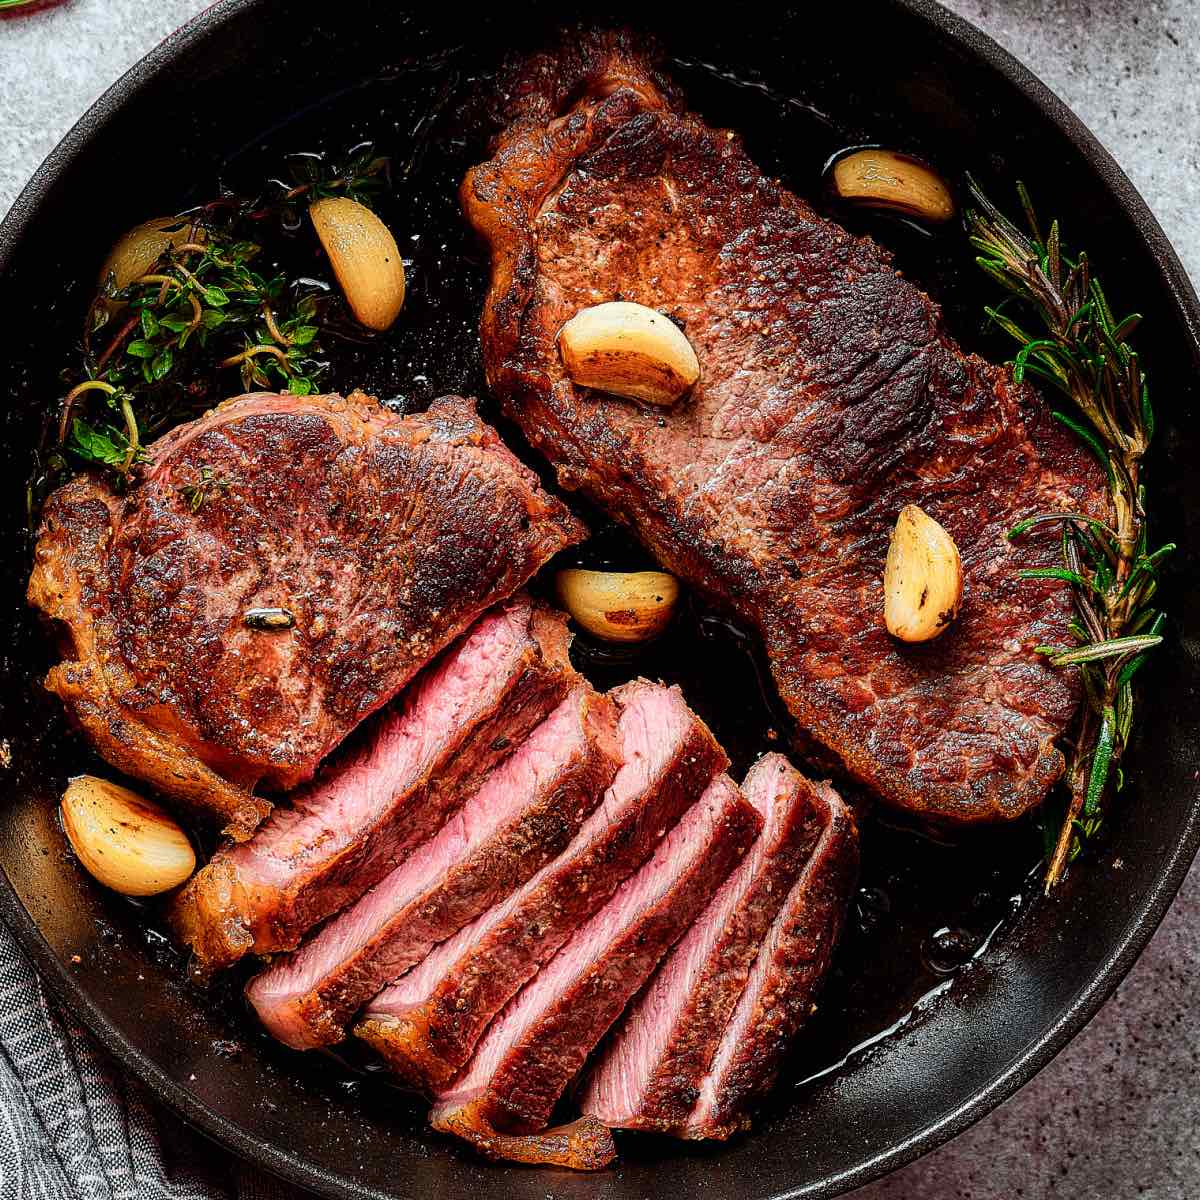
- Slicing: After resting, slice the steak against the grain. You’ll notice the direction of the muscle fibers; slice perpendicular to them. This shortens the muscle fibers, making the steak more tender and easier to chew. Use a sharp carving knife for clean cuts.
- Plating: Arrange the sliced steak artfully on a warm plate. Drizzle any accumulated juices from the cutting board over the slices. Place your chosen sides strategically around the steak.
- Garnish: A sprig of fresh parsley, chives, or a dollop of compound butter can add a final flourish.
By paying attention to each step, from selecting the finest cut to the final presentation, you can consistently create New York strip steaks that rival those served in the finest establishments. Enjoy the process, savor the results, and become a master of this classic culinary delight.
LifeOutOfTheBox is a participant in the Amazon Services LLC Associates Program, an affiliate advertising program designed to provide a means for sites to earn advertising fees by advertising and linking to Amazon.com. Amazon, the Amazon logo, AmazonSupply, and the AmazonSupply logo are trademarks of Amazon.com, Inc. or its affiliates. As an Amazon Associate we earn affiliate commissions from qualifying purchases.