
Boston Cream Cake is a beloved dessert, renowned for its harmonious blend of flavors and textures. While its name suggests a direct culinary origin from the city of Boston, its history is a fascinating tale of innovation in hotel dining. The cake itself is a modern interpretation of the Boston Cream Pie, a dessert that gained significant popularity in the late 19th and early 20th centuries, largely thanks to its presence on the menus of prominent establishments. Understanding the nuances of creating this layered masterpiece involves appreciating the distinct components: a tender vanilla cake, a rich pastry cream filling, and a decadent chocolate glaze. This guide will walk you through the process, ensuring a delightful and impressive result, perfect for any celebratory occasion or a special treat.

The Art of Crafting the Vanilla Cake Layers
The foundation of a spectacular Boston Cream Cake lies in its cake layers. These should be light, moist, and possess a delicate vanilla flavor that complements, rather than overpowers, the other elements. Achieving this requires attention to ingredient quality and precise baking techniques.
Essential Ingredients and Preparation
- Flour: All-purpose flour is the standard choice, but cake flour can be used for an even more tender crumb. Sifting the flour is crucial to ensure aeration and prevent lumps.
- Sugar: Granulated sugar provides sweetness and contributes to the cake’s structure and moisture.
- Eggs: Room temperature eggs emulsify better with other ingredients, leading to a smoother batter and a more uniform texture. Separating eggs and whipping the whites can add extra lift and lightness.
- Fat: Unsalted butter offers superior flavor and richness. Ensure it is softened to room temperature for easy creaming with sugar.
- Liquid: Milk, preferably whole milk, adds moisture and richness. Buttermilk can also be used for a slight tang and increased tenderness.
- Leavening: Baking powder and baking soda are typically used to ensure adequate rise.
- Flavoring: Pure vanilla extract is paramount for that signature delicate flavor.
Mixing Techniques for Optimal Texture
The creaming method is often employed for vanilla cakes, where softened butter and sugar are beaten together until light and fluffy. This process incorporates air, which is essential for leavening. Eggs are then added one at a time, ensuring each is fully incorporated before the next is introduced. Dry ingredients (flour, leavening, salt) are typically whisked together separately, and then alternated with the wet ingredients (milk, vanilla) into the butter-sugar-egg mixture. This gradual addition prevents the gluten from overdeveloping, which would result in a tough cake. Be careful not to overmix the batter once the flour is added; mix just until combined.
Baking and Cooling
Two round cake pans, typically 8 or 9 inches in diameter, are usually used. They should be greased and floured, or lined with parchment paper, to prevent sticking. The batter is divided evenly between the prepared pans, and baked in a preheated oven at around 350°F (175°C). Baking times will vary depending on the oven and pan size, but a toothpick inserted into the center should come out clean when the cakes are done. Once baked, the cakes should be allowed to cool in their pans for about 10-15 minutes before being inverted onto a wire rack to cool completely. This ensures they don’t steam and become soggy.
The Silky Smooth Pastry Cream Filling
The heart of the Boston Cream Cake is its luscious pastry cream. This rich, eggy custard provides a delightful contrast to the cake and is infused with vanilla. A well-made pastry cream is smooth, creamy, and not overly sweet.
Key Components of a Classic Pastry Cream
- Milk: Whole milk is preferred for its fat content, contributing to a richer texture. Some recipes may incorporate a small amount of heavy cream for added decadence.
- Eggs: Egg yolks are the primary emulsifiers and thickeners in pastry cream, providing its signature richness and color. Whole eggs can be used, but yolks yield a more luxurious result.
- Sugar: Granulated sugar balances the richness of the eggs and milk.
- Cornstarch or Flour: These starches are essential for thickening the cream to the desired consistency. Cornstarch generally produces a glossier finish and a silkier texture than flour.
- Vanilla: A generous amount of pure vanilla extract or vanilla bean paste is crucial for authentic flavor. If using a vanilla bean, scrape the seeds into the milk as it heats.
- Butter: A knob of cold unsalted butter stirred in at the end adds a final touch of gloss and velvety smoothness.
Mastering the Thickening Process
The process of making pastry cream involves tempering the eggs to prevent them from scrambling. Milk is heated in a saucepan, and then a portion of the hot milk is gradually whisked into the egg yolks and sugar mixture. This warms the yolks slowly. The tempered egg mixture is then returned to the saucepan with the remaining milk and whisked continuously over medium heat. The cornstarch or flour should be whisked into the egg mixture before adding any liquid to prevent lumps. As the mixture heats, it will begin to thicken. It’s crucial to continue whisking and cooking until it reaches a thick, pudding-like consistency and has been cooked for at least a minute or two to eliminate any starchy taste.
Chilling and Stabilizing
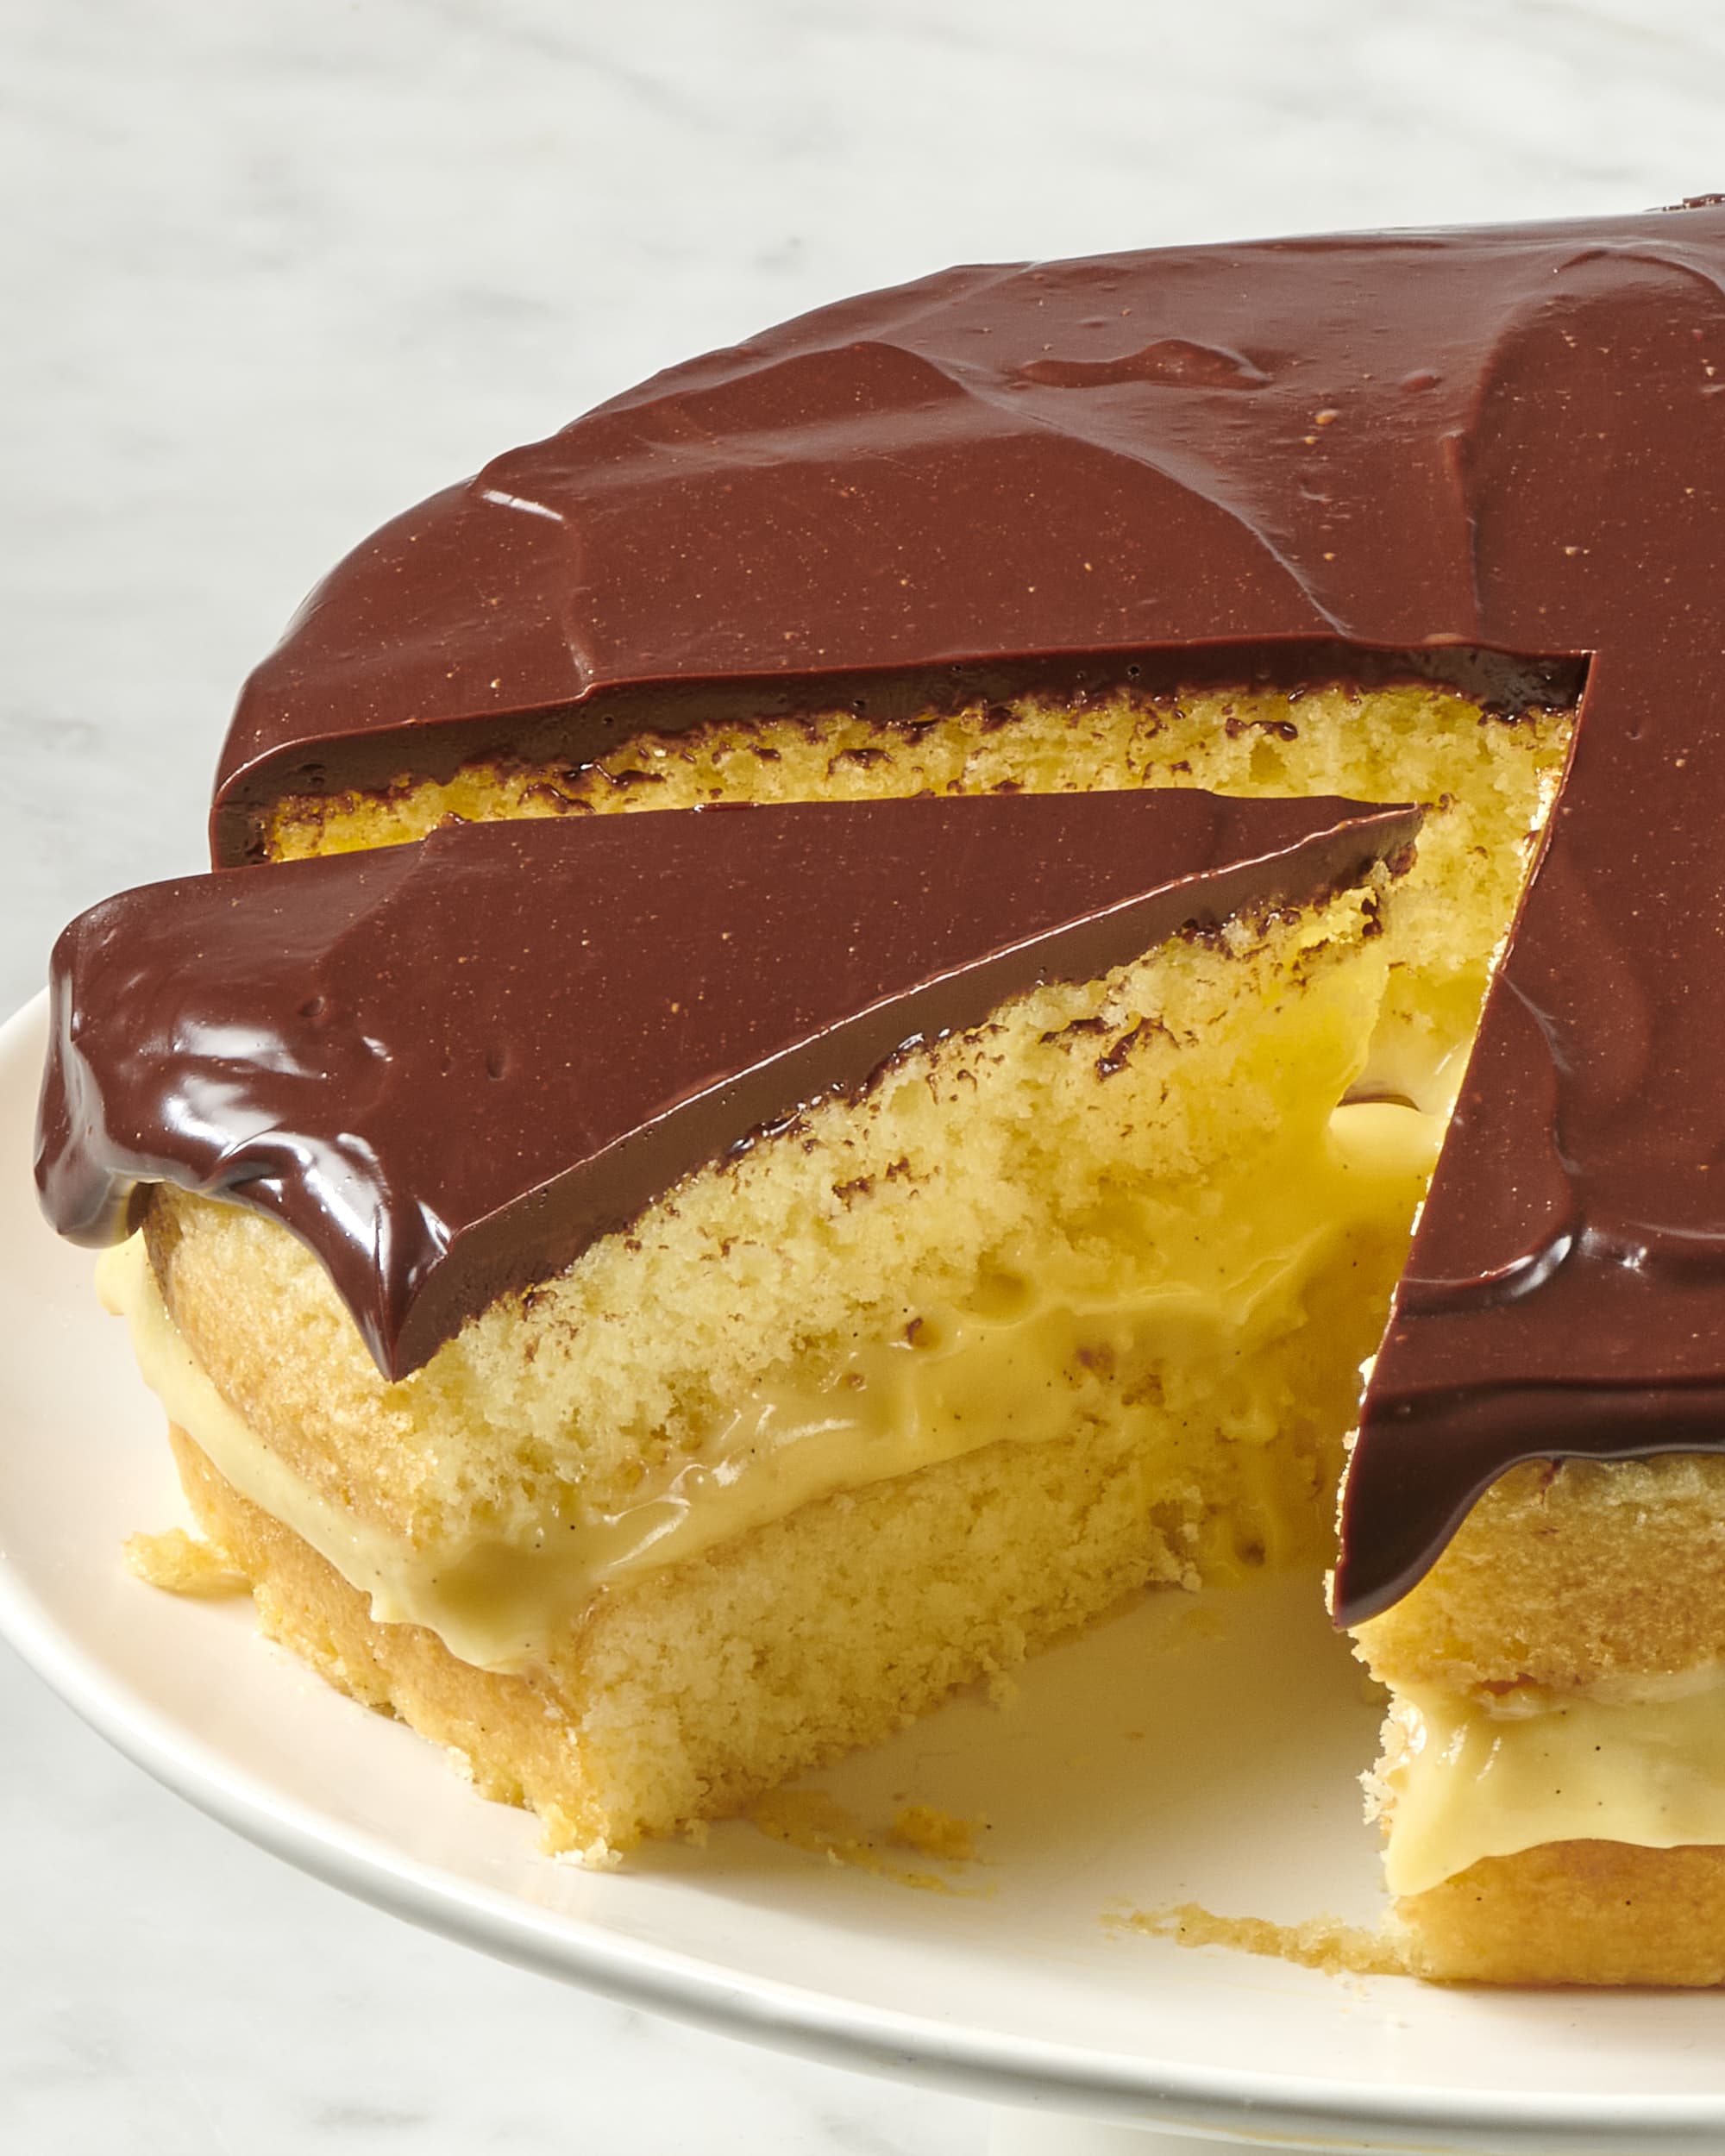
Once thickened, the pastry cream should be immediately strained through a fine-mesh sieve into a clean bowl. This removes any small lumps or cooked egg bits, ensuring a perfectly smooth texture. To prevent a skin from forming on the surface as it cools, press a piece of plastic wrap directly onto the surface of the cream. It should then be chilled in the refrigerator for at least 2-3 hours, or until completely cold and set. For an extra smooth consistency, some chefs prefer to give the chilled pastry cream a quick whisk before assembling the cake.
The Glossy Chocolate Glaze
The crowning glory of a Boston Cream Cake is its rich, glossy chocolate glaze. This simple yet elegant topping seals the cake and provides a delightful chocolatey counterpoint to the vanilla and cream.
Essential Ingredients for a Lustrous Glaze
- Chocolate: High-quality semi-sweet or bittersweet chocolate, finely chopped, is ideal. Using chocolate chips can sometimes result in a less smooth glaze due to stabilizers.
- Butter: Unsalted butter adds richness, shine, and a smoother texture to the glaze.
- Sweetener: A touch of corn syrup or a small amount of sugar can enhance the shine and prevent the glaze from hardening too much.
- Liquid: A small amount of heavy cream or milk is often used to achieve the desired consistency.
Creating the Perfect Ganache-like Glaze
The most straightforward method for creating a Boston Cream Cake glaze involves melting chocolate with butter and a touch of cream. This creates a ganache-like consistency that is easy to work with. Gently heat the cream and butter in a saucepan until the butter is melted and the cream is warm. Pour this hot liquid over the finely chopped chocolate in a heatproof bowl. Let it sit for a few minutes to allow the chocolate to soften, then whisk gently from the center outwards until a smooth, glossy glaze forms. If using corn syrup, it can be warmed slightly with the cream and butter or whisked into the melted chocolate.
Achieving the Ideal Consistency for Pouring
The glaze should be warm and fluid enough to pour easily over the cake, but not so hot that it melts the pastry cream. It should be thick enough to coat the cake beautifully without running off too quickly. If the glaze is too thick, a tablespoon of warm cream or milk can be stirred in. If it’s too thin, let it sit at room temperature for a few minutes to thicken slightly.
Assembling and Finishing Your Masterpiece
The assembly of a Boston Cream Cake is where all the prepared components come together to create a visually stunning and delicious dessert. Patience and precision are key to achieving a professional-looking finish.
Layering and Filling
Once the cake layers are completely cool, use a serrated knife to level them if necessary. Place one cake layer on your serving plate or cake stand. Spread the chilled, set pastry cream evenly over the first cake layer, going almost to the edges. If the pastry cream is too firm, a few gentle stirs will loosen it. Carefully place the second cake layer on top of the pastry cream.
Applying the Chocolate Glaze
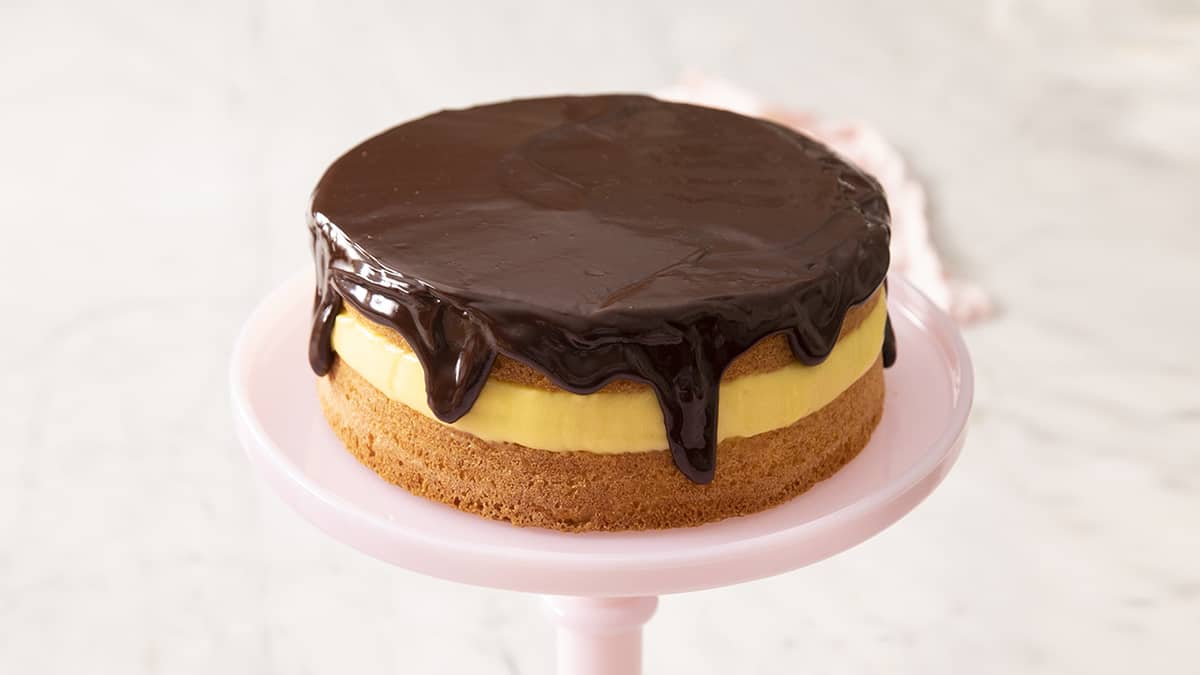
Ensure the cake is stable on its serving platter before glazing. Pour the warm chocolate glaze over the top of the cake, allowing it to drip down the sides naturally. A small offset spatula can be used to gently guide the glaze and ensure even coverage, but try to let gravity do most of the work for a more organic drip. Work relatively quickly, as the glaze will start to set. For a cleaner finish, some bakers prefer to place the cake on a wire rack set over a baking sheet to catch excess glaze, then carefully transfer it to its final serving plate once the glaze has set.
Garnishes and Presentation
While the classic Boston Cream Cake is often left unadorned, simple garnishes can enhance its visual appeal. A few chocolate shavings or curls on top of the glaze offer a beautiful contrast. For a more elaborate touch, a dusting of powdered sugar or a few fresh berries can be added. Allow the glaze to set completely at room temperature for about 30-60 minutes, or briefly in the refrigerator if you are in a hurry, before slicing and serving. The combination of the tender cake, creamy filling, and decadent glaze makes this a truly memorable dessert.
LifeOutOfTheBox is a participant in the Amazon Services LLC Associates Program, an affiliate advertising program designed to provide a means for sites to earn advertising fees by advertising and linking to Amazon.com. Amazon, the Amazon logo, AmazonSupply, and the AmazonSupply logo are trademarks of Amazon.com, Inc. or its affiliates. As an Amazon Associate we earn affiliate commissions from qualifying purchases.