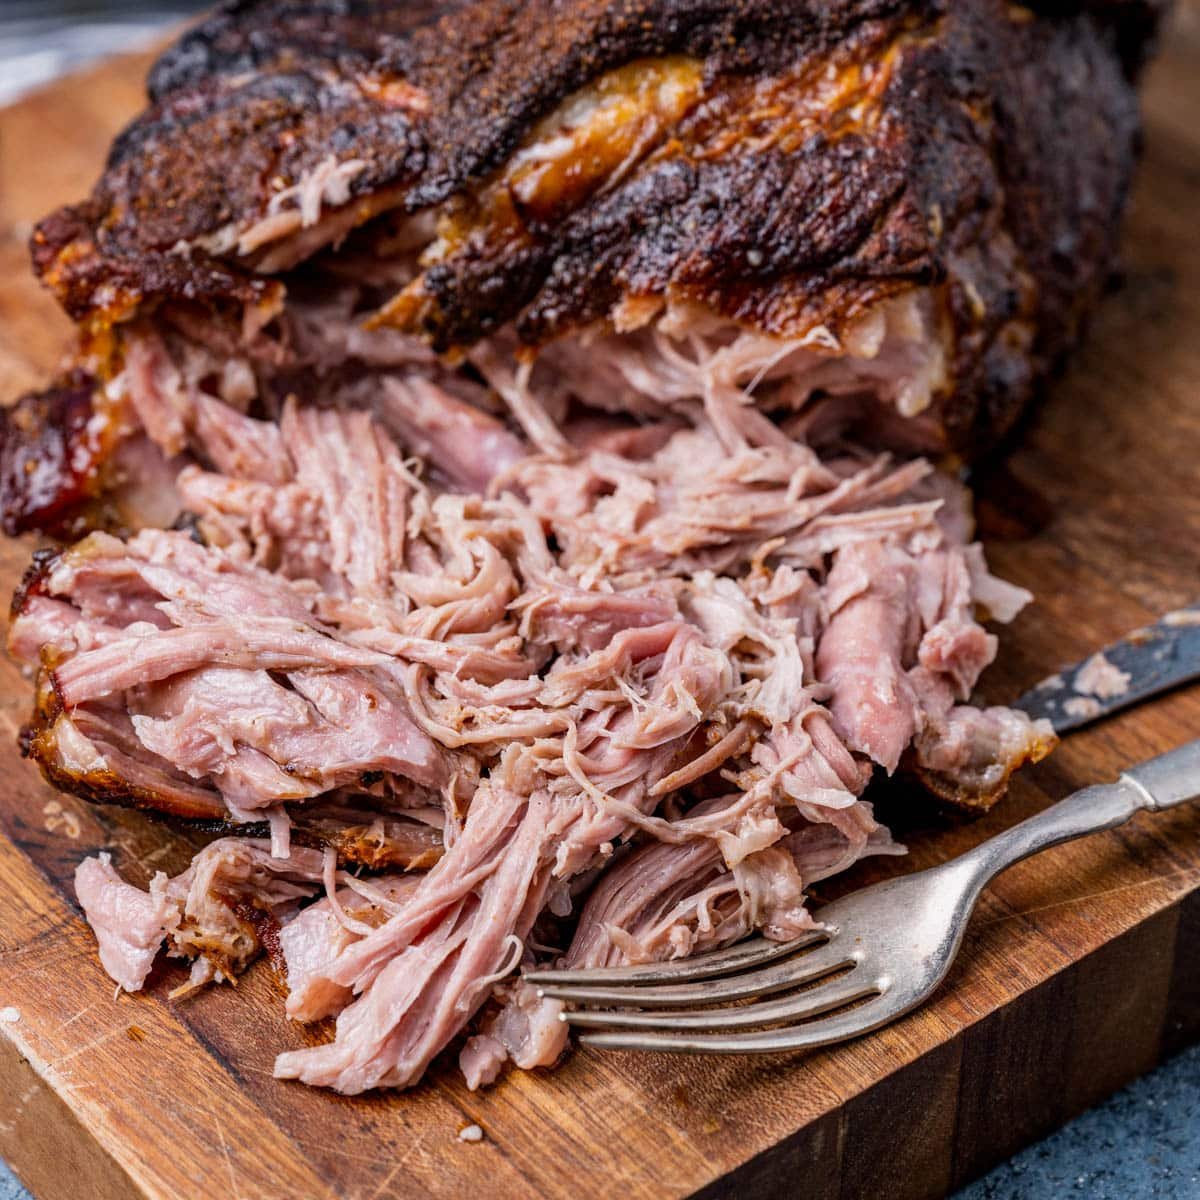
The allure of a perfectly cooked Boston butt is undeniable. This cut of pork, also known as a pork shoulder, is a cornerstone of barbecue traditions across the American South and beyond. Its rich marbling and tough connective tissues transform into melt-in-your-mouth tenderness with slow, patient cooking. But the question that often lingers in the minds of aspiring pitmasters and home cooks alike is: “How long do you cook a Boston butt?” The answer, like many things in the culinary world, is not a simple one-size-fits-all. It’s a delightful interplay of weight, temperature, cooking method, and a touch of intuition.
This article delves deep into the art and science of cooking a Boston butt, offering guidance that will help you achieve barbecue perfection, whether you’re planning a feast at home or seeking out the best barbecue experiences during your travels. Imagine savoring succulent, smoky pork after a day exploring the vibrant streets of Charleston or relaxing in a luxurious resort in the Texas Hill Country. Understanding how to properly prepare this cut is key to unlocking those delicious possibilities.
The Essential Factors: Unpacking the Variables
Before we can pinpoint an exact cooking time, it’s crucial to understand the factors that influence it. Think of it like planning your perfect travel itinerary. You wouldn’t book a flight without considering your destination, budget, and desired experiences. Similarly, cooking a Boston butt requires an appreciation for its unique characteristics and the environment in which it will be cooked.
Weight: The Foundation of Your Cooking Time
The most significant factor determining how long you cook a Boston butt is its weight. A larger butt will naturally take longer to reach the desired internal temperature and tenderness than a smaller one. Boston butts typically range from 4 to 10 pounds, with the average often falling around 6 to 8 pounds.
As a general rule of thumb, you can estimate cooking times based on weight. However, these are just starting points. We’ll discuss why relying solely on time can be a pitfall later.
- Small Boston Butt (4-5 pounds): Expect approximately 1.5 to 2 hours per pound. This could mean a total cooking time of 6 to 10 hours.
- Medium Boston Butt (6-7 pounds): This is a common size, and you can anticipate around 1.25 to 1.75 hours per pound, leading to a cooking time of 7.5 to 12.25 hours.
- Large Boston Butt (8-10 pounds): For these substantial cuts, plan for 1 to 1.5 hours per pound, resulting in a cooking time of 8 to 15 hours.
It’s important to remember that these are averages. Variations in the thickness of the cut, the fat content, and the specific cooking equipment used can all sway these numbers.
Temperature: The Engine of Transformation
The cooking temperature is another critical element. Boston butts are best cooked low and slow. This gentle heat allows the tough connective tissues, primarily collagen, to break down into gelatin. This gelatin not only adds moisture but also contributes to that incredibly tender, pull-apart texture that defines a great Boston butt.
- Smoker/Grill: The most common temperature range for smoking a Boston butt is between 225°F (107°C) and 275°F (135°C). Lower temperatures, like 225°F, will generally result in longer cooking times but can yield incredibly tender results. Higher temperatures, like 275°F, will speed up the cooking process but require more vigilance to prevent drying out.
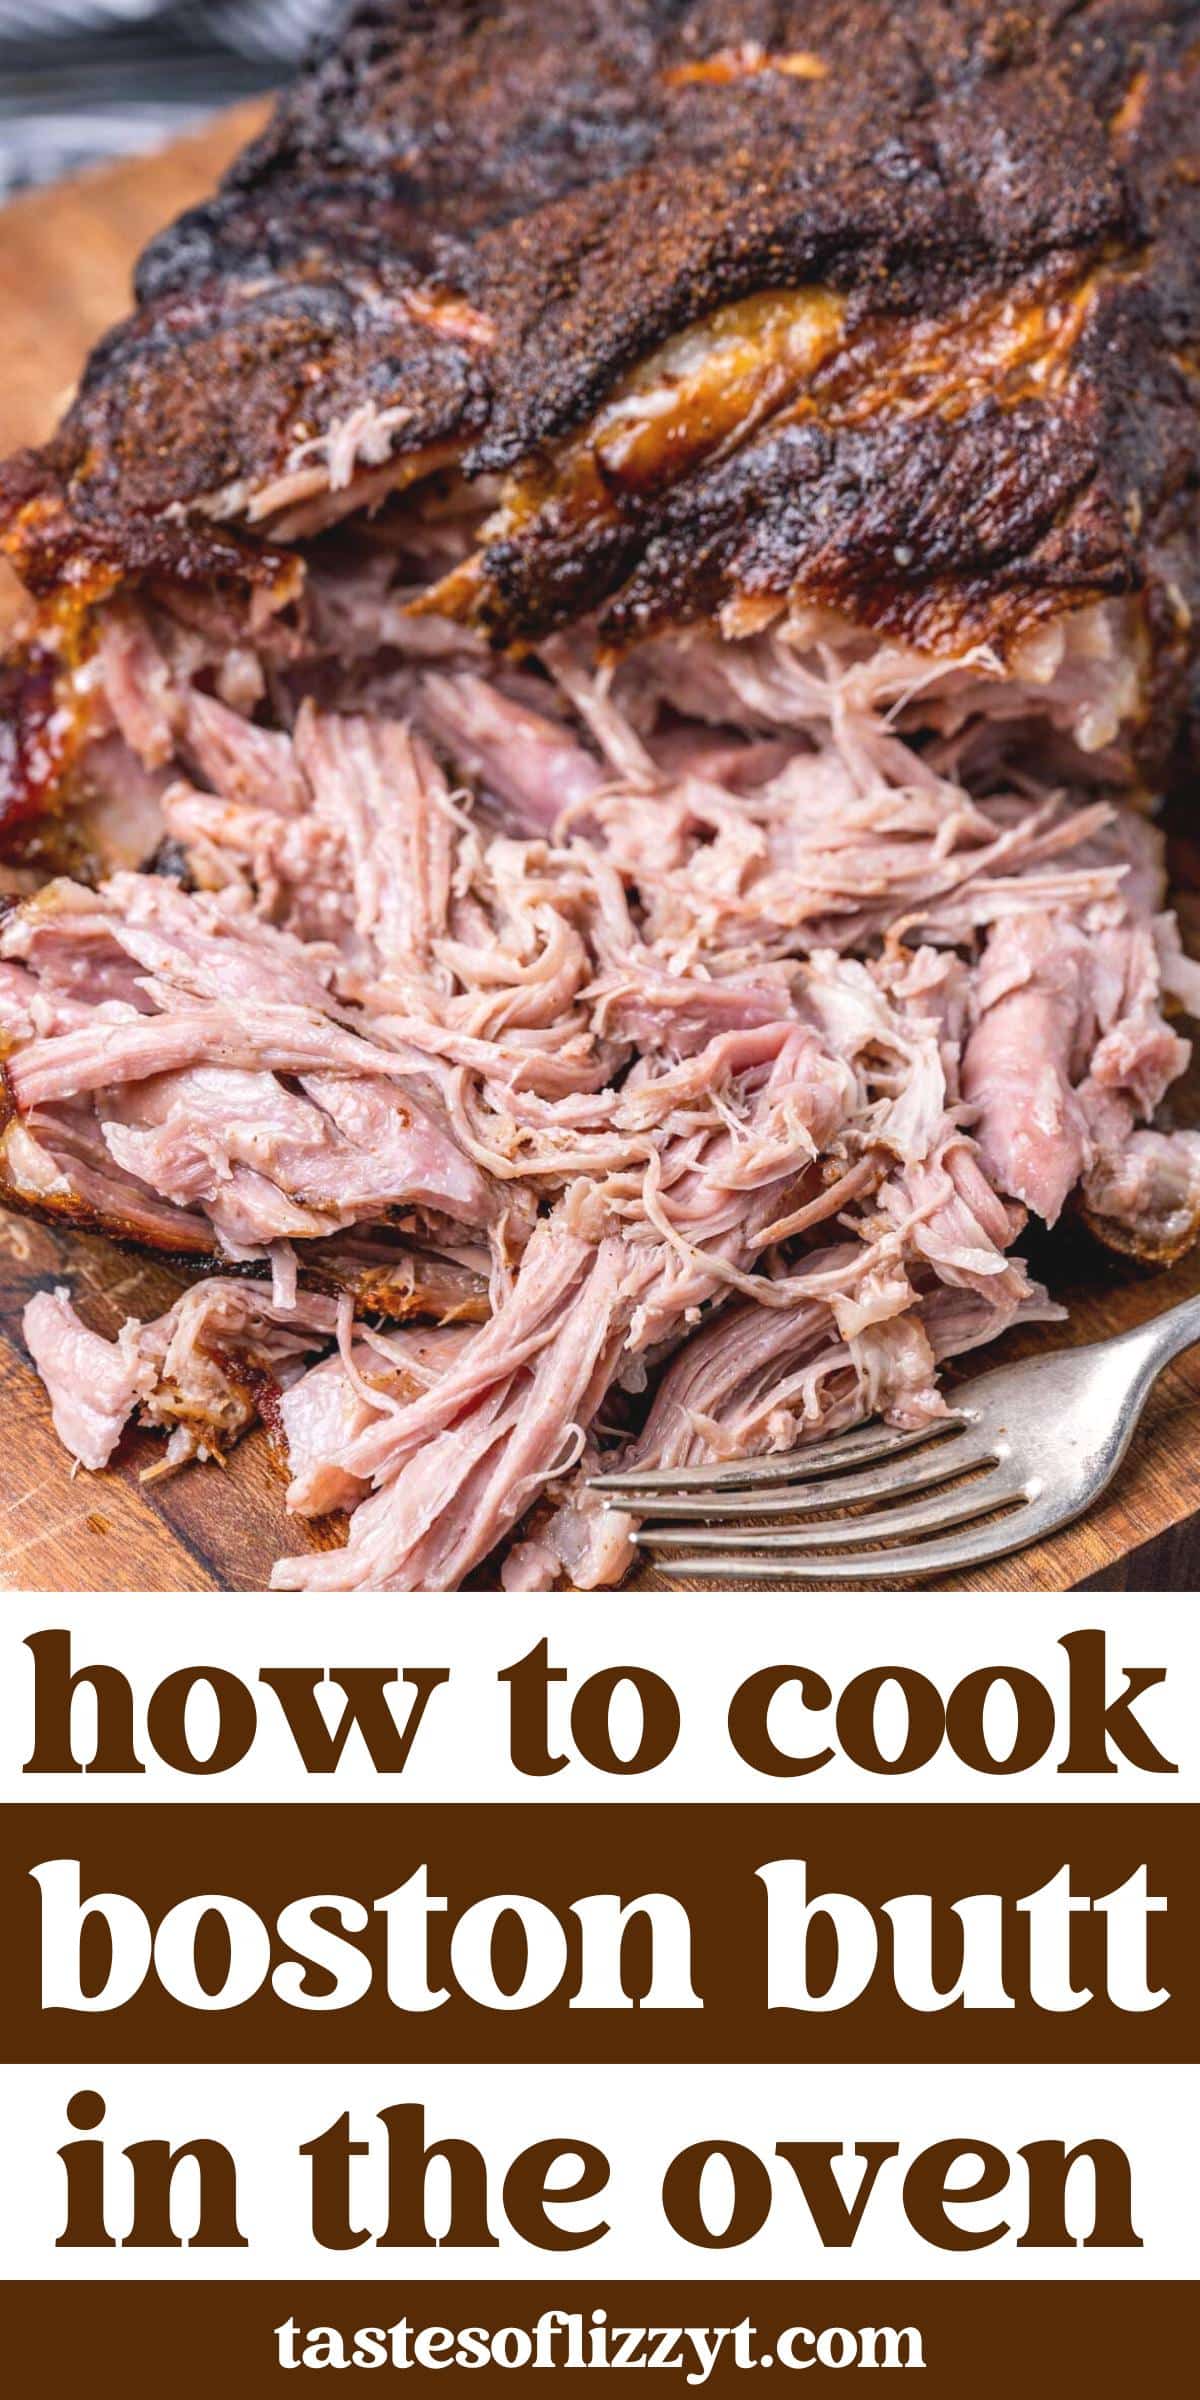
- Oven: If you’re cooking indoors, an oven set between 275°F (135°C) and 325°F (160°C) can also yield excellent results. Again, lower is generally slower and more forgiving.
Cooking Method: The Tool of Your Trade
The method you choose to cook your Boston butt will also influence the cooking time. Each method imparts its own unique characteristics and requires different approaches to temperature management.
The Art of the Smoker
Smoking is the quintessential method for Boston butt. The low temperatures and the infusion of wood smoke create unparalleled flavor. When smoking, consistency is key. Maintaining your smoker at the target temperature for the entire duration is vital. The smoky aroma that wafts from a smoker is often a highlight of outdoor gatherings and a signature element of regional cuisines you might encounter when exploring places like the Carolinas or Kansas City.
The Oven’s Gentle Embrace
An oven can be a reliable substitute for a smoker, especially when the weather doesn’t cooperate or when you lack specialized equipment. The principle remains the same: low and slow. Wrapping the Boston butt in foil or butcher paper during the latter stages of cooking (often referred to as the “Texas Crutch”) can help push through the stall and retain moisture.
Slow Cooker Simplicity
For a hands-off approach, a slow cooker can be a great option, particularly for achieving that shreddable texture. While it won’t impart a smoky flavor, it’s incredibly forgiving and perfect for busy weeknights or when you’re enjoying a relaxed day at your chosen accommodation. You’ll typically cook on the “low” setting for 8-10 hours or on “high” for 4-6 hours, depending on the size of the butt and your slow cooker.
The True Measure of Doneness: Beyond the Clock
While weight and temperature provide a framework, the most crucial indicator of a perfectly cooked Boston butt is its internal temperature and, more importantly, its tenderness. Relying solely on a timer can lead to disappointment – either an undercooked, tough cut or an overcooked, dry mess.
Internal Temperature: The Magic Numbers
A Boston butt is considered done when it reaches an internal temperature of 195°F to 205°F (90°C to 96°C). This is where the collagen has fully rendered, transforming the muscle fibers into that desirable, shreddable consistency.
- Using a Meat Thermometer: A reliable instant-read or probe meat thermometer is your best friend. Insert it into the thickest part of the Boston butt, avoiding any large pockets of fat or bone.
- The Stall: You might notice the internal temperature plateauing or even dropping slightly for a period during the cooking process. This phenomenon, known as “the stall,” is a natural part of cooking large cuts of meat. Evaporative cooling on the surface of the meat is the culprit. Don’t panic! This is the time to be patient, perhaps wrap your butt in foil or butcher paper if you haven’t already, and let it continue to cook. It will eventually break through the stall.
The Probe Test: The Ultimate Confirmation
Even when your thermometer reads within the target range, the ultimate test is the probe test. Once the Boston butt reaches 195°F to 205°F, gently try to insert a probe (like a skewer, a fork, or even your thermometer probe) into the meat.
- If it goes in with little to no resistance, like sliding into warm butter, your Boston butt is ready to rest.
- If you encounter significant resistance, it needs more time. Continue cooking and re-test every 30-60 minutes.
This test is paramount. You might have a butt at 203°F that is still tough, and another at 198°F that is perfectly tender. The probe test accounts for the unique characteristics of each individual cut.
Resting: The Unsung Hero of Tenderness
Once your Boston butt has achieved that perfect internal temperature and passed the probe test, don’t rush to pull it apart immediately. Resting is a critical step that allows the juices to redistribute throughout the meat.
- Why Resting Matters: When meat cooks, the muscle fibers tighten, squeezing out moisture. Resting allows these fibers to relax, and the expelled juices are reabsorbed, resulting in a more tender and flavorful final product. Skipping this step is akin to arriving at a famous landmark without taking the time to appreciate its beauty.
- How to Rest: Tent your Boston butt loosely with foil or place it in a cooler (without ice) for at least 30 minutes, and ideally up to an hour. For larger butts, a longer rest of 1 to 2 hours can be beneficial. The internal temperature will continue to rise slightly during the rest, a phenomenon known as carryover cooking.
Practical Application: Planning Your Boston Butt Adventure
Understanding the theory is one thing, but putting it into practice is where the magic happens. Whether you’re a seasoned grill master or embarking on your first barbecue journey, a well-planned approach will lead to delicious rewards.
Estimating Total Cooking Time and Scheduling
Given the variability, it’s wise to build buffer time into your cooking schedule. Here’s how to approach it:
- Weigh your Boston butt.
- Choose your cooking temperature.
- Calculate an estimated cooking time per pound.
- Multiply to get a total estimated cooking time range.
- Start cooking several hours earlier than you think you’ll need. For example, if you’re aiming to serve dinner at 6 PM and your 7-pound butt has an estimated cooking time of 8-12 hours at 250°F, you should aim to start cooking between 6 AM and 10 AM.
- Have your thermometer ready and plan to check for tenderness once it hits the target internal temperature range.
This methodical approach ensures that your Boston butt will be ready when you are, whether you’re hosting a backyard barbecue in Austin or enjoying a picnic after visiting a national park.
Tips for Success and Enjoyment
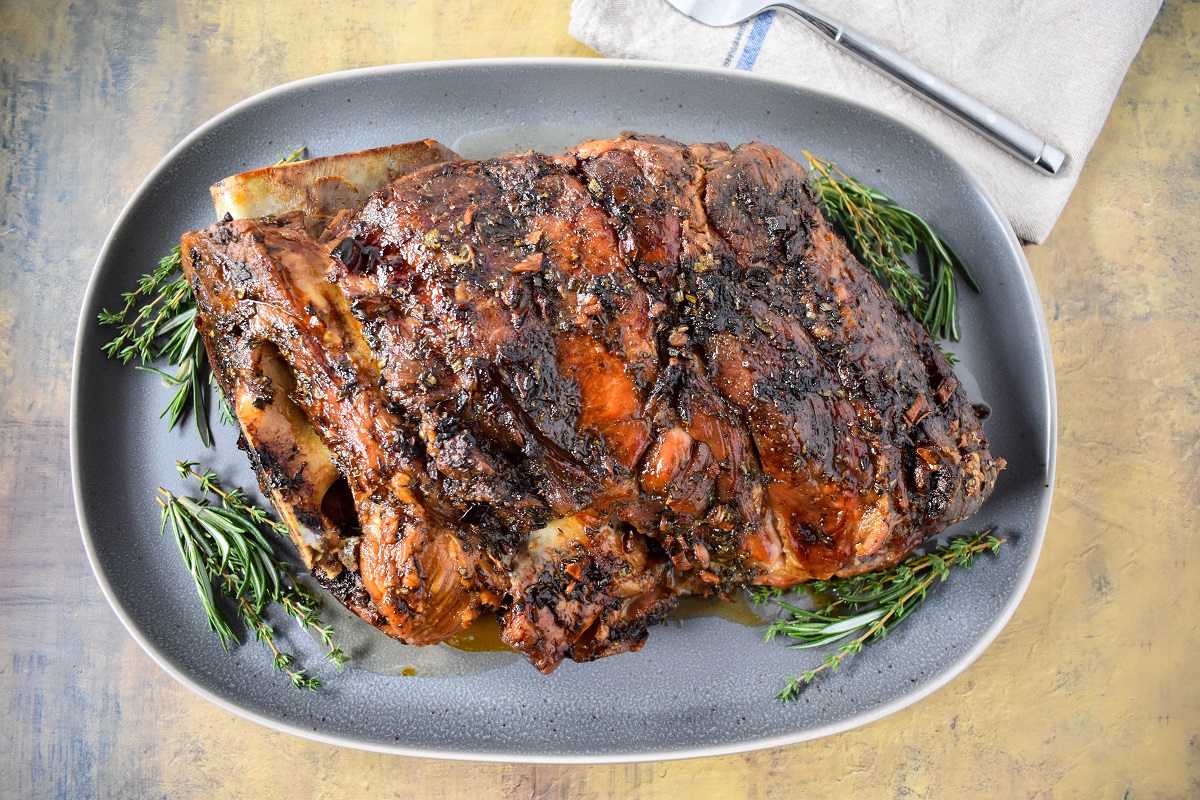
- Don’t fear the fat: The intramuscular fat and the thick cap of fat on a Boston butt are crucial for moisture and flavor. Don’t trim it all away.
- Season generously: A good rub is essential. Apply it liberally the night before or at least a few hours before cooking to allow the flavors to penetrate.
- Monitor your fuel: If you’re smoking, ensure you have enough wood chunks or chips and charcoal to maintain your desired temperature for the entire cooking duration.
- Embrace the experience: Cooking a Boston butt is a labor of love. Enjoy the process, the aroma, and the anticipation. It’s a culinary journey that often complements the joys of travel and discovering new tastes. Think of the satisfaction of recreating a barbecue experience you loved at a local eatery during your vacation.
In conclusion, the question of “How long do you cook a Boston butt?” is best answered by understanding the interplay of weight, temperature, and the ultimate test of tenderness. By using a meat thermometer, performing the probe test, and allowing adequate resting time, you can confidently navigate the cooking process and achieve a fall-apart tender, flavorful Boston butt that will be the highlight of any meal. Whether you’re a culinary enthusiast perfecting your backyard barbecue skills or a traveler seeking the authentic flavors of a region, mastering the Boston butt is a rewarding endeavor that promises delicious results.
LifeOutOfTheBox is a participant in the Amazon Services LLC Associates Program, an affiliate advertising program designed to provide a means for sites to earn advertising fees by advertising and linking to Amazon.com. Amazon, the Amazon logo, AmazonSupply, and the AmazonSupply logo are trademarks of Amazon.com, Inc. or its affiliates. As an Amazon Associate we earn affiliate commissions from qualifying purchases.