
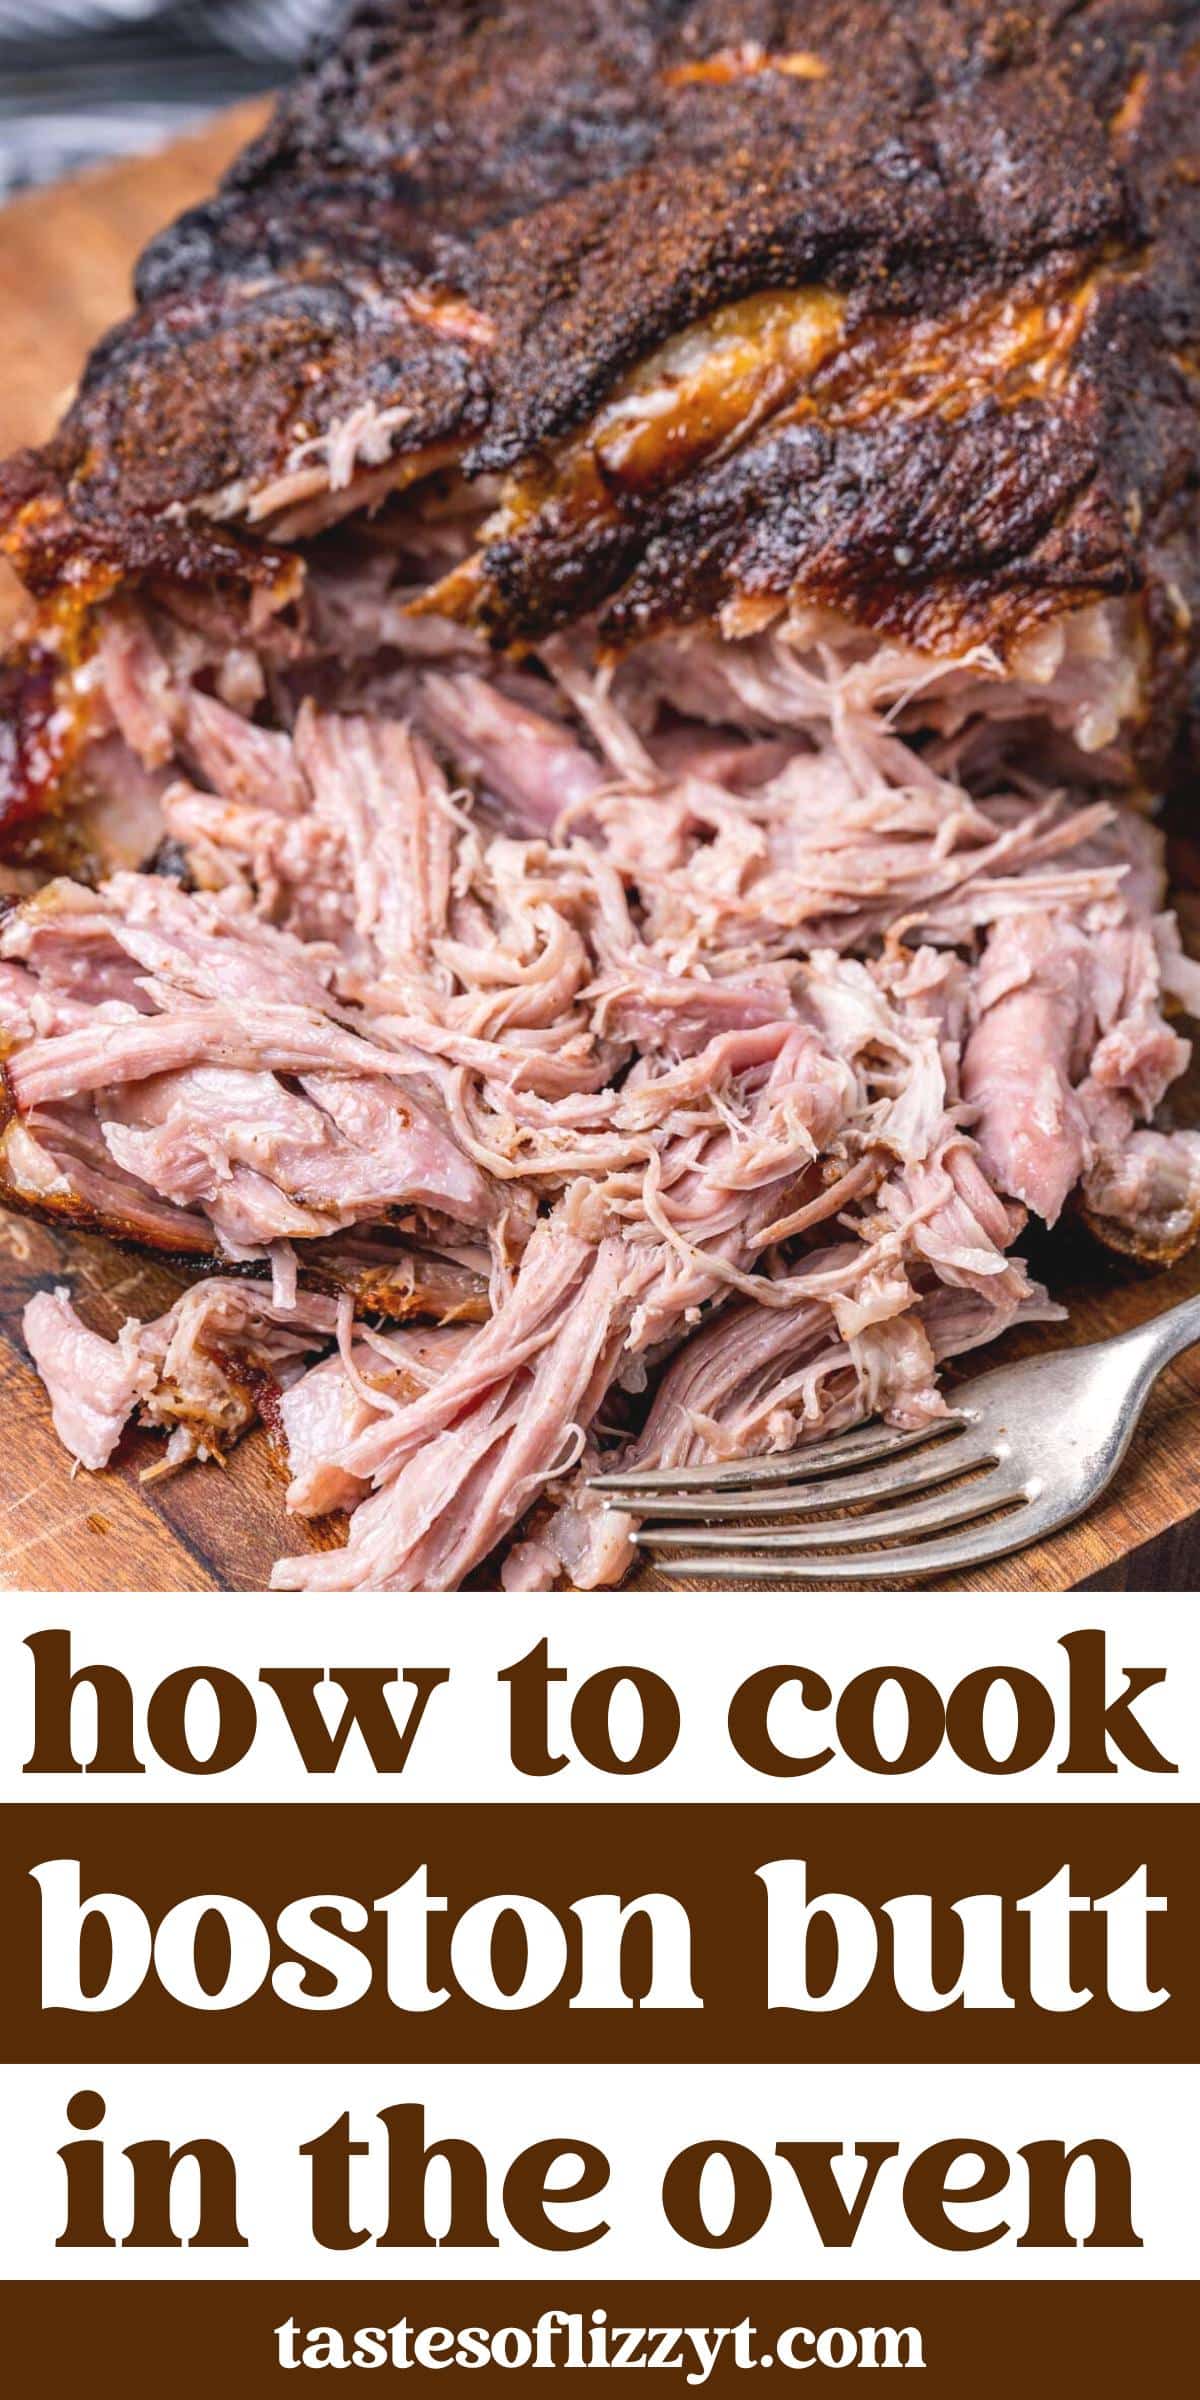
The Boston butt, a highly prized cut of pork shoulder, offers unparalleled succulence and flavor when slow-cooked. Its rich marbling renders beautifully, transforming into tender, shreddable meat perfect for a variety of culinary explorations, from classic barbecue to sophisticated slow-cooked entrees. While many associate its preparation with smokers or slow cookers, the oven remains a steadfast and accessible method for achieving exceptional results. Understanding the nuances of oven cooking, particularly the optimal timing, is key to unlocking the full potential of this versatile cut. This guide delves into the factors influencing cooking time and provides a comprehensive approach to mastering the Boston butt in your own kitchen.
Understanding the Boston Butt and Oven Cooking Principles
The Boston butt, also known as a pork shoulder or pork butt, is a cut from the upper portion of the pig’s shoulder. It’s characterized by a significant amount of intramuscular fat and connective tissue. This composition is precisely what makes it ideal for low-and-slow cooking methods. The fat and collagen break down during the cooking process, basting the meat from within and contributing to its incredibly moist and tender texture.
Oven cooking offers a controlled environment for this transformation. Unlike smoking, which imparts a distinct smoky flavor, or a slow cooker, which can sometimes lead to a more uniform, less textured result, the oven allows for a more direct application of heat, facilitating the development of a delicious crust (bark) when combined with appropriate techniques. The consistent, radiant heat of the oven gently coaxes the connective tissues to break down over extended periods, resulting in that sought-after fall-apart tenderness.
Factors Influencing Cooking Time
Several variables will affect the total time required to cook a Boston butt in the oven. Accurately assessing these factors will help you avoid both undercooked and overcooked meat, ensuring a successful culinary outcome.
Size and Weight
The most significant determinant of cooking time is the size and weight of the Boston butt. Larger cuts will naturally require longer cooking periods to reach the desired internal temperature and tenderness. A typical Boston butt can range from 4 to 10 pounds, with larger cuts often necessitating overnight cooking to achieve optimal results without resorting to excessively high temperatures that can dry out the exterior before the interior is properly cooked.
Oven Temperature
The chosen oven temperature plays a crucial role. Lower temperatures (e.g., 250°F or 121°C) will result in a longer, slower cook, which is generally preferred for Boston butts as it allows more time for the connective tissues to break down gradually. Higher temperatures will significantly shorten the cooking time but can increase the risk of uneven cooking or a tougher final product if not managed carefully. This guide will focus on lower, more forgiving temperatures.
Desired Tenderness and Pull-Apart Consistency
The ultimate goal for a Boston butt is usually a tender, shreddable texture. This requires cooking the meat well past the initial safe internal temperature for pork. The collagen needs ample time to gelatinize and soften. Therefore, cooking is primarily judged by touch and internal temperature rather than a strict adherence to a per-pound cooking time. A meat thermometer is an indispensable tool.
Use of a Pan and Liquid
Whether you cook the Boston butt in a pan with a small amount of liquid (like broth or apple cider) or directly on a rack can influence the cooking environment. A pan with liquid can help maintain moisture, especially in ovens that tend to run dry. However, it can also inhibit the formation of a crisp bark. Cooking directly on a rack, sometimes uncovered, can promote better bark development but may require more vigilance regarding moisture.
Bone-In vs. Boneless
While both bone-in and boneless Boston butts can yield excellent results, bone-in cuts may cook slightly faster as the bone conducts heat. The bone also adds flavor to the meat as it cooks. However, the presence of the bone can make it more challenging to insert a thermometer for an accurate internal temperature reading in some spots.
The Low-and-Slow Oven Method: A Step-by-Step Approach
Achieving the perfect Boston butt in the oven is a rewarding process that relies on patience and understanding the transformation occurring within. This method emphasizes a low, consistent temperature to allow the meat to tenderize thoroughly.
Preparation and Seasoning
Before the Boston butt even enters the oven, proper preparation is key.
Trimming Excess Fat
While some fat is essential for moisture and flavor, it’s advisable to trim any excessively thick cap of fat (usually over 1/4 inch). This allows seasonings to penetrate the meat more effectively and prevents a greasy texture. Score the remaining fat cap in a diamond pattern if desired, being careful not to cut into the meat itself.
Applying a Rub
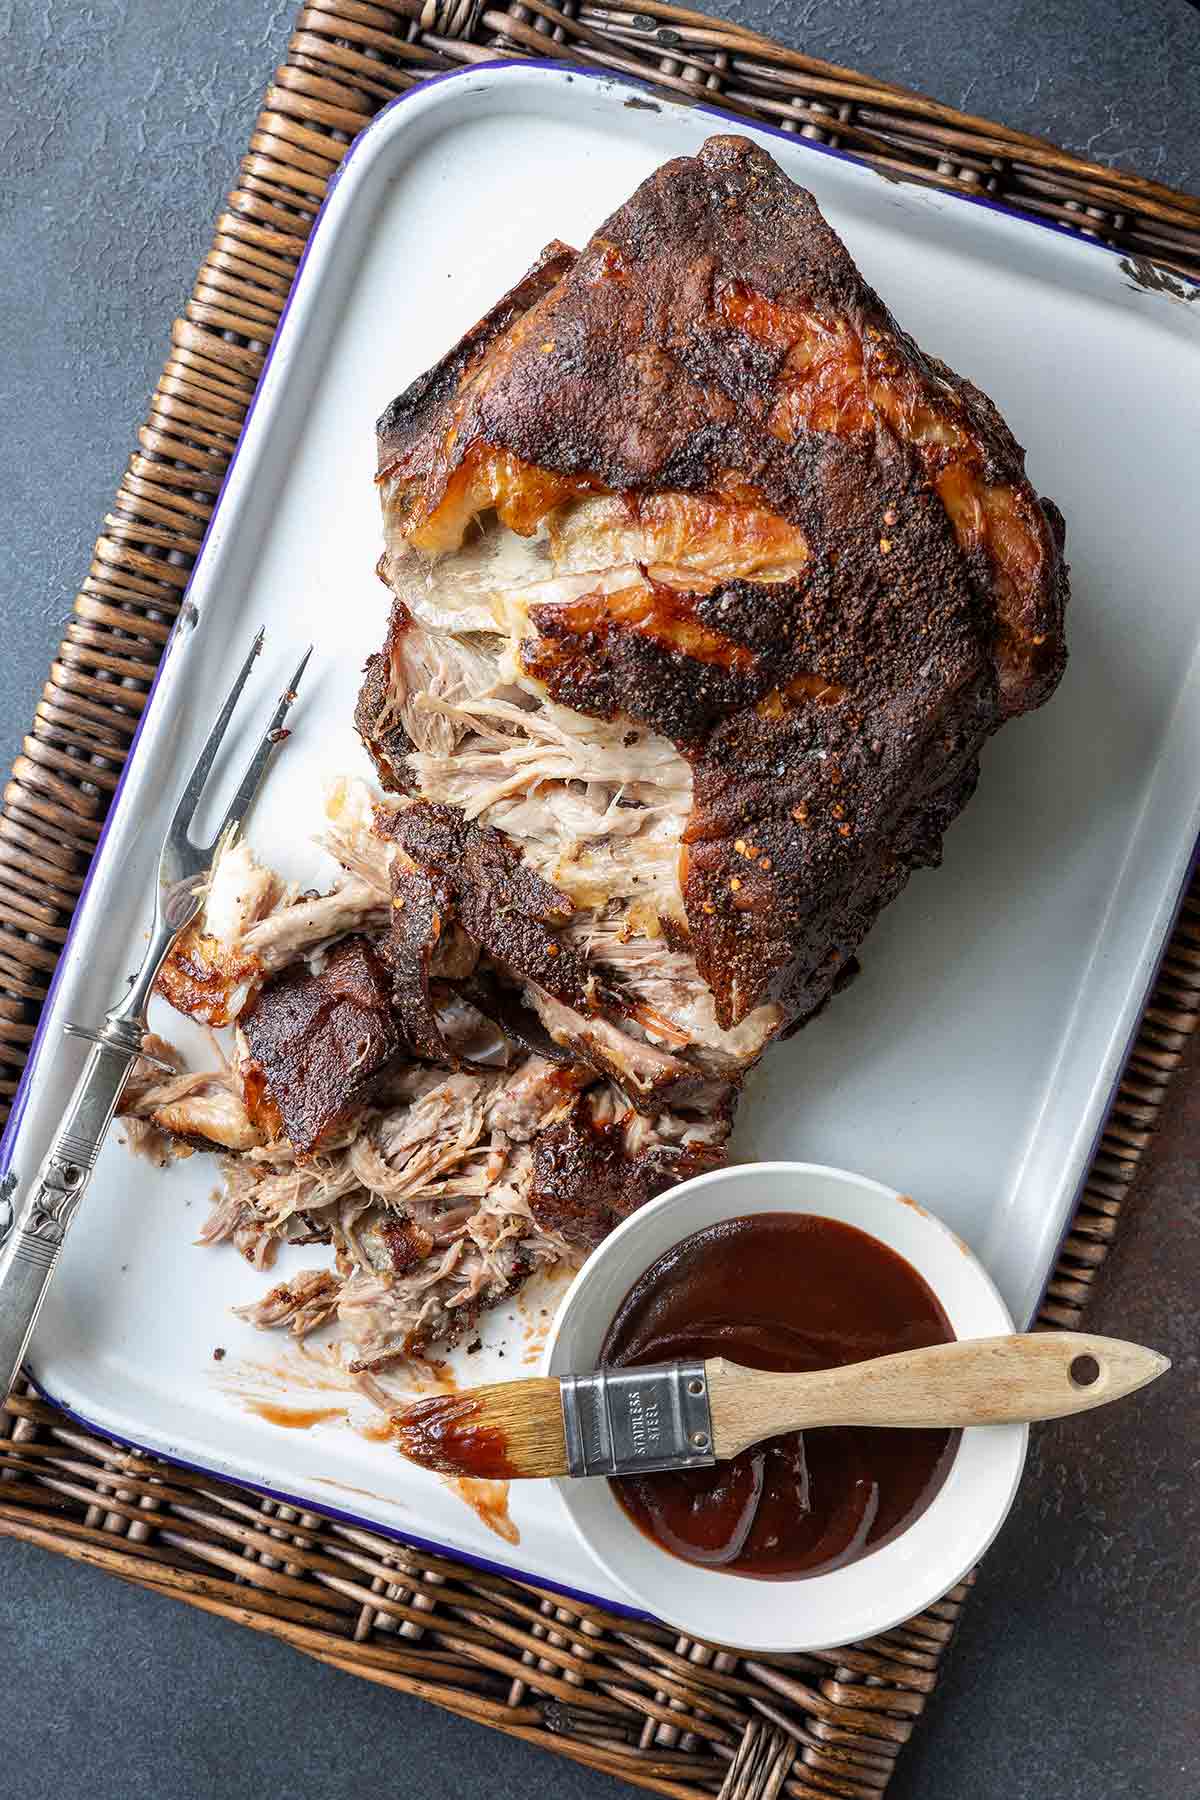
A dry rub is the classic seasoning for Boston butt. It typically consists of salt, pepper, paprika, garlic powder, onion powder, and often a touch of brown sugar for caramelization. Apply the rub liberally, ensuring all surfaces of the meat are coated. For enhanced flavor, allow the seasoned butt to rest in the refrigerator for at least a few hours, or preferably overnight, to allow the salt to begin its curing process and the flavors to meld.
The Cooking Process
Once prepped, the Boston butt is ready for its slow journey in the oven.
Oven Temperature and Rack Placement
Preheat your oven to a consistent 250°F (121°C). This low temperature is crucial for the long, slow breakdown of connective tissue. Place the Boston butt, fat-side up, on a rack in a roasting pan. This allows the rendered fat to baste the meat from above as it melts and drips. If you are concerned about dryness, you can add about 1/2 inch of liquid (water, chicken broth, or apple cider) to the bottom of the pan, ensuring it does not touch the meat.
Initial Cooking Phase
Allow the Boston butt to cook undisturbed for the initial phase. Resist the urge to open the oven door frequently, as this releases heat and prolongs the cooking time. The goal is to achieve a deep, flavorful crust (bark) on the exterior.
Wrapping for Tenderness (The Texas Crutch)
After several hours, when the bark has formed to your liking and the internal temperature reaches approximately 160-165°F (71-74°C), it’s time to wrap the Boston butt. This step is often referred to as the “Texas Crutch” in barbecue circles. Wrap the butt tightly in aluminum foil or butcher paper. This traps the moisture, steams the meat, and accelerates the tenderizing process. Place the wrapped butt back into the oven.
The Final Push to Tenderness
Continue cooking the wrapped Boston butt until it reaches your desired level of tenderness. This is typically indicated by an internal temperature of 195-205°F (90-96°C). However, temperature is only one indicator. The most reliable test is to probe the meat with a thermometer or skewer. It should slide in with very little resistance, akin to probing softened butter. This might take an additional 3-6 hours, or even longer, depending on the size of the butt and your oven’s characteristics.
Resting and Pulling
The final stages are as critical as the cooking itself for optimal results.
The Importance of Resting
Once the Boston butt has reached the target temperature and tenderness, remove it from the oven. Keep it tightly wrapped in its foil or butcher paper and let it rest for at least 1 to 2 hours, or even longer if possible. Resting allows the juices to redistribute throughout the meat, preventing them from running out when you start to pull it apart. This results in a more succulent and flavorful final product.
Pulling the Meat
After resting, unwrap the Boston butt. The meat should be incredibly tender. Using two forks or bear claws, shred the meat, discarding any large pieces of fat or bone. Mix the shredded meat with some of the rendered juices from the pan and foil for added moisture and flavor.
Calculating Cooking Time: A Practical Guide
While it’s impossible to provide an exact minute-by-minute recipe due to the variables involved, a general guideline can help you plan.
The Rule of Thumb
A commonly cited rule of thumb for Boston butt cooked at 250°F (121°C) is approximately 1.5 to 2 hours per pound before wrapping. After wrapping, the cooking time will vary more significantly based on how close it is to the target internal temperature.
Example Scenarios
-
A 6-pound Boston butt:
- Initial cooking (unwrapped): 6 pounds x 1.5-2 hours/pound = 9-12 hours.
- This would likely be the point where you’d wrap it.
- After wrapping, anticipate another 3-6+ hours until it reaches 195-205°F (90-96°C) and is probe-tender.
- Total active cooking time could range from 12 to 18+ hours, not including resting.
-
A 10-pound Boston butt:
- Initial cooking (unwrapped): 10 pounds x 1.5-2 hours/pound = 15-20 hours.
- Again, this is the typical wrapping point.
- Post-wrap cooking: 4-8+ hours.
- Total active cooking time could be 19 to 28+ hours, not including resting.
These are extended cooking times, often necessitating starting the cooking process the day before you intend to serve. Overestimating your cooking time and resting period is always preferable to underestimating. A “come-up” time after resting can also be factored in, where the pulled pork is placed back in a warming oven or slow cooker for a short period to ensure it’s piping hot.
Doneness is Key, Not Just Time
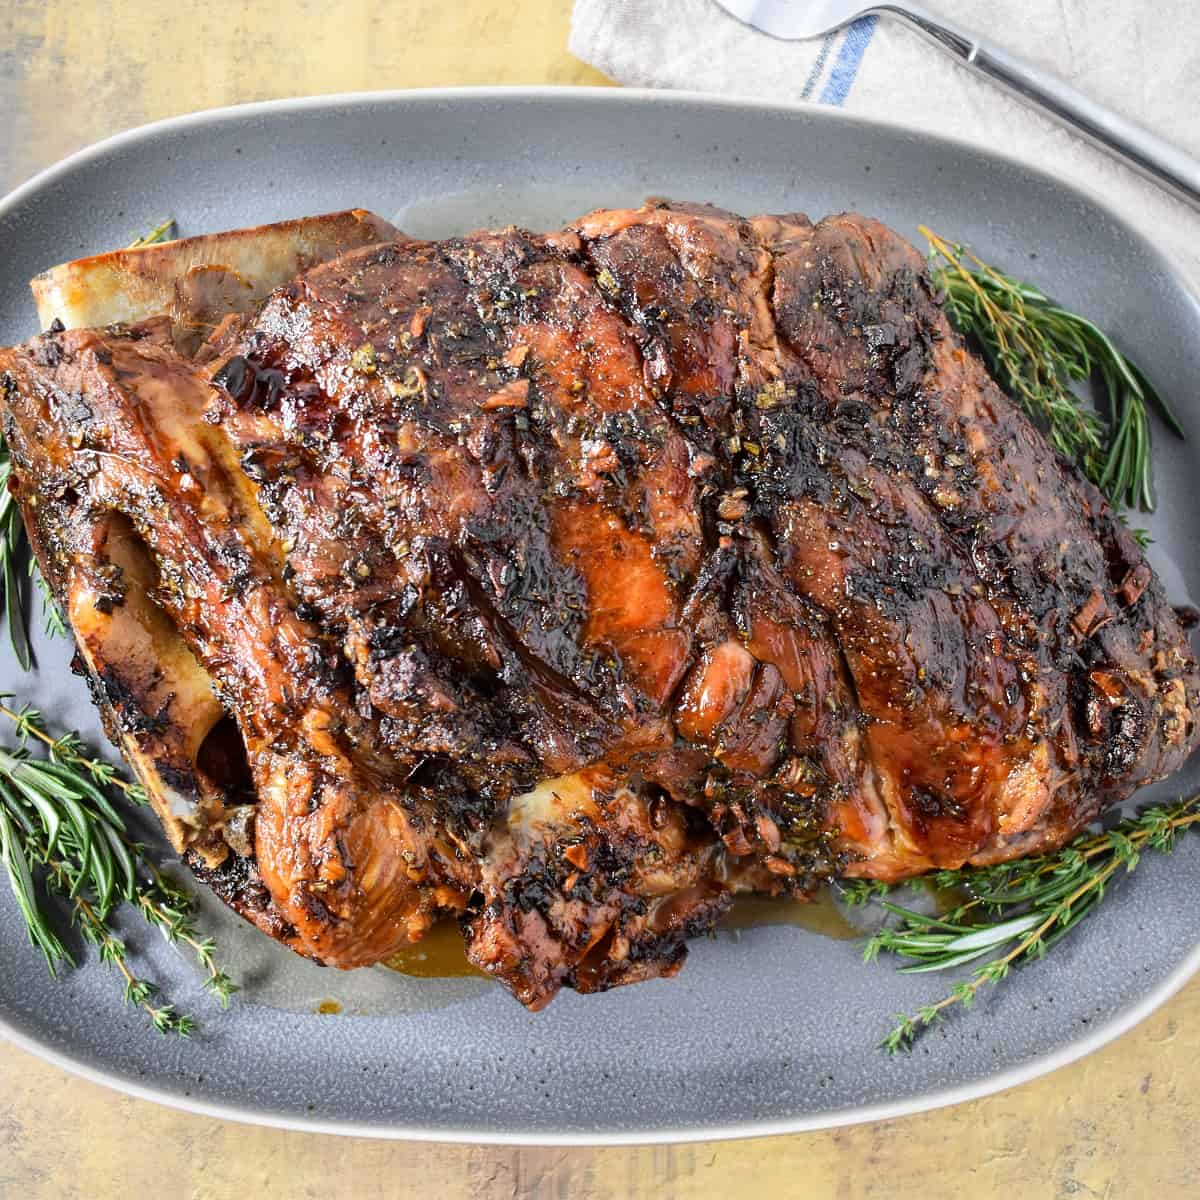
It cannot be stressed enough that relying solely on time per pound is a disservice to the art of cooking a Boston butt. Your meat thermometer and your sense of touch for tenderness are your most valuable assets. Factors such as the specific cut of meat, its fat content, the efficiency of your oven, and even ambient temperature can all play a role. Embrace the flexibility and the process, and you will be rewarded with incredibly delicious, tender, and flavorful pork shoulder. This slow-cooked delicacy is a cornerstone of many culinary traditions and a testament to the rewards of patience in the kitchen.
LifeOutOfTheBox is a participant in the Amazon Services LLC Associates Program, an affiliate advertising program designed to provide a means for sites to earn advertising fees by advertising and linking to Amazon.com. Amazon, the Amazon logo, AmazonSupply, and the AmazonSupply logo are trademarks of Amazon.com, Inc. or its affiliates. As an Amazon Associate we earn affiliate commissions from qualifying purchases.