
The braking system of your Chevy Colorado is a critical component for safe driving, ensuring that you can stop effectively and predictably in all situations. Over time, brake fluid can become contaminated with moisture and debris, leading to reduced braking performance and a spongy brake pedal. Air can also enter the system, further compromising its efficiency. Bleeding your brakes is a maintenance procedure designed to remove this old fluid and any trapped air, replacing it with fresh brake fluid. This process not only restores optimal braking but also helps to prevent premature wear on brake components. While it might seem daunting, with the right tools and a methodical approach, bleeding the brakes on your Chevy Colorado is a manageable DIY task that can save you significant money on mechanic’s fees.
Understanding the Braking System and Why Bleeding is Essential
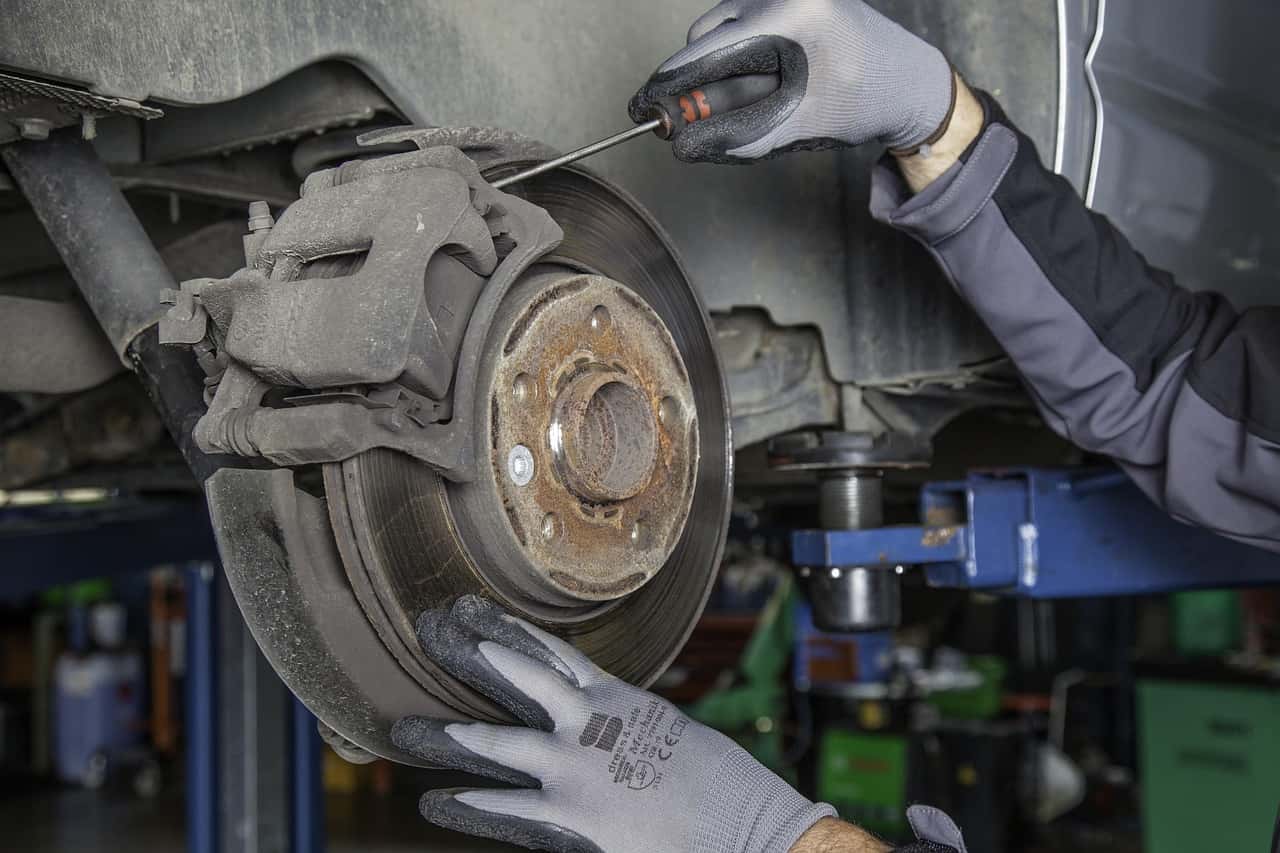
Your Chevy Colorado utilizes a hydraulic braking system. When you press the brake pedal, a master cylinder pushes brake fluid through a network of brake lines to the brake calipers (or wheel cylinders on some older models). The calipers then press brake pads against the rotors, creating friction that slows and stops the vehicle.
The Role of Brake Fluid
Brake fluid is the lifeblood of your braking system. It’s a non-compressible fluid that transmits the force from your foot on the pedal to the brakes at each wheel. However, brake fluid is hygroscopic, meaning it absorbs moisture from the atmosphere. Over time, this moisture can:
- Lower the boiling point of the fluid: This is particularly dangerous during heavy braking, as the heat generated can cause the fluid to boil, creating vapor bubbles. Vapor is compressible, leading to a drastic loss of braking power – a phenomenon known as brake fade.
- Cause corrosion: Moisture can also corrode internal components of the braking system, such as brake lines, calipers, and the master cylinder, leading to leaks and expensive repairs.
The Impact of Air in the System
Air, unlike brake fluid, is highly compressible. Even a small amount of air trapped within the brake lines will absorb the pressure you apply to the pedal, resulting in a soft, spongy pedal feel. Instead of transferring all the force to the brakes, some of the pedal travel is used to compress the air bubbles. This significantly reduces braking effectiveness, making it harder to stop your Chevy Colorado quickly and safely.
When to Bleed Your Brakes
It’s recommended to bleed your brakes periodically as part of your vehicle’s regular maintenance schedule. Most manufacturers suggest bleeding the brakes every two to three years, or every 30,000 to 60,000 miles. However, you should also bleed your brakes immediately if:
- You notice a spongy or soft brake pedal.
- The brake pedal travels closer to the floor than usual.
- You have recently replaced any brake components, such as the master cylinder, brake lines, or calipers.
- You’ve topped off the brake fluid reservoir and suspect air may have entered the system.
- Your brake fluid appears discolored or dirty.
Essential Tools and Materials for Bleeding Your Chevy Colorado Brakes
Before you begin the bleeding process, it’s crucial to gather all the necessary tools and materials. Having everything readily available will streamline the process and minimize the chance of interruptions.
Tools You’ll Need:
- Wrench Set: You’ll need a wrench that fits the bleeder screws on your brake calipers. Typically, this will be a 7mm, 8mm, or 9mm wrench, but it’s best to confirm for your specific Chevy Colorado model.
- Clear Vinyl Tubing: Approximately 3-4 feet of clear, flexible tubing that fits snugly over the bleeder screw. This allows you to see the old fluid and any air bubbles being expelled.
- Collection Container: An old plastic bottle or jar to catch the old brake fluid. A clear container is ideal for observing air bubbles.
- Brake Fluid: The correct type and amount of fresh brake fluid for your Chevy Colorado. Consult your owner’s manual for the recommended DOT specification (e.g., DOT 3, DOT 4). It’s advisable to have at least one quart on hand to ensure you have enough.
- Jack and Jack Stands: To safely lift and support your vehicle. Never work under a vehicle supported only by a jack.
- Wheel Chocks: To prevent the vehicle from rolling.
- Gloves: Brake fluid can be harsh on skin and can damage paint. Wear nitrile gloves.
- Safety Glasses: To protect your eyes from splashing brake fluid.
- Rags or Paper Towels: For cleaning up spills.
- Turkey Baster or Syringe (Optional): To remove old fluid from the master cylinder reservoir.
- Brake Bleeder Kit (Optional but Recommended): These kits often include a one-way valve to prevent air from re-entering the system, or a vacuum pump that can make the process easier.
Preparing Your Chevy Colorado for Bleeding
Safety is paramount when working on your vehicle. Follow these steps to prepare your Chevy Colorado for brake bleeding:
- Park on a Level Surface: Ensure your truck is parked on a flat, stable surface.
- Engage Parking Brake and Chock Wheels: Firmly apply the parking brake and place wheel chocks behind the rear wheels to prevent any accidental movement.
- Open the Hood: Locate the brake fluid reservoir. It’s usually a translucent plastic container with a yellow or black cap, often marked with a brake symbol.
- Check and Top Off Reservoir: Remove the cap and inspect the brake fluid level. If it’s low, use a clean turkey baster or syringe to remove any old, dark fluid and replace it with fresh fluid of the correct specification. Fill the reservoir to the “MAX” line. This is important to prevent air from being drawn into the system as you bleed.
- Loosen Lug Nuts (Slightly): Before jacking up the vehicle, slightly loosen the lug nuts on all four wheels. This will make it easier to remove the wheels once the vehicle is elevated.
- Jack Up the Vehicle: Using your jack, lift the front or rear of the truck and place jack stands securely under the frame or designated support points. Ensure the vehicle is stable before proceeding.
- Remove Wheels: Fully unscrew the lug nuts and remove the wheels. This will give you access to the brake calipers.
The Brake Bleeding Process: Step-by-Step Guide
There are several methods for bleeding brakes, but the most common and effective DIY approach is the two-person method, where one person operates the brake pedal and the other manages the bleeder screws.
Two-Person Bleeding Method:
This method involves systematically bleeding each brake caliper. It’s generally recommended to start with the brake caliper furthest from the master cylinder and work your way closer. For most vehicles, including the Chevy Colorado, the typical bleeding order is:
- Right Rear
- Left Rear
- Right Front
- Left Front
This order ensures that any air in the longer brake lines is pushed out first.

Step 1: Prepare the Caliper
- Locate the bleeder screw on the brake caliper. It’s a small nipple with a rubber cap.
- Remove the rubber cap from the bleeder screw.
- Fit one end of the clear vinyl tubing securely over the bleeder screw.
- Place the other end of the tubing into your collection container. Ensure the end of the tubing remains submerged in a small amount of clean brake fluid at the bottom of the container. This prevents air from being sucked back into the system.
Step 2: The Pumping Sequence
- Assistant’s Role (Inside the Vehicle): The assistant will be responsible for pumping and holding the brake pedal.
- Your Role (At the Caliper): You will be responsible for opening and closing the bleeder screw.
- “Pump”: Instruct your assistant to pump the brake pedal slowly and steadily several times (5-10 times) until they feel firm pressure.
- “Hold”: Instruct your assistant to press and hold the brake pedal firmly down. Crucially, they must not release the pedal until you tell them to.
- “Open”: While your assistant is holding the pedal down, use your wrench to carefully open the bleeder screw (usually a half to a full turn counter-clockwise). You will see brake fluid and potentially air bubbles flow through the clear tubing into the collection container.
- “Close”: As soon as the fluid flow stops or slows significantly, quickly close the bleeder screw tightly.
- “Release”: Once the bleeder screw is closed, instruct your assistant to release the brake pedal.
Step 3: Repeat and Monitor
- Repeat the “Pump, Hold, Open, Close, Release” sequence for the same caliper.
- Continue this process until you no longer see any air bubbles in the clear tubing and the fluid being expelled is clean and clear.
- Important: Keep a close eye on the brake fluid reservoir in the engine bay. As you bleed, the fluid level will drop. You must stop and refill the reservoir with fresh brake fluid before it gets too low, or you will introduce air into the system. If this happens, you’ll have to start the bleeding process over.
Step 4: Move to the Next Wheel
- Once you have successfully bled the first caliper until no air is present, close the bleeder screw tightly, remove the tubing, and replace the rubber cap.
- Proceed to the next brake caliper in the recommended sequence (Right Rear, Left Rear, Right Front, Left Front), repeating the entire process for each wheel.
Step 5: Final Checks
- After bleeding all four wheels, ensure all bleeder screws are securely tightened and their rubber caps are replaced.
- Remove the jack stands and carefully lower your Chevy Colorado back to the ground.
- Reinstall and tighten the lug nuts on all wheels.
- Pump the brake pedal several times with the engine off to ensure the pedal feels firm.
- Start the engine and re-test the brakes carefully in a safe, open area at low speeds. The pedal should feel firm and responsive.
- Double-check the brake fluid level in the reservoir and top off if necessary, then replace the reservoir cap securely.
- Clean up any spilled brake fluid immediately to prevent damage to paint.
- Dispose of the old brake fluid responsibly, as it is considered hazardous waste.
Alternative Bleeding Methods:
While the two-person method is effective, other options exist:
- Vacuum Bleeding: This method uses a vacuum pump to draw fluid and air out of the bleeder screw. It can often be performed by one person and is generally efficient.
- Pressure Bleeding: A pressure bleeder attaches to the brake fluid reservoir and forces fluid through the system, pushing air and old fluid out of the bleeder screws. This is often the quickest and most efficient method and is preferred by many professional mechanics.
Troubleshooting Common Brake Bleeding Issues
Even with careful execution, you might encounter a few snags during the brake bleeding process. Knowing how to address them can save you a lot of frustration.
Spongy Pedal After Bleeding:
If your brake pedal still feels spongy after bleeding, it indicates that air may still be present in the system.
- Re-check the Bleeding Sequence: Ensure you followed the correct bleeding order for your Chevy Colorado.
- Inspect for Leaks: Carefully examine all brake lines, connections, and caliper seals for any signs of fluid leaks. Even a small leak can allow air to enter the system.
- Master Cylinder Issues: A failing master cylinder can also cause a spongy pedal. If you’ve bled thoroughly and inspected for leaks, this might be the next component to consider.
- ABS Module: If your Chevy Colorado is equipped with Anti-lock Braking System (ABS), the ABS modulator can sometimes trap air. Bleeding ABS systems can be more complex and may require a scan tool to cycle the ABS pump, or it may require a specific procedure outlined in your service manual. If you suspect air in the ABS module, professional service might be necessary.
Bleeder Screw Stuck or Stripped:
This is a common and frustrating problem.
- Penetrating Oil: Apply a liberal amount of penetrating oil to the bleeder screw and let it soak for a while.
- Gentle Tapping: Gently tap around the bleeder screw with a small hammer to help loosen it.
- Heat: In some cases, a small amount of heat applied carefully to the area around the bleeder screw can help. Be cautious not to damage surrounding components.
- Bleeder Screw Extractor: If the screw is significantly stripped, a bleeder screw extractor kit can be used.
- Replacement: If the bleeder screw cannot be removed, it may need to be drilled out and replaced, which is a more involved repair.

Not Enough Fluid Flowing:
If you’re not getting much fluid out, even with the bleeder screw open:
- Check Reservoir Level: Ensure the master cylinder reservoir is adequately filled and hasn’t run dry during the process.
- Blocked Tubing: Make sure the vinyl tubing is not kinked or blocked.
- Stuck Caliper Piston: In rare cases, a stuck caliper piston can impede fluid flow.
By following these steps and tips, you can confidently perform a brake fluid flush and bleed on your Chevy Colorado, ensuring your braking system remains in top condition for safe and reliable operation. Regular maintenance like this is key to extending the life of your vehicle and avoiding costly repairs down the road.
LifeOutOfTheBox is a participant in the Amazon Services LLC Associates Program, an affiliate advertising program designed to provide a means for sites to earn advertising fees by advertising and linking to Amazon.com. Amazon, the Amazon logo, AmazonSupply, and the AmazonSupply logo are trademarks of Amazon.com, Inc. or its affiliates. As an Amazon Associate we earn affiliate commissions from qualifying purchases.