
The Boston Butt, also known as a pork shoulder, is a prized cut of meat for slow cooking, especially in a Crock Pot. Its rich marbling of fat renders down beautifully during long cooking times, resulting in incredibly tender, succulent, and flavorful pulled pork. This versatile cut is a staple in Southern barbecue and can be the star of a meal, whether served on sandwiches, tacos, or as a main course with classic sides. Mastering the Crock Pot method for a Boston butt is a straightforward process that yields restaurant-quality results with minimal effort, making it an ideal choice for busy weeknights or relaxed weekend gatherings.

This guide will walk you through everything you need to know to achieve perfectly cooked, fall-apart tender pulled pork from your Crock Pot. We’ll cover ingredient selection, preparation, the cooking process, and how to finish and serve your masterpiece.
Selecting and Preparing Your Boston Butt
The foundation of exceptional pulled pork lies in choosing the right cut and preparing it correctly. A Boston butt is a dense, flavorful cut that benefits immensely from slow and low cooking.
Choosing the Right Cut
When selecting a Boston butt, look for a piece that is well-marbled with fat. This intramuscular fat is crucial for moisture and flavor, preventing the pork from drying out during the long cooking period. While the size can vary, a typical Boston butt for a Crock Pot might range from 4 to 8 pounds. You can often find bone-in or boneless varieties. Bone-in cuts tend to offer slightly more flavor and moisture due to the bone, but boneless cuts are easier to handle and shred. For Crock Pot cooking, a boneless roast is often more convenient for fitting into the pot.
Trimming Excess Fat
While marbling is desirable, you’ll want to trim away any thick, hard cap of fat that exceeds about 1/4 inch. This will help ensure that the seasonings penetrate the meat effectively and prevent an overly greasy final product. Use a sharp knife to carefully remove the excess, leaving the desirable intramuscular fat.
Seasoning the Pork
The seasoning is where you impart the initial layer of flavor. A classic approach involves a dry rub, often referred to as a ” công thức tuyệt vời ” in some culinary circles, though the specific blend can be adapted to your preference. A basic but effective rub typically includes:
- Salt: Kosher salt or sea salt is preferred for its flavor and texture.
- Black Pepper: Freshly ground black pepper provides a pungent kick.
- Paprika: Smoked paprika adds a lovely smoky depth, while sweet paprika offers a milder flavor and color.
- Garlic Powder and Onion Powder: These provide foundational aromatic notes.
- Brown Sugar: A touch of brown sugar helps with caramelization and balances the savory elements.
- Optional Spices: Consider adding cayenne pepper for a bit of heat, chili powder for complexity, or cumin for an earthy undertone.
Application:
- Pat Dry: Thoroughly pat the Boston butt dry with paper towels. This helps the rub adhere better.
- Apply Rub: Generously coat the entire surface of the pork shoulder with your chosen dry rub. Don’t be shy; a thick layer is ideal.
- Let it Rest (Optional but Recommended): For deeper flavor penetration, you can let the seasoned pork sit in the refrigerator for at least 30 minutes, or even overnight, before cooking. Cover it loosely or place it on a rack in a tray.
The Crock Pot Cooking Process
The magic of the Crock Pot is its ability to maintain a consistent, low temperature over an extended period, breaking down the connective tissues in the pork shoulder and yielding incredibly tender results.
Liquid and Aromatics
While a dry rub is essential, adding a small amount of liquid to the Crock Pot is crucial for creating steam and preventing the bottom from scorching. The liquid will also help develop a flavorful jus that can be used later.
Recommended Liquids:
- Broth: Chicken, beef, or vegetable broth can be used.
- Apple Cider or Juice: Adds a subtle sweetness and fruity note that complements pork.
- Beer: A dark lager or ale can add significant depth of flavor.
- Water: A simple and effective option if you don’t have other liquids on hand.
Amount: Use about 1/2 to 1 cup of liquid for a typical 4-6 quart Crock Pot. You don’t want the meat to be submerged, as this can lead to steamed rather than roasted-style pulled pork.
Aromatics: You can also add aromatics to the Crock Pot for an extra layer of flavor. These might include:
- Chopped Onion: Adds sweetness and depth.
- Garlic Cloves: Whole or smashed cloves release their flavor slowly.
- Herbs: Sprigs of rosemary or thyme can be added.
Placement in the Crock Pot
Place the seasoned Boston butt fat-side up in the Crock Pot. This allows the rendered fat to baste the meat as it cooks. If you are using bone-in, place it so the bone is oriented downwards.
Cooking Temperature and Time
The two primary settings on a Crock Pot are “Low” and “High.” For Boston butt, “Low” is almost always the preferred setting for the best results.
- Low Setting: This setting typically cooks between 200°F and 250°F (93°C to 121°C). Cooking on low is essential for tenderizing the tough cuts of pork shoulder.
- Time: A 4-6 pound Boston butt cooked on “Low” will generally take 8 to 10 hours, or even longer, until it is fork-tender. The exact time will depend on the size and thickness of the roast, as well as the specific model of your Crock Pot.
- High Setting: While faster, the “High” setting (typically around 300°F / 149°C) can sometimes result in a slightly less tender texture, as the cooking process is more aggressive. If you are short on time, you can use the “High” setting, but expect the cooking time to be reduced to approximately 5 to 6 hours. It’s crucial to monitor the pork closely if using the “High” setting.

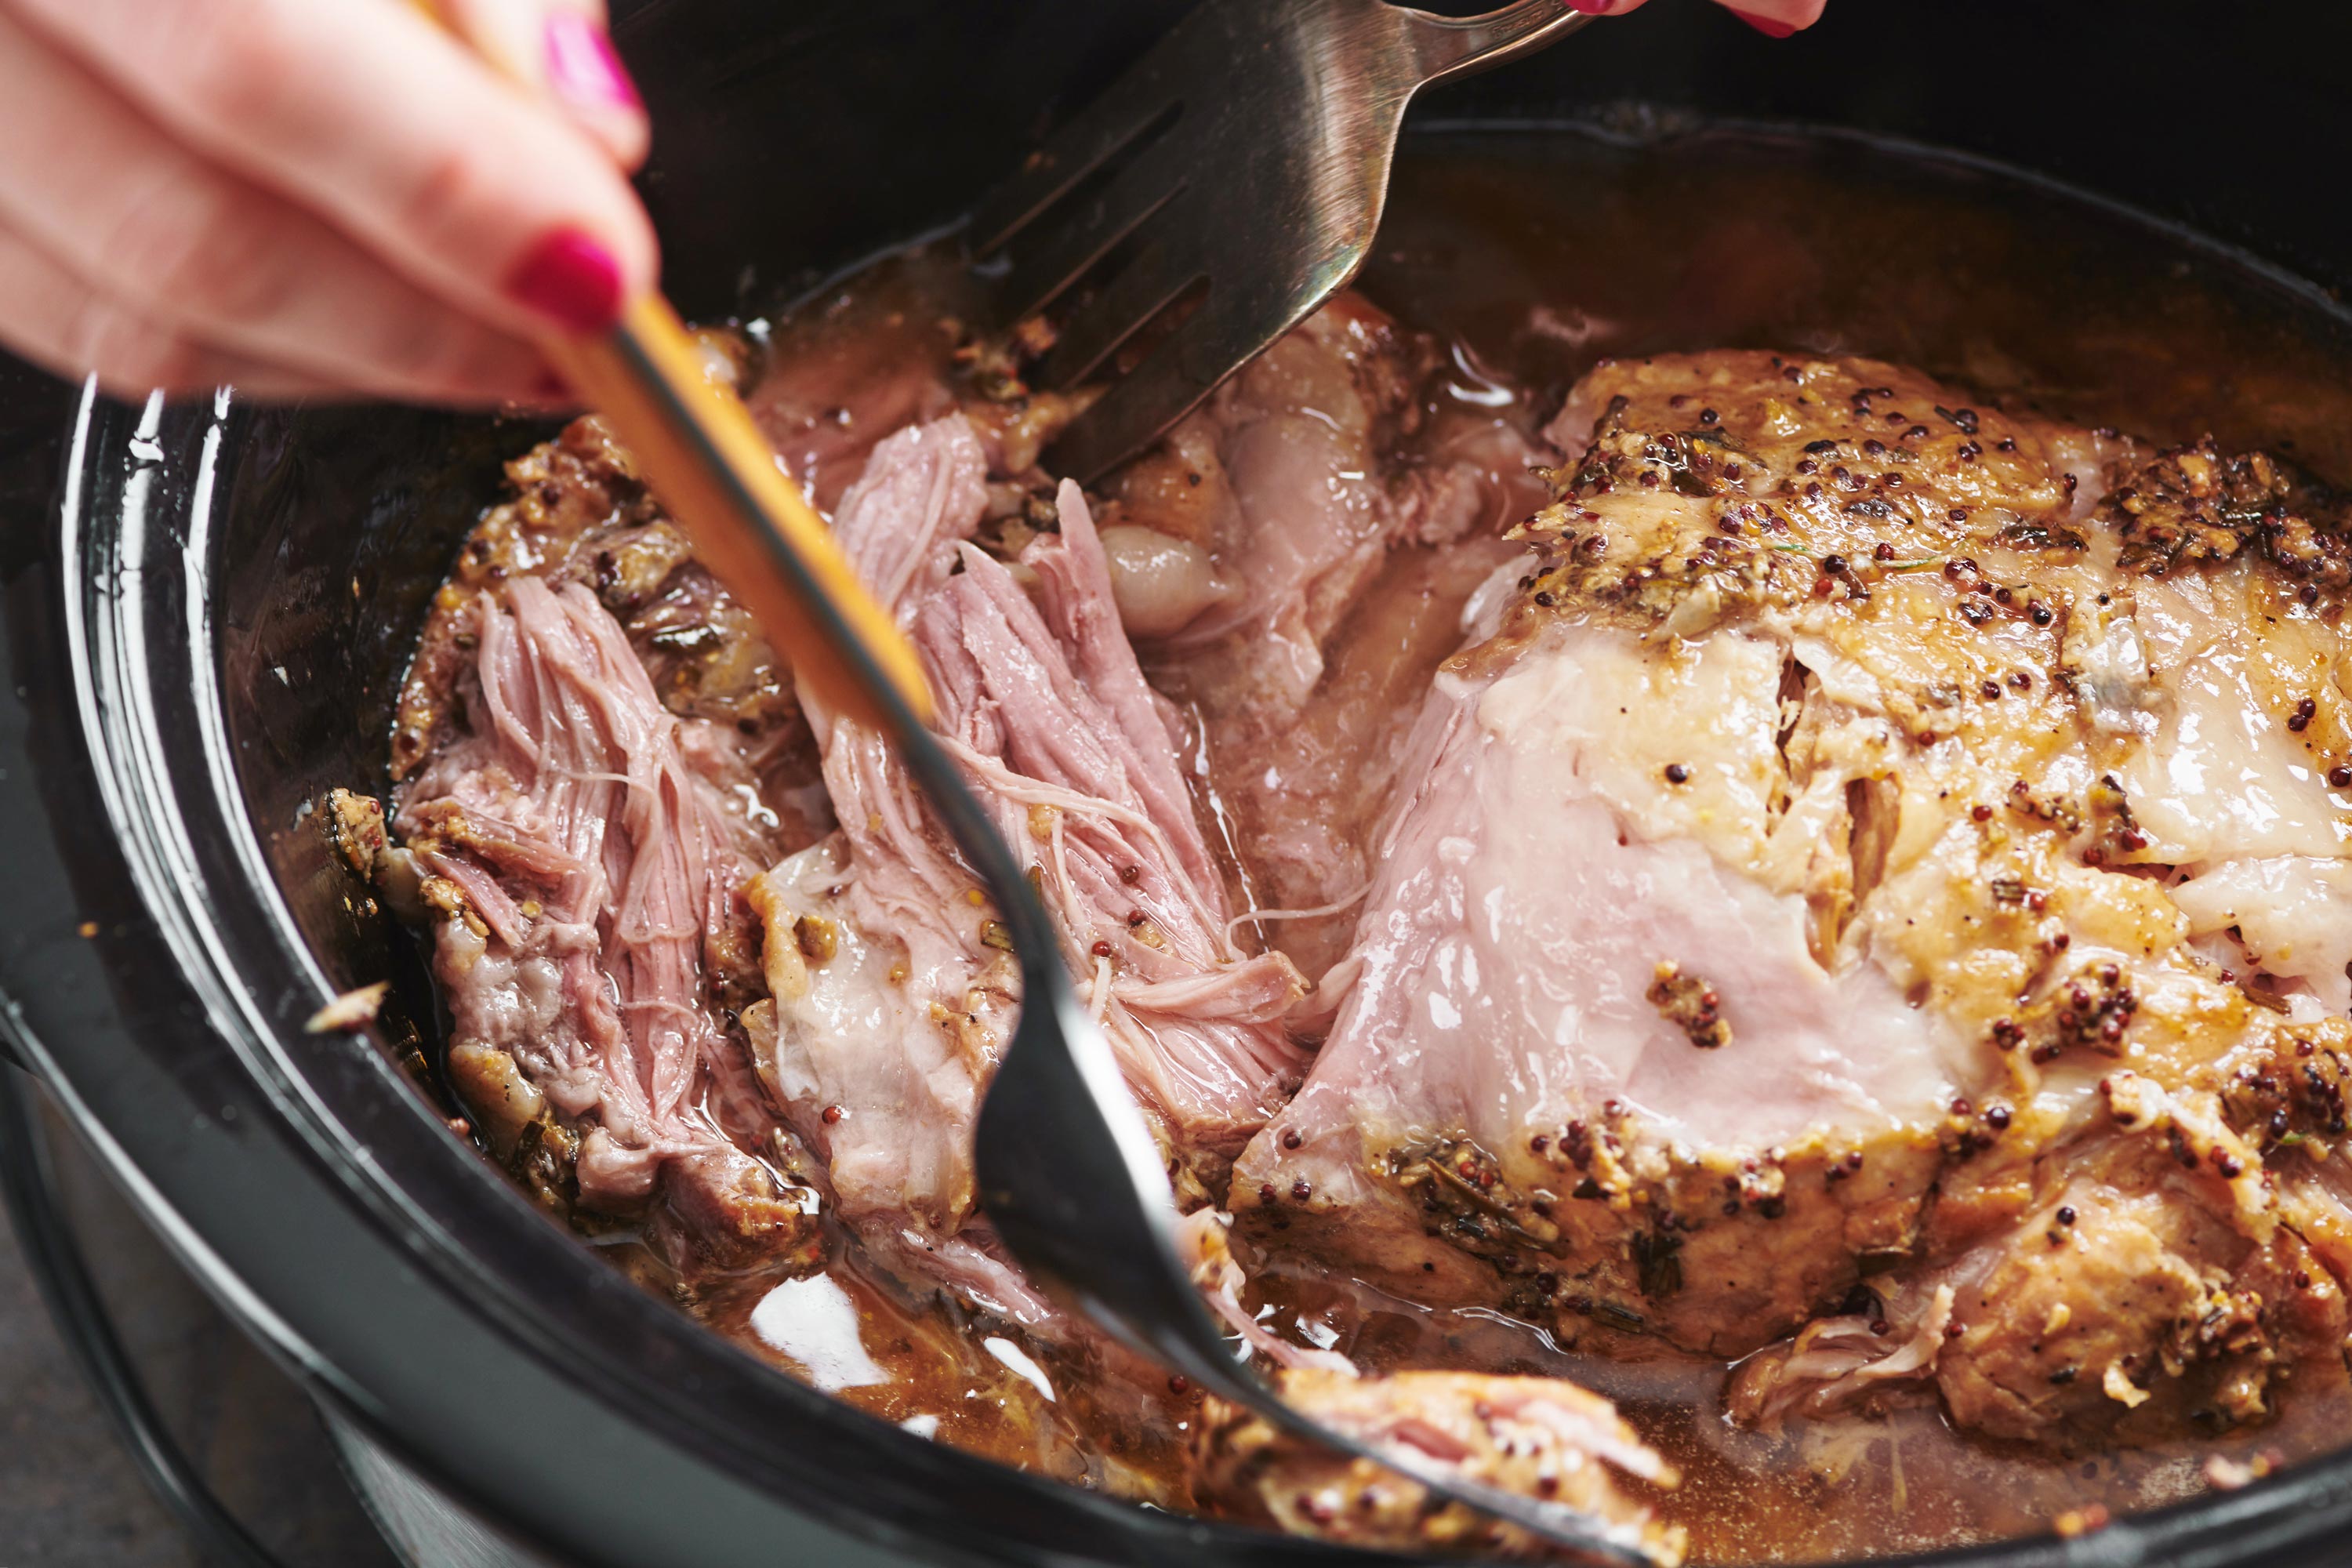
Doneness Test: The pork is ready when it is exceptionally tender and can be easily shredded with two forks. The internal temperature should reach at least 195°F (90.5°C), and ideally closer to 200-205°F (93-96°C) for optimal shredding.
Broiling for a Crispy Finish (Optional)
Once the pork is tender and shredded, some people enjoy a crispy, caramelized finish. You can achieve this by:
- Remove from Crock Pot: Drain off the cooking liquid and set it aside.
- Shred the Pork: Use two forks to pull the meat apart into shreds. Remove any large pieces of fat or connective tissue that haven’t rendered.
- Broil: Spread the shredded pork on a baking sheet lined with parchment paper. Drizzle a small amount of the reserved cooking liquid over the pork to add moisture and flavor. Place the baking sheet under a preheated broiler for 2-4 minutes, watching carefully to prevent burning, until the edges are slightly crispy and caramelized.
Finishing and Serving Your Pulled Pork
The cooking process is only part of the journey to delicious pulled pork. How you finish and serve it can elevate the entire experience.
Sauce and Flavor Enhancement
Pulled pork is wonderfully versatile and can be served with a variety of sauces.
- Barbecue Sauce: This is the most classic pairing. You can use your favorite store-bought sauce or make your own. Common styles include:
- Carolina Style: A vinegar-based sauce, often with a touch of sweetness and spice, sometimes including ketchup.
- Kansas City Style: Thicker, sweeter, and tomato-based.
- Texas Style: Often simpler, focusing on cumin, chili powder, and a bit of heat.
- Adding Sauce: You have a few options for incorporating sauce:
- Mix In: Toss the shredded pork with your desired amount of barbecue sauce in a bowl.
- Serve on the Side: Keep the pork plain and allow individuals to add their own sauce at the table.
- Partial Mix: Mix a little sauce into the shredded pork and serve additional sauce on the side.
Using the Cooking Liquid: The flavorful liquid left in the Crock Pot is liquid gold. You can:
- Skim Fat: Let it sit for a few minutes, then skim off the rendered fat.
- Reduce: Simmer the liquid on the stovetop to reduce it into a more concentrated sauce or jus. This is fantastic for drizzling over the pork.
- Add Back: Stir a few spoonfuls of the reduced liquid back into the shredded pork for added moisture and flavor.
Serving Suggestions
Pulled pork is a culinary chameleon, adaptable to many dishes and occasions.
- Sandwiches: The quintessential way to serve pulled pork. Pile it high on soft buns (like brioche or potato rolls) and top with coleslaw.
- Tacos and Nachos: Shredded pork is excellent in tacos with your favorite toppings or as a base for loaded nachos.
- Platters: Serve a generous portion of pulled pork alongside classic barbecue sides such as coleslaw, potato salad, baked beans, and cornbread.
- Salads: A lighter option is to use pulled pork as a protein topping for a hearty salad.
Storage and Reheating
Cooked pulled pork stores exceptionally well and is often even better the next day as the flavors meld.
- Storage: Allow the pulled pork to cool completely before storing it in an airtight container in the refrigerator. It will keep for 3 to 4 days.
- Reheating:
- Crock Pot/Slow Cooker: The best method for reheating is often back in the Crock Pot on the “Warm” setting with a splash of liquid (water, broth, or sauce) to prevent drying.
- Oven: Place the pork in a baking dish with a little liquid, cover tightly with foil, and reheat at around 300°F (150°C) until heated through.
- Stovetop: Reheat in a skillet over medium-low heat with a little liquid, stirring frequently.
- Microwave: Reheat in a microwave-safe container, covered, in short intervals, stirring in between.
Troubleshooting Common Issues
Even with a seemingly simple recipe like Crock Pot pulled pork, occasional challenges can arise. Here are some common issues and how to address them.
Pork is Dry
- Cause: Insufficient fat in the cut, overcooking, or not enough liquid during the cooking process.
- Solution: Ensure you’re using a well-marbled Boston butt. If it’s already cooked and dry, add more sauce or a splash of reserved cooking liquid (or broth/water) and gently toss to rehydrate. For future cooks, consider adding a bit more liquid to the Crock Pot or ensuring you don’t overcook past the tender stage.
Pork is Not Tender Enough
- Cause: Insufficient cooking time or the wrong cooking temperature.
- Solution: The best solution is to continue cooking! Leave it in the Crock Pot on “Low” for another hour or two, checking for tenderness. Toughness in pork shoulder is almost always a matter of time and heat breaking down the collagen. Avoid the temptation to crank the heat to “High” if it’s not tender, as this can make it tough.
Too Greasy
- Cause: Excessive fat cap was left on the roast, or the rendered fat was not skimmed.
- Solution: Trim the fat cap more thoroughly before cooking. After cooking, before shredding, skim off as much of the rendered fat from the surface of the cooking liquid as possible. You can also pick out visible pieces of hard fat from the shredded pork.
Bland Flavor
- Cause: Insufficient seasoning or an unbalanced rub.
- Solution: Be generous with your dry rub. For future cooks, consider adding more salt and pepper, or experimenting with different spices. You can also enhance the flavor after cooking by adding more barbecue sauce, a splash of hot sauce, or a squeeze of fresh lime juice.
By following these guidelines, you can consistently produce a delicious and tender Boston butt in your Crock Pot, a dish that is sure to impress and satisfy.
LifeOutOfTheBox is a participant in the Amazon Services LLC Associates Program, an affiliate advertising program designed to provide a means for sites to earn advertising fees by advertising and linking to Amazon.com. Amazon, the Amazon logo, AmazonSupply, and the AmazonSupply logo are trademarks of Amazon.com, Inc. or its affiliates. As an Amazon Associate we earn affiliate commissions from qualifying purchases.