
The New York Strip steak, a cut celebrated for its robust flavor and satisfying chew, is a quintessential choice for steak enthusiasts. While grilling often garners the spotlight, mastering the art of pan-searing this prime cut can yield equally, if not more, exquisite results, especially for those seeking a refined dining experience within the comfort of their own kitchen. This method allows for unparalleled control over the crust and internal temperature, transforming a simple weeknight meal into a restaurant-quality indulgence. This guide delves into the nuances of achieving a perfect pan-seared New York Strip, focusing on the principles that elevate this dish from good to unforgettable.
The Foundation: Selecting and Preparing Your Steak
The journey to a perfect New York Strip begins long before it hits the heat. Careful selection and proper preparation are paramount to unlocking its full potential.
Choosing the Right Cut
When selecting a New York Strip, look for a steak that is at least 1.5 inches thick. This thickness is crucial for achieving a beautiful sear on the exterior while maintaining a desirable level of doneness in the center. Opt for well-marbled cuts, characterized by thin streaks of fat running through the meat. This intramuscular fat, or marbling, melts during cooking, basting the steak from within and contributing significantly to its tenderness and flavor. USDA Prime or Choice grades are excellent starting points, offering superior quality and consistency. The color of the meat should be a vibrant red, indicating freshness. Avoid steaks that appear dull or have a grayish hue.
The Art of Seasoning
Simplicity is often key to allowing the natural flavor of a quality New York Strip to shine. Generous seasoning with coarse sea salt or kosher salt and freshly ground black pepper is essential. Apply the salt liberally, ensuring it adheres to all surfaces of the steak. This not only enhances flavor but also helps to draw out moisture, which in turn aids in the formation of a superior crust. For those who enjoy a touch of complexity, garlic powder and a pinch of cayenne pepper can be added. However, refrain from over-seasoning, as it can mask the inherent richness of the beef. Season the steak at least 30 minutes to an hour before cooking, or even the night before if time allows, by placing it on a wire rack in the refrigerator. This dry-brining process further concentrates the beef’s flavor and promotes a drier surface, ideal for searing.
Bringing Steak to Room Temperature
Crucially, allow your New York Strip to come to room temperature before cooking. A cold steak will cook unevenly, resulting in a well-done exterior with a rare center, or vice-versa. Removing the steak from the refrigerator about 45 minutes to an hour before you plan to cook it will ensure that the heat penetrates the steak more uniformly. Pat the steak thoroughly dry with paper towels just before searing. This step is non-negotiable; any surface moisture will steam the steak rather than sear it, preventing the development of that coveted, flavorful crust.
The Searing Process: Achieving the Perfect Crust
The pan-sear is the heart of this cooking method, responsible for creating the complex, deeply browned exterior that is a hallmark of a perfectly cooked steak.
Choosing the Right Pan and Fat
A heavy-bottomed skillet is indispensable for pan-searing. Cast iron skillets are the gold standard due to their excellent heat retention and even heat distribution, which are critical for achieving a consistent sear. Stainless steel pans also perform admirably. Avoid non-stick pans, as they generally do not achieve the high temperatures necessary for a proper sear and can be damaged by high heat.
The choice of cooking fat is equally important. A high smoke point oil is required to withstand the intense heat without burning. Options include avocado oil, grapeseed oil, or clarified butter (ghee). Regular butter can be used, but it should be added towards the end of the cooking process to prevent burning. Start with a tablespoon or two of oil in the pan, enough to lightly coat the bottom.
The Searing Technique
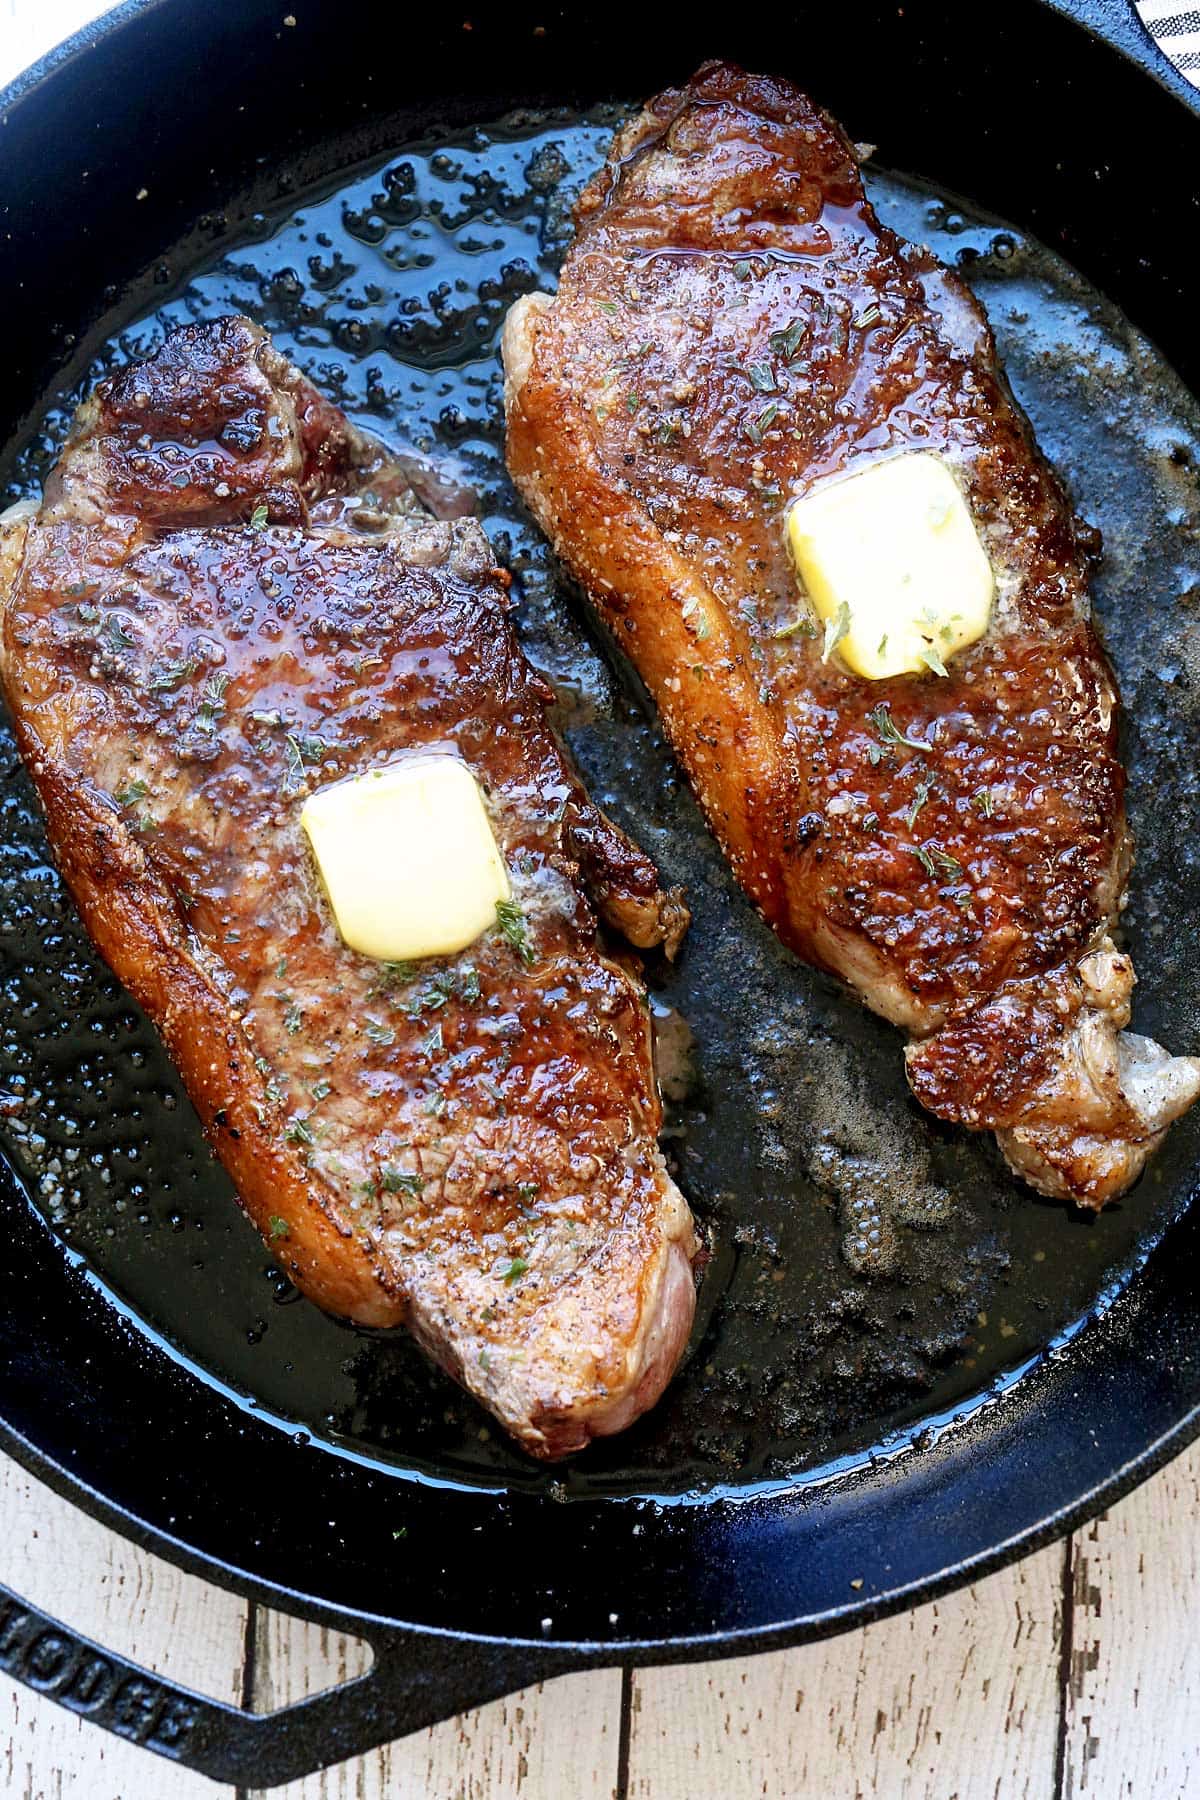
Place the dried and seasoned steak in the preheated skillet over medium-high to high heat. You should hear an immediate sizzle. Avoid overcrowding the pan; if cooking multiple steaks, sear them in batches to maintain pan temperature. Allow the steak to sear undisturbed for 2 to 4 minutes per side, depending on thickness and desired doneness. The goal is to develop a deep brown crust.
Once a crust has formed on one side, flip the steak using tongs and sear the other side for a similar duration. Do not constantly move or prod the steak; let it make firm contact with the hot pan to build that essential Maillard reaction crust.
Basting for Flavor and Moisture
After searing both sides, reduce the heat to medium. This is where the magic of basting comes into play. Add 1-2 tablespoons of butter to the pan, along with aromatics like crushed garlic cloves and sprigs of fresh rosemary or thyme. As the butter melts and foams, tilt the pan slightly and use a spoon to continuously ladle the flavored butter over the steak. Baste for 1-3 minutes, allowing the butter to penetrate the meat and add a rich, glossy finish. This technique not only enhances flavor but also helps to keep the steak moist.
Achieving Perfect Doneness: Temperature is Key
The most reliable way to ensure your New York Strip is cooked to your precise preference is by using an instant-read meat thermometer. Guessing can lead to disappointment, but a thermometer takes the guesswork out of the equation.
Internal Temperature Guide
Insert the thermometer into the thickest part of the steak, avoiding bone or large pockets of fat. For medium-rare, aim for an internal temperature of 130-135°F (54-57°C). For medium, target 135-140°F (57-60°C). Remember that the steak’s temperature will continue to rise by 5-10 degrees Fahrenheit as it rests (carryover cooking), so pull the steak from the heat a few degrees before it reaches your desired final temperature.
Resting: The Crucial Final Step
Once the steak has reached its target internal temperature, remove it from the pan and place it on a clean cutting board or a warm plate. Tent it loosely with aluminum foil. This resting period, typically 5-10 minutes, is absolutely critical. It allows the juices, which have been driven to the center of the steak by the heat, to redistribute throughout the meat. Cutting into the steak too soon will result in all those delicious juices running out onto the board, leaving you with a dry steak. The resting period ensures that each bite is succulent and flavorful.
Serving and Enhancements
A perfectly cooked New York Strip deserves to be presented and savored with care.
Slicing and Presentation
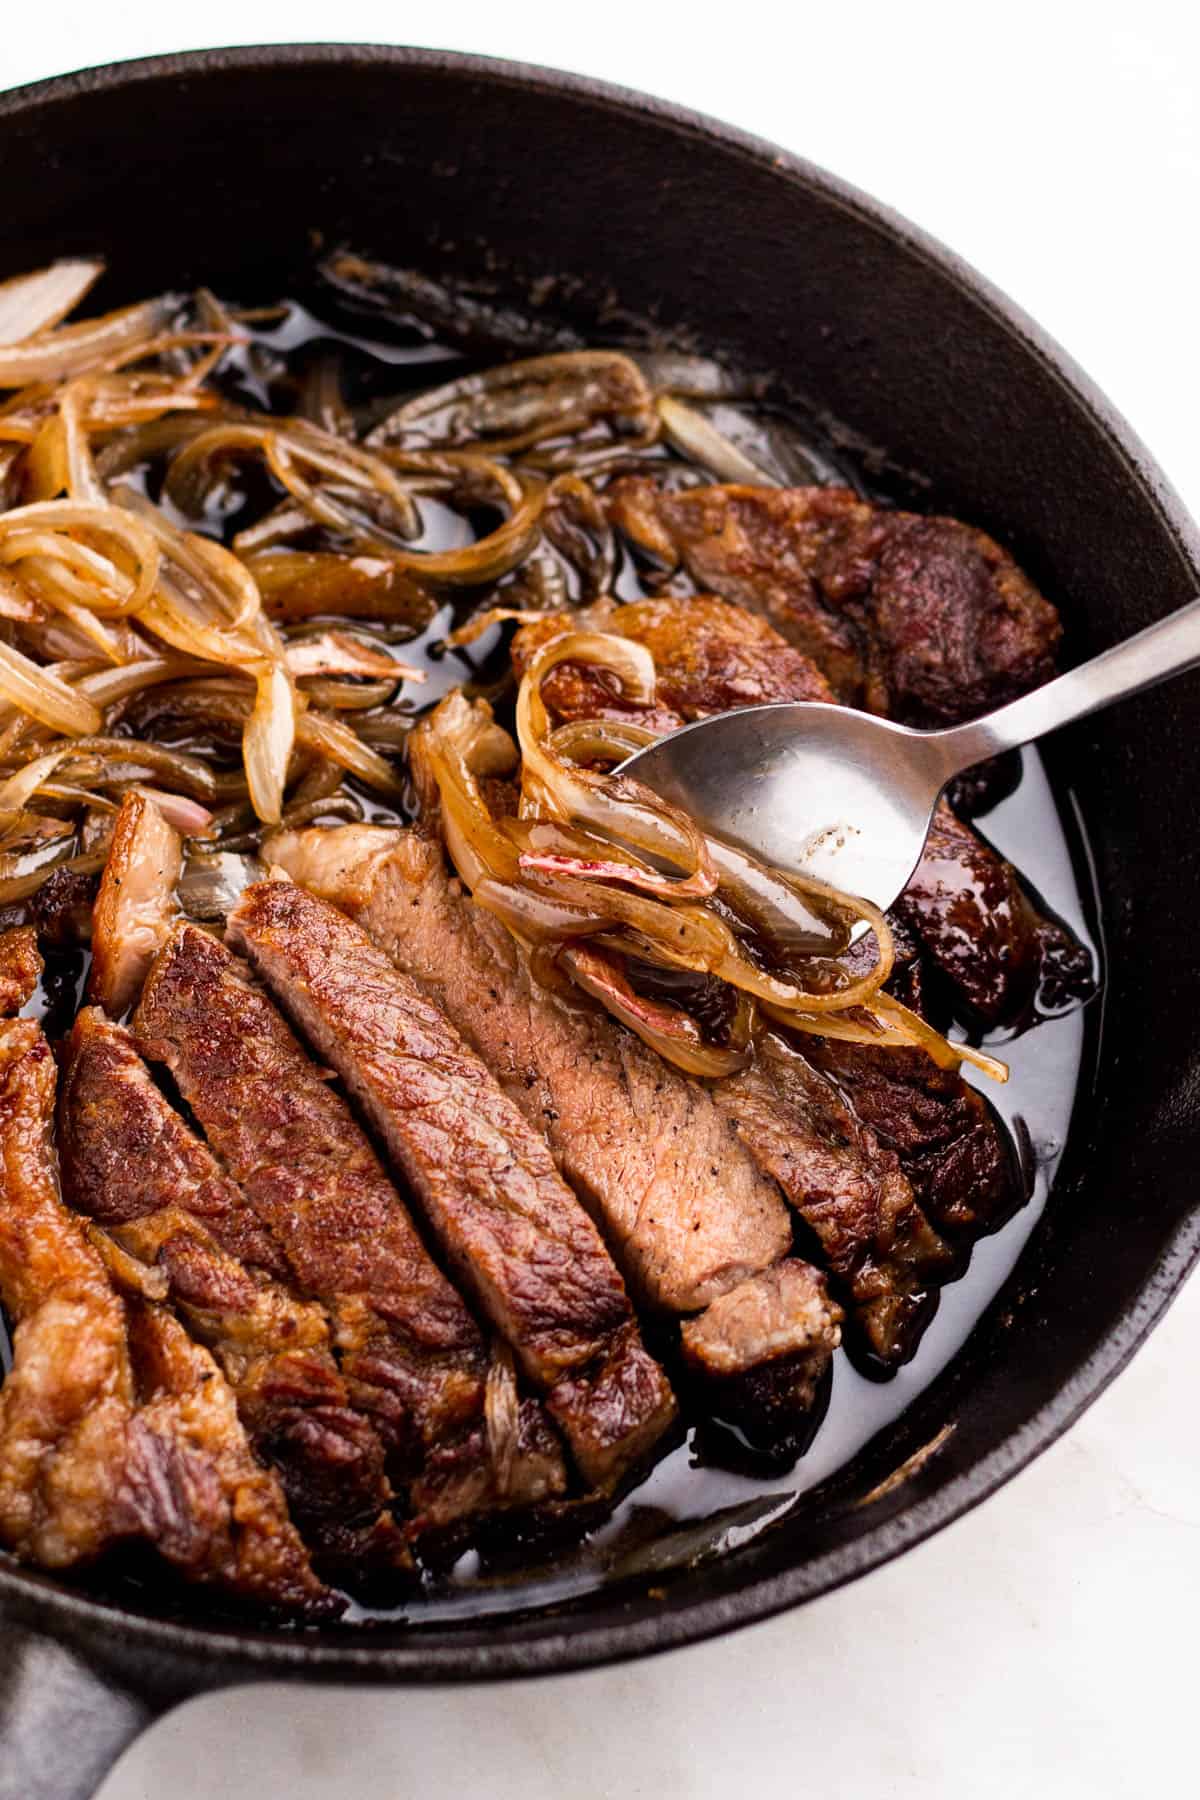
After resting, slice the steak against the grain. This means cutting perpendicular to the direction of the muscle fibers. Slicing against the grain shortens the fibers, making the steak more tender and easier to chew. Arrange the slices on a warm plate. The rendered fat and any accumulated juices from the resting plate can be drizzled over the top for an extra layer of flavor.

Complementary Pairings
The robust flavor of a New York Strip pairs well with a variety of accompaniments. Classic steakhouse sides like creamy mashed potatoes, roasted asparagus, or a crisp Caesar salad are excellent choices. For a sauce, a red wine reduction, a classic béarnaise, or a simple pan sauce made with the residual drippings, a splash of wine, and a knob of butter can elevate the dish further. For those exploring the culinary landscape of New York City, seeking out restaurants that master this cut can provide inspiration for your own home cooking adventures. The essence of a great steak lies not just in the cooking, but in the entire dining experience, which can be as elaborate or as simple as you wish.
By following these meticulous steps, from selecting the finest cut to the final, crucial rest, you can consistently achieve a pan-seared New York Strip that rivals any steakhouse offering. The combination of a superior crust, tender interior, and rich flavor profile will undoubtedly make this a go-to method for any discerning home chef.
LifeOutOfTheBox is a participant in the Amazon Services LLC Associates Program, an affiliate advertising program designed to provide a means for sites to earn advertising fees by advertising and linking to Amazon.com. Amazon, the Amazon logo, AmazonSupply, and the AmazonSupply logo are trademarks of Amazon.com, Inc. or its affiliates. As an Amazon Associate we earn affiliate commissions from qualifying purchases.