The allure of a perfectly cooked New York strip steak, seared to a beautiful crust on the outside and wonderfully juicy within, is undeniable. While many associate steakhouse dining with a professional kitchen, achieving this culinary feat at home, specifically on the stovetop, is surprisingly accessible. This guide will walk you through the process, transforming a simple cut of meat into a restaurant-quality meal, right in your own kitchen. Whether you’re a seasoned home cook or embarking on your first steak adventure, mastering the stovetop New York strip is a rewarding skill that complements any lifestyle, from a luxurious solo indulgence to a delightful meal shared with loved ones.
Our journey into creating the perfect New York strip begins not just with the cooking method, but with a holistic understanding of what makes a steak truly exceptional. This often intertwines with the broader appreciation for quality ingredients and the experiences that surround them, much like the principles explored on websites dedicated to travel, cuisine, and luxurious living. Imagine savoring a perfectly seared steak after a day exploring the vibrant streets of New York City or unwinding in a plush suite at the Grand Hyatt Hotel. The principles of good cooking, much like those of good travel, are about thoughtful preparation, attention to detail, and ultimately, creating memorable moments.
Selecting the Perfect New York Strip
The foundation of any great steak is, of course, the steak itself. For a New York strip, often called a Kansas City strip or strip loin, quality is paramount. This cut, known for its balance of tenderness and beefy flavor, comes from the short loin primal cut.
Understanding the Cut
The New York strip boasts a distinctive strip of fat along one edge, which renders during cooking, adding immense flavor and moisture. It’s typically leaner than a ribeye but more tender than a flank steak. When choosing your steak, look for:
- Marbling: This refers to the intramuscular fat. A good amount of fine, white marbling dispersed throughout the red meat indicates flavor and tenderness. Avoid streaks of thick, yellow fat.
- Thickness: For stovetop cooking, aim for a steak that is at least 1 to 1.5 inches thick. Thicker steaks are more forgiving, allowing you to achieve a beautiful sear without overcooking the interior.
- Color: The meat should be a bright, cherry-red color. Avoid any steaks that appear dull, brown, or have excessive moisture pooling in the packaging, which can be a sign of oxidation.
- Grade: While not always readily available, USDA Prime or Choice grades are excellent choices. Prime has the most marbling and is the most tender and flavorful. Choice is a great balance of quality and price. If you can find them, consider steaks from Ranchers Reserve or Certified Angus Beef for a reliably excellent product.
Sourcing Your Steak
Your local butcher is often the best source for high-quality New York strip steaks. They can advise you on the best cuts, and you can often request specific thicknesses. Supermarket meat counters can also offer good options, but it’s always wise to inspect the meat carefully. For those who appreciate convenience and quality, reputable online meat purveyors are also an excellent option, delivering premium cuts directly to your door. Many of these services partner with farms in areas known for excellent cattle ranching, much like exploring the diverse culinary landscapes of Argentina or Texas.
The Art of Pan-Searing: Achieving the Perfect Crust
Pan-searing is the cornerstone of cooking a New York strip on the stove. It’s a high-heat method that creates a delicious, flavorful crust through the Maillard reaction, while keeping the interior moist and tender.
Essential Tools and Ingredients
Before you begin, gather your tools and ingredients:
- Heavy-Bottomed Skillet: A cast-iron skillet is the gold standard for searing. Its excellent heat retention and distribution ensure an even crust. Stainless steel is also a good option.
- High Smoke Point Oil: Grapeseed oil, canola oil, or avocado oil are ideal. Avoid olive oil, as its smoke point is too low for searing.
- Salt and Pepper: Coarse sea salt or kosher salt and freshly ground black pepper are essential for seasoning.
- Butter and Aromatics (Optional): Unsalted butter, garlic cloves, and fresh herbs like rosemary or thyme are fantastic for basting the steak in the final stages of cooking, adding another layer of flavor.
- Tongs: For safely flipping and handling the steak.
- Instant-Read Thermometer: Crucial for accurately checking the internal temperature and achieving your desired doneness.
The Searing Process: Step-by-Step
- Bring the Steak to Room Temperature: This is a critical, often overlooked, step. Remove your New York strip from the refrigerator at least 30-60 minutes before cooking. This allows the steak to cook more evenly. A cold steak will cook unevenly, with the outside potentially overcooking before the inside reaches the desired temperature.
- Pat the Steak Dry: Moisture is the enemy of a good sear. Use paper towels to thoroughly pat down both sides of the steak. The drier the surface, the better the crust will form.
- Season Generously: Season the steak liberally on all sides with salt and freshly ground black pepper just before cooking. The salt will draw out some moisture initially, which then reabsorbs, helping to season the meat.
- Heat the Skillet: Place your skillet over medium-high to high heat. Allow it to get very hot – you should see a slight shimmer of heat rising from the pan.
- Add Oil: Once the skillet is hot, add about 1-2 tablespoons of your high smoke point oil. Swirl the pan to coat the bottom. The oil should shimmer but not smoke excessively.
- Sear the Steak: Carefully place the seasoned steak into the hot skillet. You should hear a satisfying sizzle. Resist the urge to move the steak for at least 2-3 minutes. This allows a deep, brown crust to form.
- Flip and Sear the Other Side: Using tongs, flip the steak and sear the other side for another 2-3 minutes.
- Sear the Edges: For thicker steaks, use your tongs to hold the steak on its sides, searing the edges for about 30-60 seconds each, especially the fatty edge. This renders the fat and creates a more uniform crust.
Achieving Perfect Doneness and Resting
The final stages of cooking involve ensuring your New York strip is cooked to your preferred level of doneness, followed by a crucial resting period that allows the juices to redistribute.
Understanding Steak Temperatures
The internal temperature of the steak is the most reliable indicator of doneness. Use an instant-read thermometer inserted into the thickest part of the steak, avoiding bone or fat.
- Rare: 120-125°F (49-52°C) – Cool, red center
- Medium-Rare: 130-135°F (54-57°C) – Warm, red center (often considered ideal for New York strip)
- Medium: 135-140°F (57-60°C) – Warm, pink center
- Medium-Well: 140-145°F (60-63°C) – Mostly brown, slightly pink in the center
- Well-Done: 150°F+ (65°C+) – Little to no pink, cooked through
Remember that the steak’s temperature will rise an additional 5-10°F as it rests. So, pull the steak from the heat when it’s about 5°F below your target temperature.
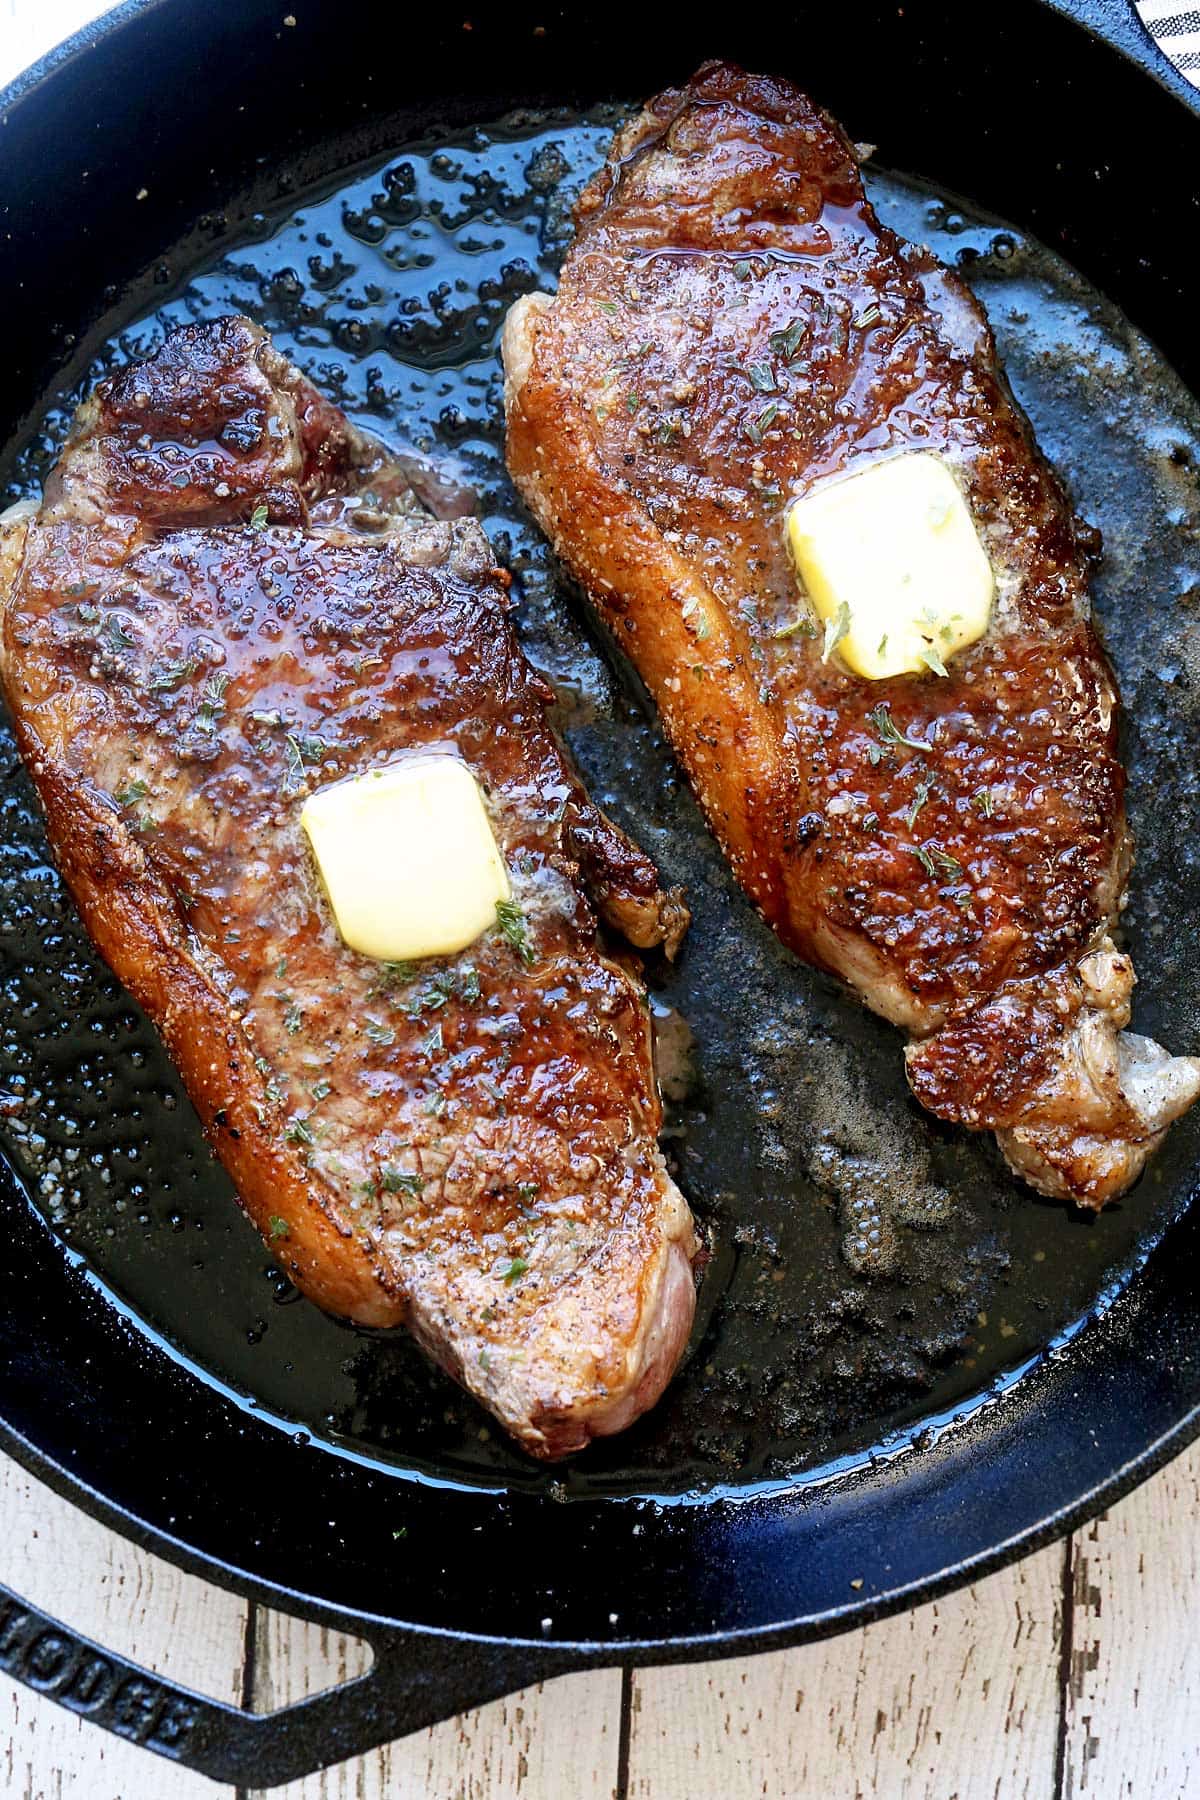
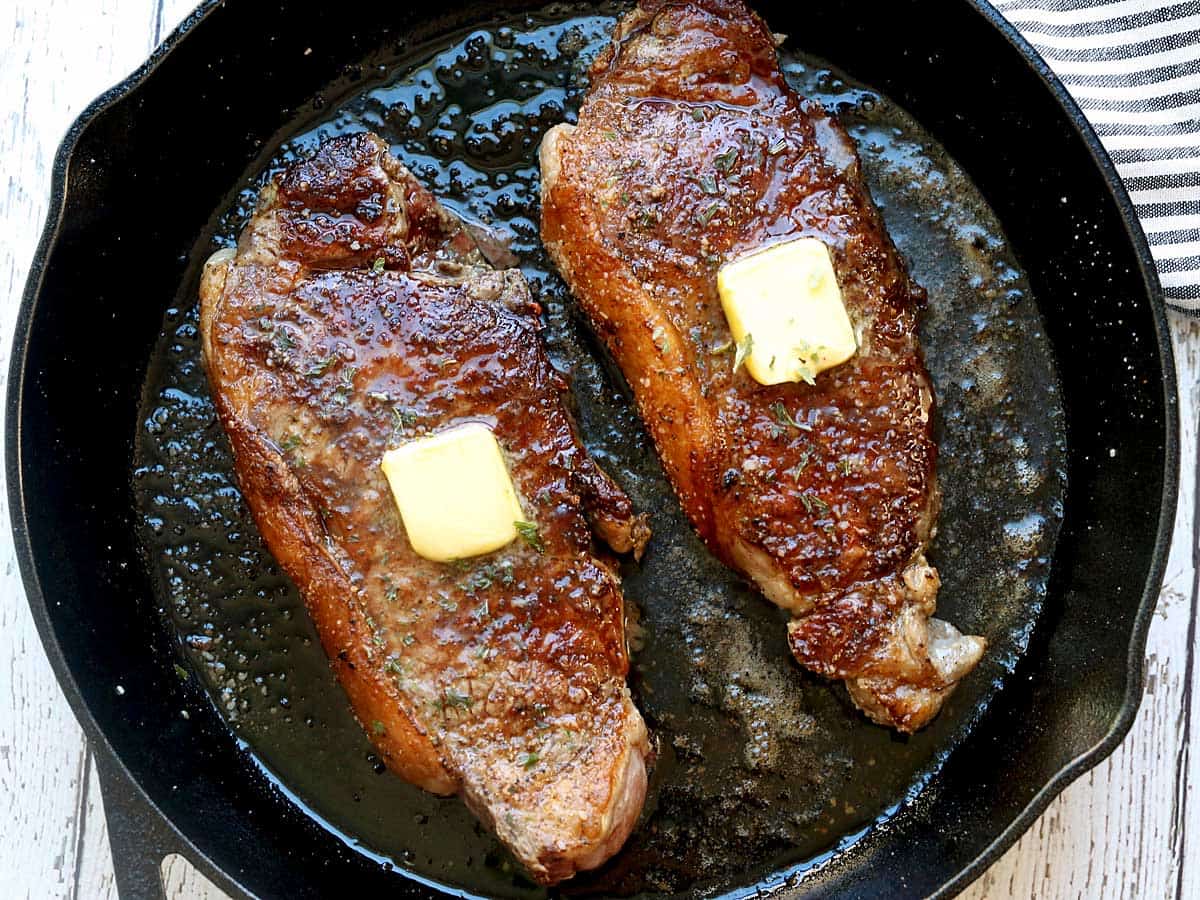
The Butter Baste (Optional but Recommended)
For an extra layer of richness and flavor, particularly in the last few minutes of cooking:
- Reduce Heat: Lower the heat to medium.
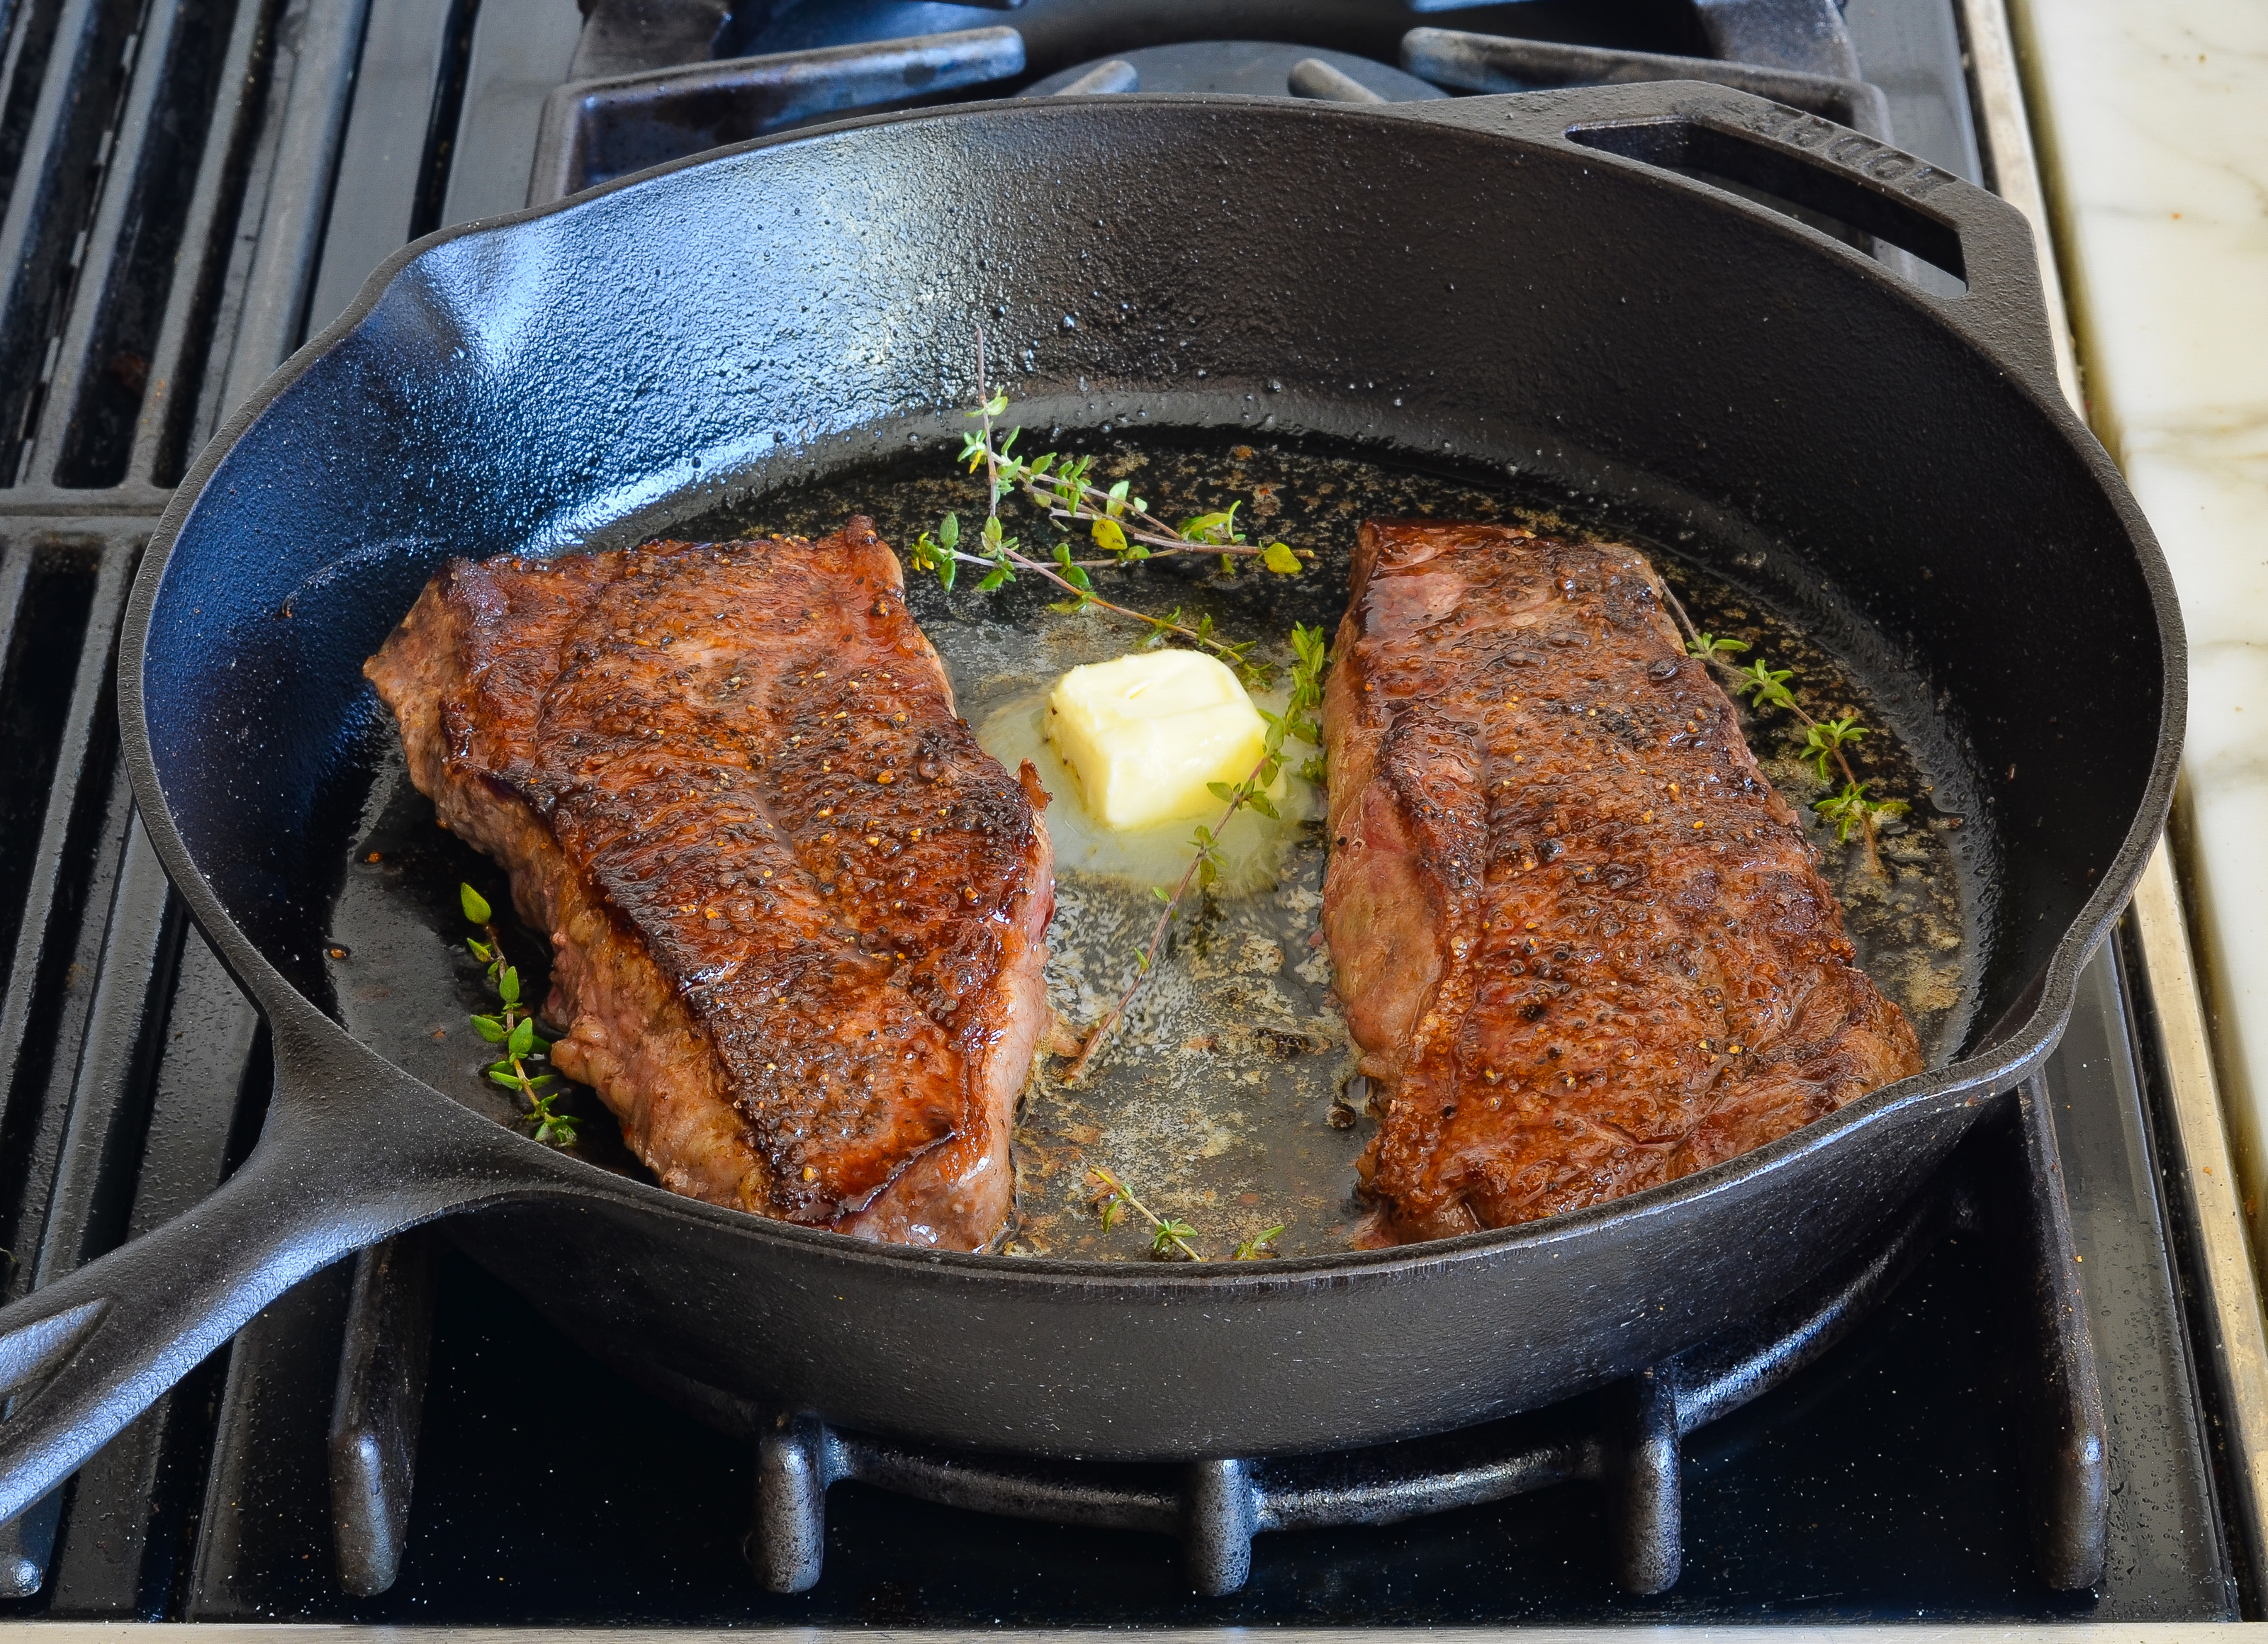
- Add Butter and Aromatics: Add 2-3 tablespoons of unsalted butter to the skillet, along with a couple of smashed garlic cloves and a sprig or two of fresh rosemary or thyme.
- Baste: As the butter melts, tilt the skillet slightly and use a spoon to continuously baste the melting butter and aromatics over the steak. This enriches the flavor and helps the crust develop further. Continue basting for 1-2 minutes, or until the steak reaches your desired temperature.
The Crucial Resting Period
Once your steak has reached its target internal temperature, remove it from the skillet and place it on a clean cutting board or a warm plate. Tent it loosely with aluminum foil. Allow the steak to rest for at least 5-10 minutes (or about half the cooking time).
This resting period is non-negotiable. During cooking, the muscle fibers tighten, pushing the juices to the center. Resting allows these fibers to relax, redistributing the juices throughout the steak. If you slice into the steak immediately, all those delicious juices will run out onto your cutting board, leaving you with a dry steak. This principle of allowing things to settle and develop is akin to how one might explore the quiet charm of a European village after the bustle of a major city like Paris, or the anticipation of a booking confirmation after a thorough comparison of hotels.
Serving Your Masterpiece
After resting, slice the New York strip against the grain for maximum tenderness. Serve immediately. It pairs beautifully with simple sides like roasted vegetables, a fresh salad, or creamy mashed potatoes. Consider a glass of robust red wine, perhaps a Cabernet Sauvignon from the Napa Valley, to complement the rich flavors of the steak.
Cooking a New York strip on the stove is a culinary triumph within reach. By focusing on quality ingredients, understanding the searing process, and respecting the importance of resting, you can consistently create a steak that rivals any fine dining establishment. This skill not only elevates your home cooking but also enhances the enjoyment of culinary experiences, whether you’re at home or seeking out the best food during your travels to destinations like Rome or Tokyo. Enjoy the delicious results of your well-executed stovetop masterpiece.
LifeOutOfTheBox is a participant in the Amazon Services LLC Associates Program, an affiliate advertising program designed to provide a means for sites to earn advertising fees by advertising and linking to Amazon.com. Amazon, the Amazon logo, AmazonSupply, and the AmazonSupply logo are trademarks of Amazon.com, Inc. or its affiliates. As an Amazon Associate we earn affiliate commissions from qualifying purchases.