
The New York strip steak, a prime cut renowned for its balance of tenderness and robust beefy flavor, is a cornerstone of classic American cuisine. While often associated with sizzling griddles and steakhouses, mastering its preparation in a home oven opens up a world of convenient and consistent culinary achievement. This guide delves into the refined techniques for cooking a New York strip steak entirely in your oven, ensuring a perfectly seared crust and a succulent, evenly cooked interior, ideal for elevating any home dining experience, whether you’re a seasoned gourmand or a curious novice.
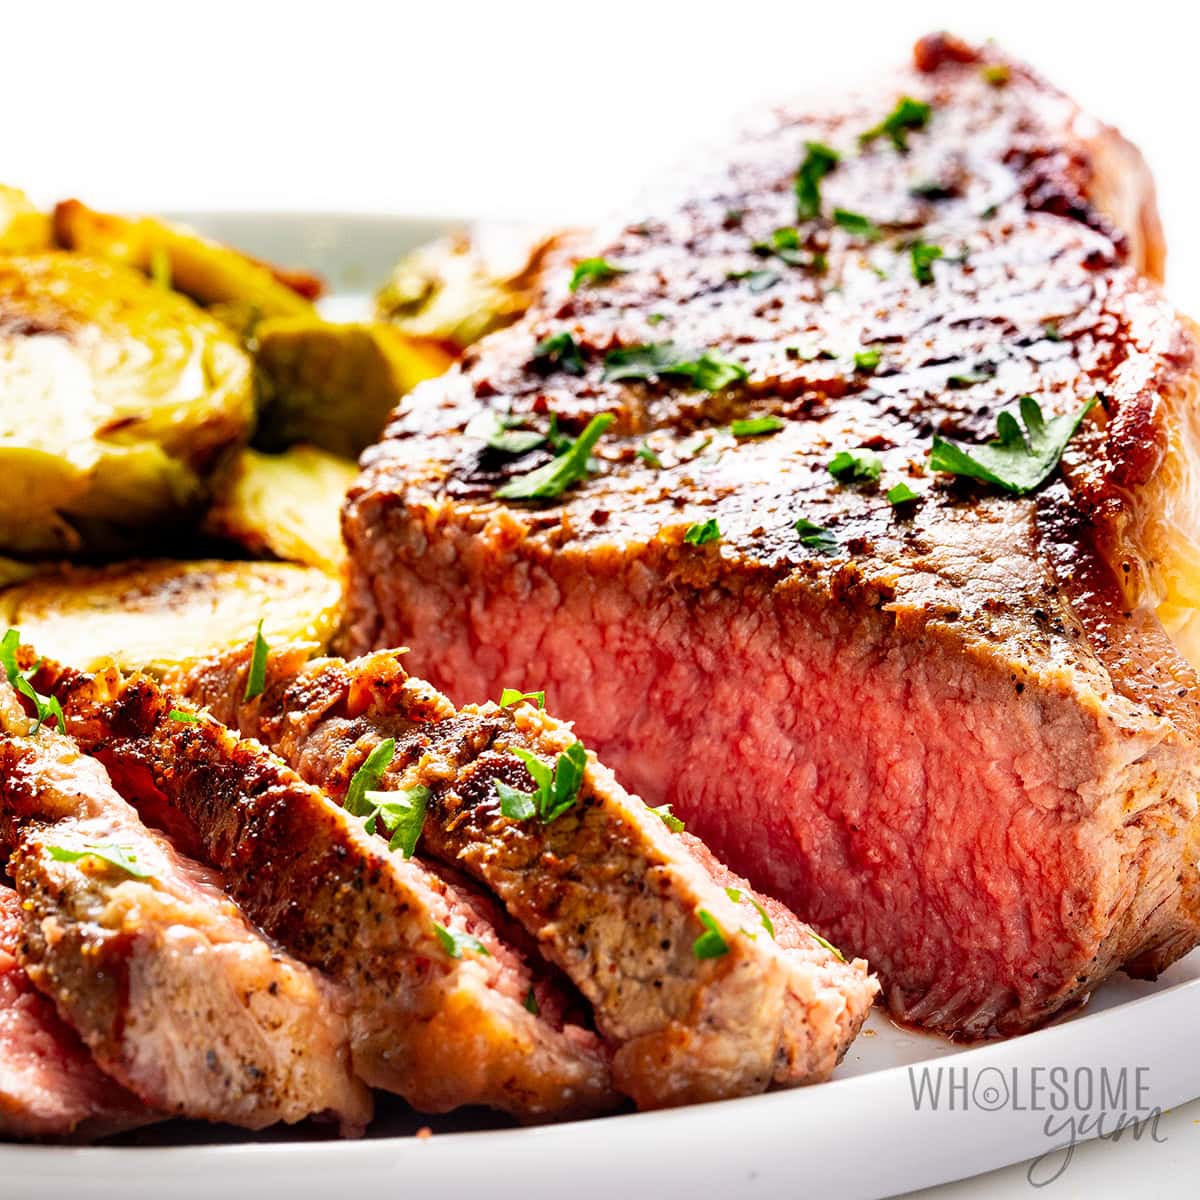
Understanding the Cut and Preparation
Before embarking on the cooking process, a thorough understanding of the New York strip steak and its proper preparation is paramount. This knowledge forms the foundation for achieving exceptional results, transforming a quality cut of meat into a memorable meal.
Selecting the Right Steak
The quality of your New York strip steak directly influences the final outcome. Look for steaks that are at least 1 to 1.5 inches thick; thinner cuts are prone to overcooking. The color should be a vibrant, cherry-red, indicating freshness. Marbling, the intramuscular fat, is crucial for flavor and tenderness. Seek out steaks with a good amount of fine, white marbling distributed evenly throughout the red meat. Grades like USDA Prime or Choice are excellent starting points, offering superior flavor and texture compared to Select. For an even more elevated experience, consider sourcing dry-aged steaks, which develop a more intense, complex flavor profile through a controlled aging process. The origin of your beef can also play a role; explore options from regions known for their high-quality cattle ranching, such as the American West or Argentina.
Bringing Steak to Room Temperature
A critical, yet often overlooked, step is allowing the steak to come to room temperature before cooking. Cold steaks have a dense, cool center that can lead to uneven cooking, where the exterior is overdone by the time the interior reaches the desired temperature. Remove your New York strip steak from the refrigerator at least 30 to 60 minutes prior to cooking, depending on its thickness and the ambient temperature of your kitchen. This allows the muscle fibers to relax, promoting more uniform heat penetration and a juicier result.
Patting Dry and Seasoning
Moisture is the enemy of a good sear. Before seasoning, thoroughly pat the steak dry on all sides with paper towels. This removes surface moisture, which would otherwise steam the meat during the searing process, preventing the formation of a desirable crust. Once dry, liberally season the steak on all sides with coarse sea salt and freshly cracked black pepper. Don’t be shy with the seasoning; a thick steak can handle a generous amount, which will develop a flavorful crust during cooking. Consider adding other aromatics like garlic powder or a touch of paprika for added complexity, but classic salt and pepper are often all that is needed to highlight the inherent quality of the beef.
The Oven-Roasting Method: Achieving a Perfect Sear and Internal Temperature
The oven-roasting method for New York strip steak offers a reliable way to achieve a restaurant-quality result at home. This technique typically involves an initial sear, either on the stovetop or under the broiler, followed by a period of oven roasting to bring the steak to the desired internal temperature.
Preheating the Oven and Pan
For optimal results, preheat your oven to a high temperature, typically between 400°F and 450°F (200°C to 230°C). This high heat is crucial for quickly cooking the interior while minimizing the risk of overcooking. Simultaneously, preheat your chosen cooking vessel. A heavy-bottomed, oven-safe skillet, such as cast iron or stainless steel, is ideal. If you don’t have an oven-safe skillet, you can use a baking sheet. Place the skillet or baking sheet in the oven as it preheats to ensure it’s scorching hot when the steak is ready to be placed on it. A hot surface is essential for achieving that coveted sear.
Searing the Steak
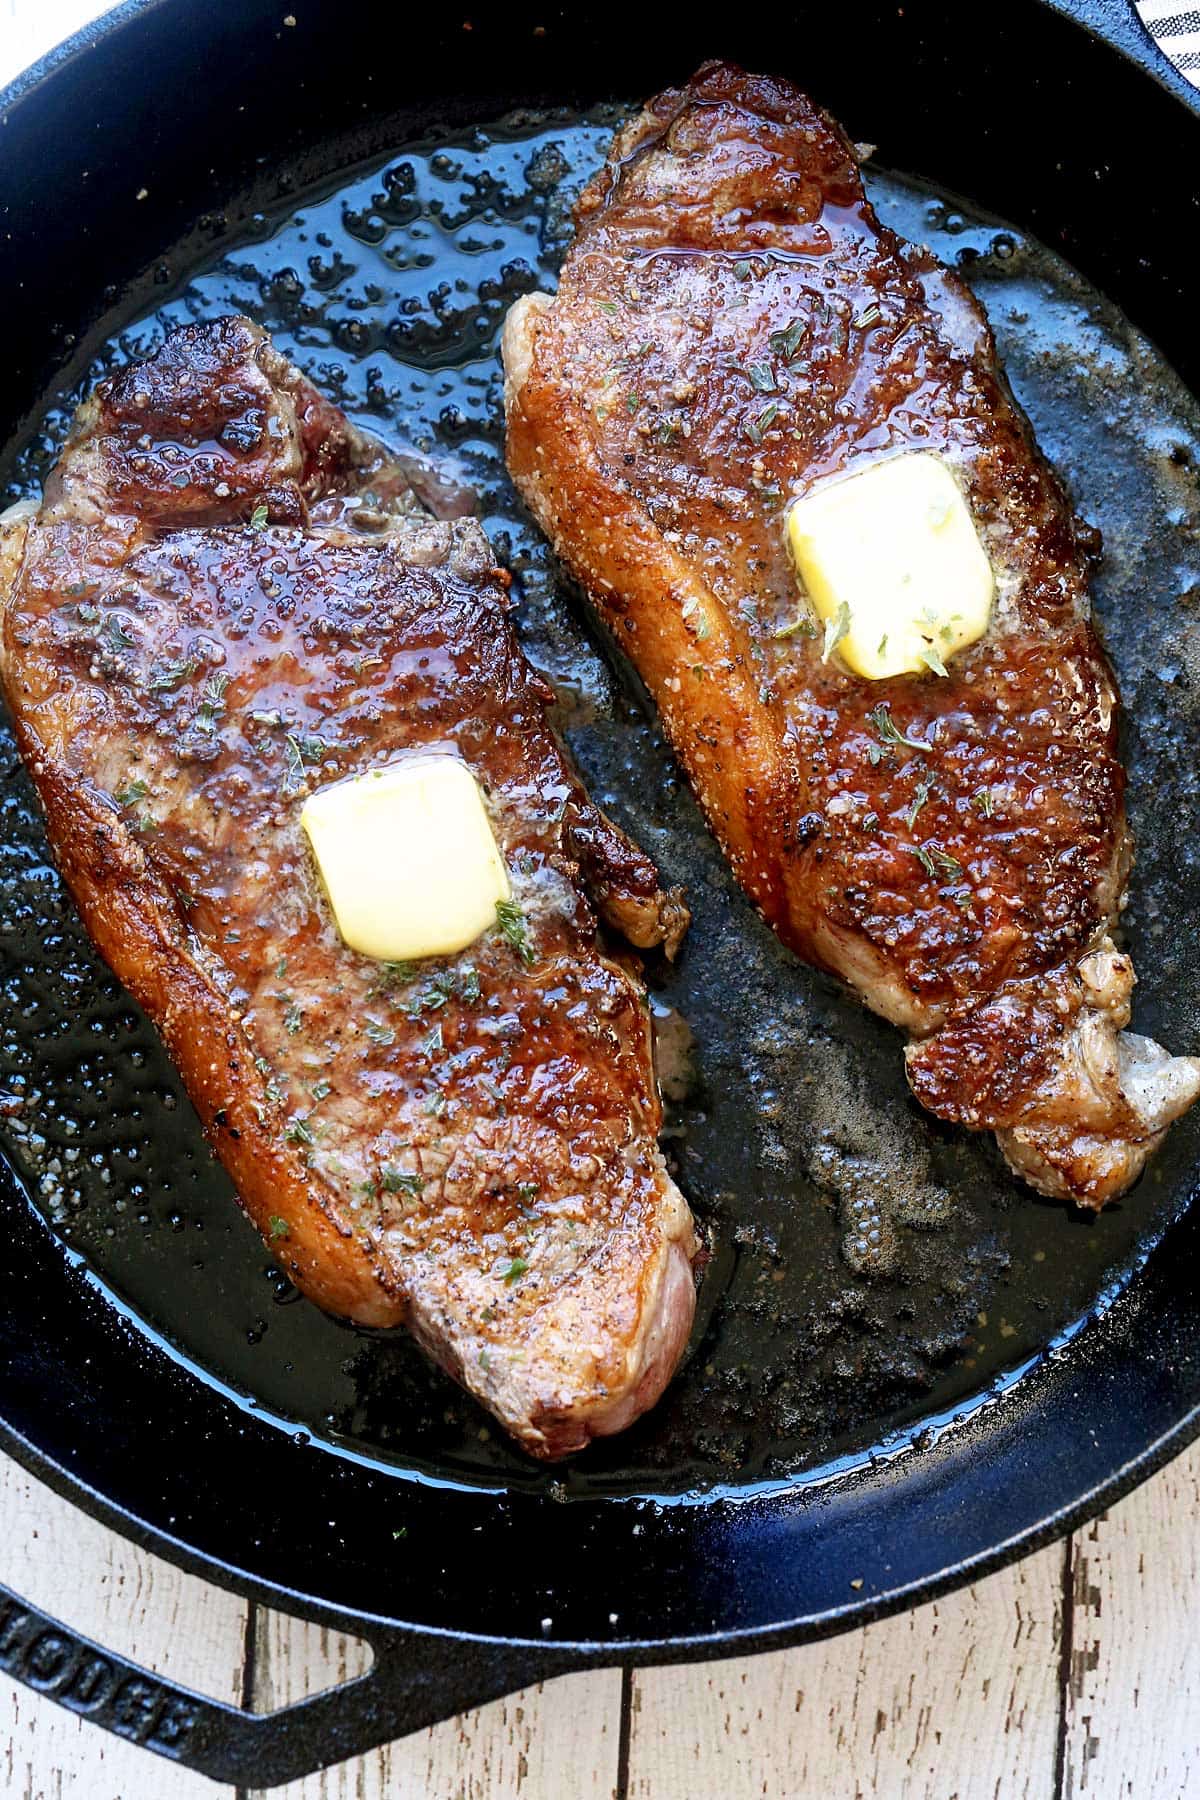
The sear is what gives a steak its appealing brown crust and locks in flavor. Remove the preheated skillet from the oven (being extremely cautious due to its heat) and place it on the stovetop over medium-high to high heat. Add a high smoke point oil, such as grapeseed, canola, or avocado oil, just enough to lightly coat the bottom of the pan. Once the oil shimmers and is on the verge of smoking, carefully lay the seasoned New York strip steak into the hot pan.
Allow the steak to sear undisturbed for 2 to 3 minutes per side, depending on the thickness, until a deep brown crust forms. You can also sear the edges of the steak by holding it with tongs for about 30 seconds per side. This initial sear is brief and is designed to develop the exterior crust; the bulk of the cooking will occur in the oven. If you are searing in a cast iron skillet, it will retain heat exceptionally well, contributing to a superior crust.
Oven Roasting to Desired Doneness
Once seared, carefully transfer the oven-safe skillet with the steak directly into the preheated oven. If you used a non-oven-safe pan for searing, transfer the seared steak to a preheated baking sheet. Now, the steak will roast until it reaches your desired internal temperature.
The cooking time will vary significantly based on the thickness of the steak, the oven temperature, and your preferred level of doneness. It is highly recommended to use an instant-read meat thermometer for accuracy. Insert the thermometer into the thickest part of the steak, avoiding any bone or fat pockets.
- Rare: 120°F to 125°F (49°C to 52°C)
- Medium-Rare: 130°F to 135°F (54°C to 57°C) – This is often considered the ideal doneness for a New York strip.
- Medium: 135°F to 140°F (57°C to 60°C)
- Medium-Well: 140°F to 145°F (60°C to 63°C)
- Well-Done: 150°F+ (65°C+) – Generally not recommended for this cut.
For a 1.5-inch thick New York strip steak, cooking time in a 425°F oven might range from 6 to 10 minutes for medium-rare. It is always better to err on the side of undercooking and return the steak to the oven for a few more minutes if needed. Remember that the steak’s internal temperature will continue to rise by 5 to 10 degrees Fahrenheit as it rests, a process known as carryover cooking. Therefore, remove the steak from the oven when it is about 5 degrees Fahrenheit below your target temperature.
Resting and Serving: The Final Touches for a Perfect Steak
The resting period is a crucial, non-negotiable step in steak preparation. It allows the juices to redistribute throughout the meat, ensuring every bite is succulent and flavorful. Skipping this step will result in juices running out onto the plate, leaving the steak drier.
The Importance of Resting
Once removed from the oven, transfer the steak to a clean cutting board. Tent it loosely with aluminum foil. This gentle covering helps to retain warmth without steaming the crust you worked so hard to achieve. Allow the steak to rest for at least 5 to 10 minutes, and up to 15 minutes for thicker cuts. During this time, the muscle fibers relax, and the trapped juices are reabsorbed back into the meat. Patience here will be richly rewarded with a far more tender and moist steak.
Slicing and Presentation
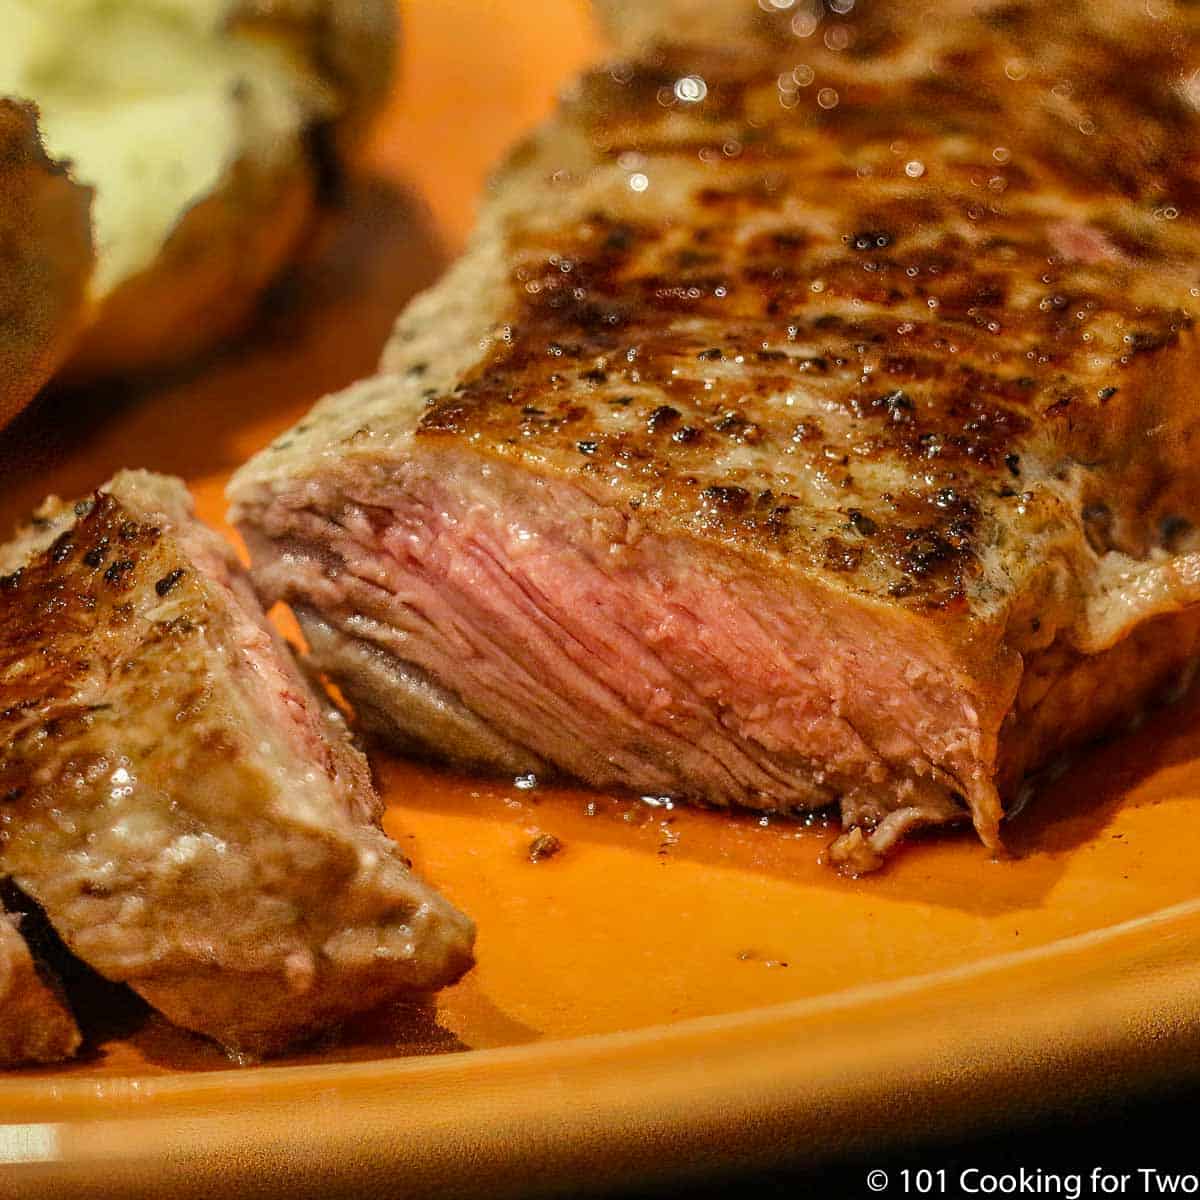
After resting, the New York strip steak is ready to be sliced and served. For the most tender results, always slice the steak against the grain. The grain refers to the direction in which the muscle fibers are aligned. By cutting perpendicular to these fibers, you shorten them, making each bite easier to chew. Use a sharp carving knife for clean cuts.
Accompaniments and Wine Pairings
A perfectly cooked New York strip steak is a versatile dish that pairs beautifully with a variety of accompaniments. Classic choices include creamy mashed potatoes, roasted asparagus or broccoli, and a rich béarnaise or red wine reduction sauce. For a more robust experience, consider a side of caramelized onions or sautéed mushrooms.
When it comes to wine pairings, the bold flavor of a New York strip steak calls for wines with structure and character. A full-bodied red wine is an excellent choice. Consider a Cabernet Sauvignon from Napa Valley or a Bordeaux blend, known for their tannins and dark fruit notes that complement the richness of the beef. A Merlot can offer a slightly softer, fruitier profile, while a Syrah or Shiraz can provide peppery and smoky undertones that harmonize with the grilled notes of the steak. For those who prefer white wine, a bold Chardonnay with some oak aging can stand up to the richness of the steak.
Variations and Tips for Elevating Your Steak
While the core oven-roasting method is highly effective, several variations and tips can further enhance your New York strip steak experience, allowing for personalized flavor profiles and culinary exploration.
Compound Butters and Sauces
Elevating your steak with a flavored compound butter or a pan sauce made from the drippings is a simple yet effective way to add depth and richness.
Compound Butter
- Garlic-Herb Butter: Softened butter mixed with finely minced garlic, fresh chopped parsley, chives, and a pinch of salt and pepper.
- Blue Cheese Butter: Softened butter combined with crumbled blue cheese, a touch of Dijon mustard, and black pepper.
- Chili-Lime Butter: Softened butter blended with lime zest, a pinch of red pepper flakes, and chopped cilantro.
Simply dollop a slice of the chilled compound butter onto the hot steak immediately after it comes out of the oven. The butter will melt, infusing the steak with its flavors.
Pan Sauce
After removing the steak from the skillet, pour off excess fat. Deglaze the pan with a liquid such as red wine, beef broth, or even a splash of whiskey. Scrape up any browned bits from the bottom of the pan, which are packed with flavor. Let the liquid reduce, then whisk in a knob of cold butter to create a glossy, rich sauce. You can also incorporate shallots, garlic, or fresh herbs into the sauce for added complexity.
Broiler Finish for an Extra Crust
For those who desire an even more intensely seared crust, consider finishing the steak under the broiler. After the steak has reached its desired internal temperature in the oven, you can briefly place it under a hot broiler (set to high) for 1 to 2 minutes per side, watching it very closely to prevent burning. This will provide an extra layer of crispiness, akin to what you might experience at a high-end steakhouse.
Using a Cast Iron Skillet
As previously mentioned, a cast iron skillet is a chef’s best friend when it comes to searing steak. Its ability to retain and distribute heat evenly is unparalleled, leading to a consistently beautiful crust. Ensure your cast iron skillet is well-seasoned and preheated to a very high temperature before searing the steak. The thermal mass of cast iron also helps to maintain a consistent cooking temperature when the steak is transferred to the oven. Many chefs swear by the cast iron skillet for achieving that perfect steakhouse sear.
Sous Vide Pre-Cook
For the ultimate in precision and tenderness, consider a sous vide pre-cook followed by an oven finish. This involves vacuum-sealing the seasoned steak and cooking it in a precisely temperature-controlled water bath for an extended period (e.g., 1-4 hours depending on thickness and desired tenderness). Once the sous vide process is complete, the steak can be seared in a hot pan or under the broiler for a final crust before being finished briefly in a hot oven to reach the desired temperature. This method ensures perfect edge-to-edge doneness and unparalleled tenderness.
By mastering the oven-roasting technique, from selecting the finest cuts to understanding the nuances of resting and serving, you can confidently recreate the steakhouse experience in your own home, transforming an ordinary meal into an extraordinary culinary event.
LifeOutOfTheBox is a participant in the Amazon Services LLC Associates Program, an affiliate advertising program designed to provide a means for sites to earn advertising fees by advertising and linking to Amazon.com. Amazon, the Amazon logo, AmazonSupply, and the AmazonSupply logo are trademarks of Amazon.com, Inc. or its affiliates. As an Amazon Associate we earn affiliate commissions from qualifying purchases.