
New York City, a global epicenter of culinary innovation and iconic flavors, is perhaps most famously associated with its distinctive pizza. The New York-style slice – large, foldable, with a thin, crisp yet chewy crust, a vibrant tomato sauce, and perfectly melted mozzarella – is more than just a meal; it’s an experience. It’s the fuel for a busy workday, the centerpiece of a late-night adventure, and a taste of the city’s soul. While the best way to enjoy it is arguably at a classic pizzeria in Manhattan or Brooklyn, the desire to recreate this magic at home is a common aspiration for pizza lovers worldwide. This guide will demystify the process, breaking down the essential elements and techniques required to craft an authentic New York-style pizza in your own kitchen.

The Foundation: Dough Mastery
The soul of any New York-style pizza lies in its dough. Achieving the perfect balance of chewiness, crispness, and flavor requires attention to detail and the right ingredients. This isn’t just about mixing flour and water; it’s about understanding the science and art of fermentation and gluten development.
Ingredients for Authentic Dough
The simplicity of the ingredients belies their importance. High-quality components are paramount for achieving that signature texture and taste.
- Flour: The cornerstone of New York-style pizza dough is high-gluten bread flour. This type of flour has a higher protein content, which develops more gluten when kneaded. Gluten is the network of proteins that gives dough its elasticity and structure, essential for that characteristic thin, yet strong, crust that can be folded without breaking. Look for bread flour specifically, not all-purpose.
- Water: The hydration level is crucial. For New York-style pizza, a hydration level typically between 60% and 65% of the flour’s weight is ideal. This means for every 100 grams of flour, you’ll use 60-65 grams of water. The water temperature also plays a role in yeast activity; lukewarm water (around 100-110°F or 38-43°C) is generally best for activating active dry yeast.
- Yeast: Active dry yeast is commonly used and readily available. It needs to be bloomed in warm water with a pinch of sugar to ensure it’s alive and active before being incorporated into the flour. Instant yeast can also be used and doesn’t require blooming.
- Salt: Fine sea salt is preferred. Salt not only enhances the flavor of the dough but also controls yeast activity and strengthens the gluten structure. It’s essential to distribute it evenly.
- Olive Oil: A small amount of extra virgin olive oil adds a subtle flavor and helps to create a tender crumb and a slightly crispier crust when baked.
- Sugar (Optional): A small amount of sugar can help feed the yeast, promoting a faster rise and contributing to browning during baking. However, traditionalists often omit it.
The Kneading and Fermentation Process
Proper kneading develops the gluten structure, giving the dough its elasticity. This can be done by hand or with a stand mixer.
- Mixing: Combine the bloomed yeast (if using active dry), water, flour, salt, olive oil, and sugar (if used) in a large bowl or the bowl of a stand mixer fitted with a dough hook. Mix until a shaggy dough forms.
- Kneading: For hand-kneading, turn the dough out onto a lightly floured surface and knead for 8-10 minutes, pushing, folding, and turning the dough until it becomes smooth, elastic, and no longer sticky. With a stand mixer, knead on medium-low speed for 6-8 minutes until the dough pulls away from the sides of the bowl and is smooth and elastic.
- First Rise (Bulk Fermentation): Place the kneaded dough in a lightly oiled bowl, cover it with plastic wrap or a damp kitchen towel, and let it rise in a warm place for 1-2 hours, or until doubled in size. This fermentation period develops flavor.
- Portioning and Second Rise (Cold Fermentation): Once the dough has risen, punch it down gently and divide it into 1-2 portions, depending on your desired pizza size (typically 12-16 ounces per pizza for a 14-16 inch pie). Shape each portion into a smooth ball. For the best flavor and texture, refrigerate the dough balls for at least 24 hours, and up to 3-4 days. This slow, cold fermentation develops complex flavors and makes the dough easier to handle.
Crafting the Classic Toppings
The beauty of New York-style pizza often lies in its elegant simplicity. While gourmet toppings have their place, the quintessential experience relies on a few key components that harmonize perfectly.
The Essential Sauce: A Tomato Foundation
A good tomato sauce is the backbone of any great pizza. For New York style, it’s typically uncooked, allowing the fresh tomato flavor to shine through.
- Choosing Tomatoes: Use high-quality, whole peeled San Marzano tomatoes, often considered the gold standard for their sweet, less acidic flavor and firm pulp. If San Marzanos are unavailable, good quality whole peeled plum tomatoes will suffice.
- Preparation: Drain the tomatoes well, reserving some of the juice. Lightly crush the tomatoes by hand or pulse them briefly in a food processor – you want a slightly chunky texture, not a smooth puree.
- Seasoning: The key is minimal seasoning to let the tomato flavor dominate. A pinch of salt, a grind of black pepper, and a small amount of dried oregano are usually all that’s needed. Some may add a clove of minced garlic or a drizzle of olive oil, but these are often optional and debated among purists. Avoid cooking the sauce beforehand, as it loses its fresh, bright taste.
The Melty Marvel: Mozzarella Perfection
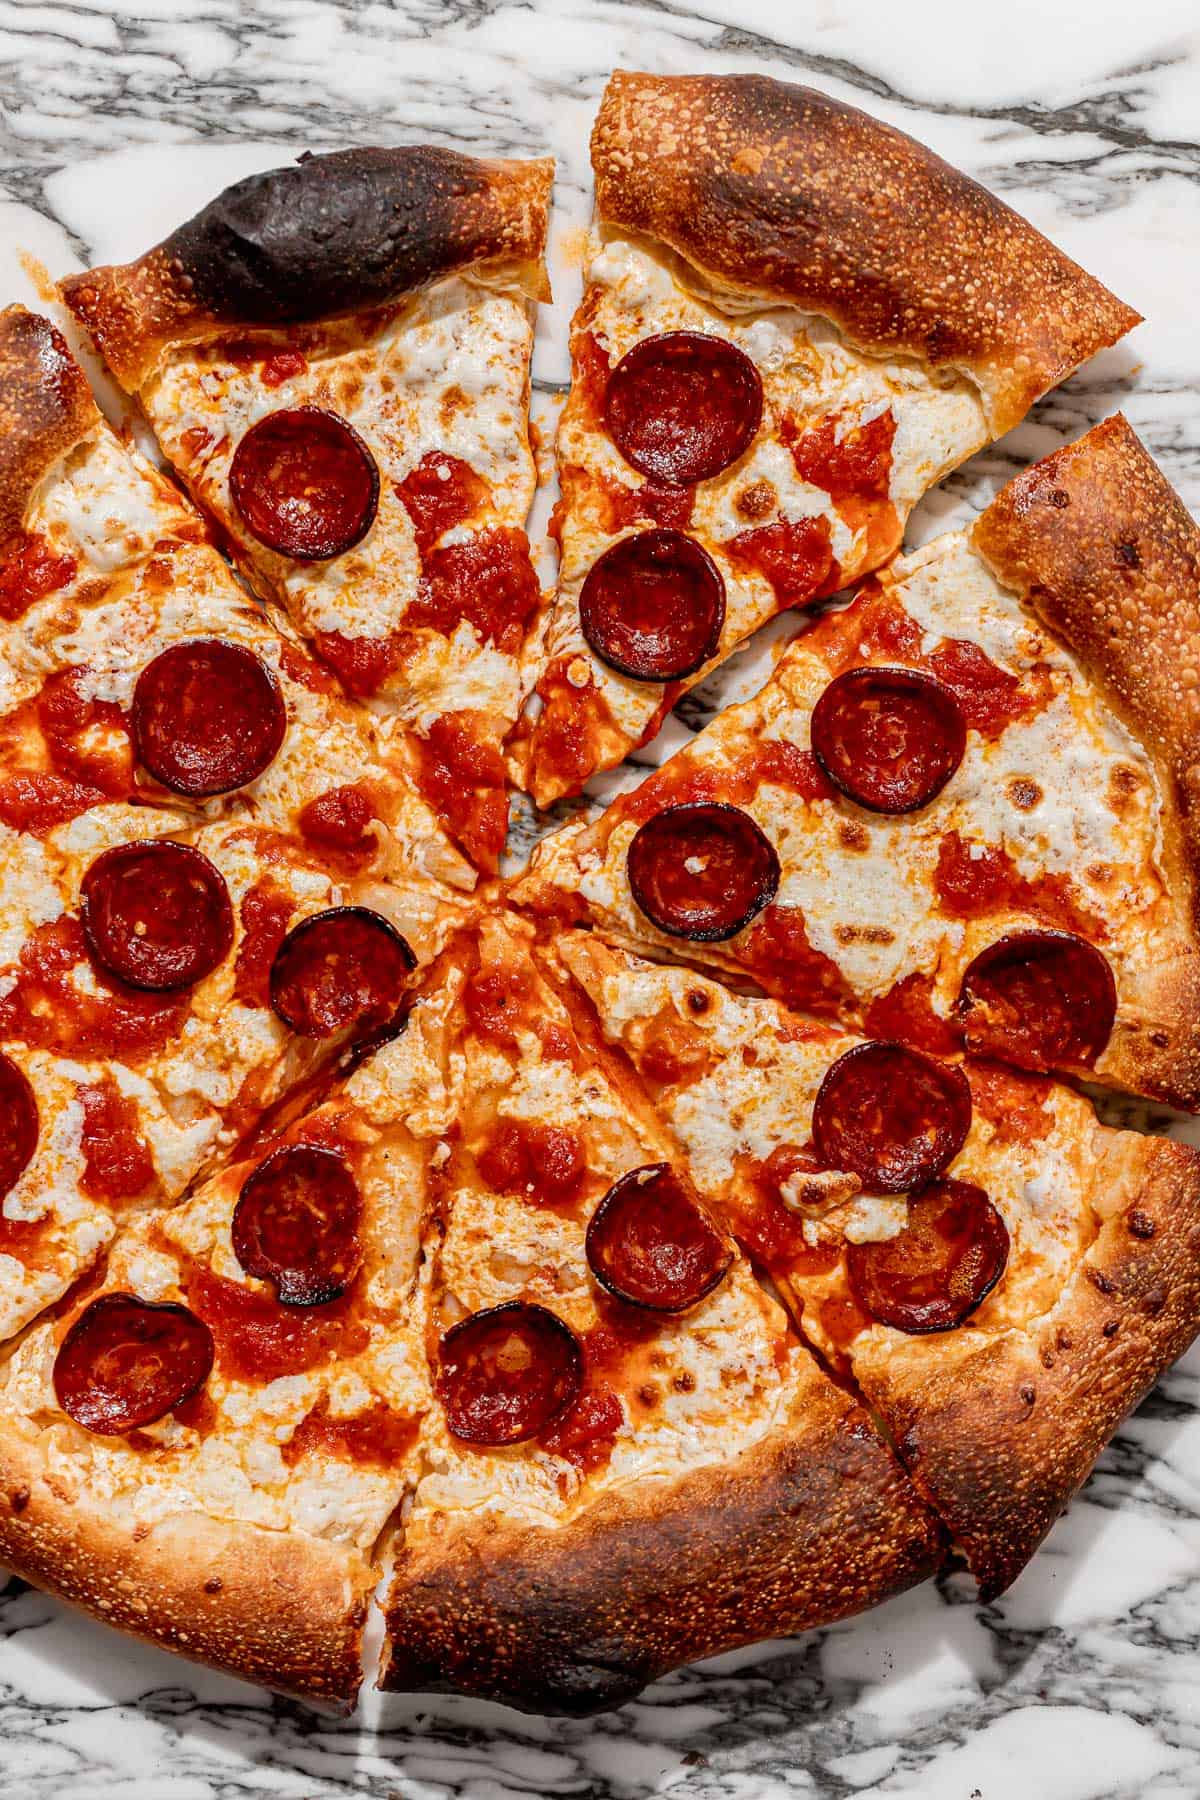
The cheese is where the iconic, satisfying pull comes from. For authentic New York-style pizza, low-moisture, whole-milk mozzarella is the undisputed champion.
- Type of Mozzarella: Fresh mozzarella, while delicious, has too much moisture for this style and can make the pizza watery. Opt for a block of low-moisture, whole-milk mozzarella. This type melts evenly, browns beautifully, and provides that signature stretch.
- Shredding: Grate the mozzarella yourself from a block. Pre-shredded cheeses often contain anti-caking agents that can affect meltability. Shredding it thinly will ensure it melts quickly and evenly across the pizza.
- Application: Distribute the shredded mozzarella evenly over the sauce, leaving a small border for the crust. Don’t overload the pizza; a balanced amount allows the other flavors to come through.
The Finishing Touches: Simplicity Reigns
Beyond the sauce and cheese, the toppings on a classic New York-style pizza are often minimal, allowing the quality of the dough, sauce, and cheese to be the stars.
- Pepperoni: Thinly sliced, good-quality pepperoni is a classic choice. Its fat renders during baking, creating crispy edges and infusing the pizza with a delightful flavor.
- Other Classics: Other popular, simple toppings include mushrooms, onions, or extra cheese. The key is to keep it light to avoid weighing down the crust or making the pizza soggy.
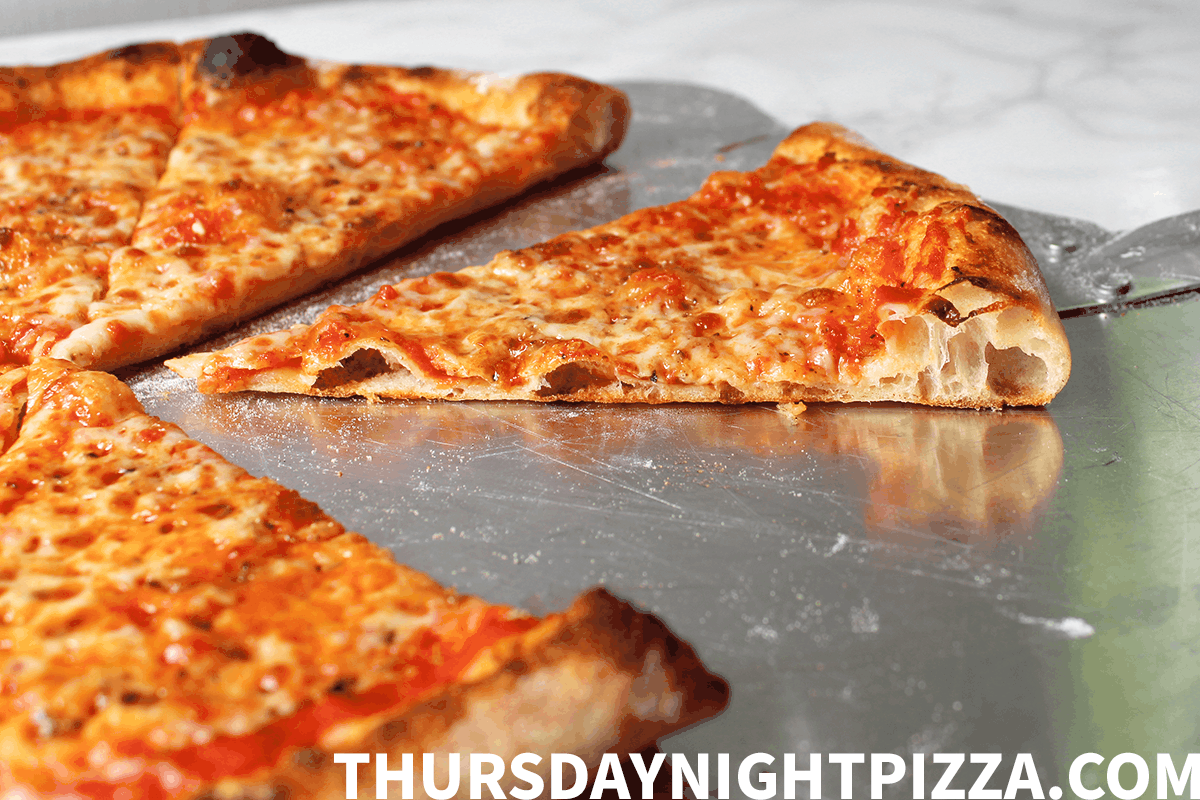
- The Fold: The ultimate test of a New York slice is its ability to be folded in half lengthwise. This is possible due to the thin, yet sturdy, crust that holds its shape while allowing for easy consumption on the go, a hallmark of the New York pizza experience.
The Art of Baking: Achieving the Perfect Crust
Baking is the final frontier in creating exceptional New York-style pizza. The goal is to achieve a crust that is crispy on the bottom, chewy within, and nicely browned, with a touch of charring on the edges. This requires high heat and the right baking surface.
High Heat, Fast Bake
New York pizzerias often use massive, extremely hot deck ovens that can reach temperatures of 700-900°F (370-480°C). Replicating this at home requires maximizing your oven’s capabilities.
- Oven Temperature: Preheat your oven to its highest possible setting, typically 500-550°F (260-290°C). It’s crucial to preheat for at least 30-60 minutes to ensure the oven and your baking surface are thoroughly heated.
- Baking Surface: A pizza stone or a pizza steel is essential for achieving a crispy bottom crust. These surfaces absorb and retain heat, transferring it directly and intensely to the dough. A pizza steel is generally preferred as it conducts heat more efficiently than a stone, leading to faster cooking and a crispier base. Place the stone or steel on the middle or upper-middle rack of your oven during preheating.
Stretching and Transferring the Dough
Properly stretching the dough is key to achieving the thin, even base characteristic of New York-style pizza.
- Bringing to Room Temperature: Remove the cold dough balls from the refrigerator at least 1-2 hours before you plan to bake. This allows them to relax and become pliable.
- Stretching Technique: On a lightly floured surface, gently press down the center of the dough ball, leaving a slightly thicker rim for the crust. Then, using your fingertips, gently press outwards, rotating the dough. The best technique involves draping the dough over your knuckles and gently stretching it, allowing gravity to help expand it into a round. Avoid using a rolling pin, which can deflate the air bubbles and create a tough crust. Aim for a 14-16 inch circle.
- Transferring to Peel: Dust a pizza peel generously with cornmeal or semolina flour. This acts as ball bearings, allowing the pizza to slide off easily onto your hot baking surface. Carefully transfer the stretched dough onto the prepared peel.
- Topping Quickly: Work quickly once the dough is on the peel. Spread the sauce, then the cheese, and any other toppings. The longer the pizza sits on the peel, the more likely it is to stick.
The Bake and Finish
Once topped, the pizza is ready for its fiery transformation.
- Launching the Pizza: With a swift, decisive motion, slide the pizza from the peel onto the preheated pizza stone or steel.
- Baking Time: Bake for 8-12 minutes, or until the crust is golden brown and the cheese is bubbly and slightly charred in spots. The exact time will vary depending on your oven and baking surface.
- Rotating: You may need to rotate the pizza halfway through the baking process to ensure even cooking and browning, especially if your oven has hot spots.
- Resting: Once removed from the oven, let the pizza rest for a minute or two on a wire rack before slicing. This allows the cheese to set slightly and prevents the bottom from becoming soggy. A drizzle of good quality olive oil or a sprinkle of fresh basil can be added at this stage for extra flair.
Mastering New York-style pizza at home is a rewarding journey. It requires patience, practice, and an appreciation for the subtle nuances of each step. From the foundational dough to the final bake, each element contributes to the iconic flavor and texture that has captivated palates for generations. So, gather your ingredients, embrace the process, and prepare to enjoy a slice of the Big Apple, crafted by your own hands.
LifeOutOfTheBox is a participant in the Amazon Services LLC Associates Program, an affiliate advertising program designed to provide a means for sites to earn advertising fees by advertising and linking to Amazon.com. Amazon, the Amazon logo, AmazonSupply, and the AmazonSupply logo are trademarks of Amazon.com, Inc. or its affiliates. As an Amazon Associate we earn affiliate commissions from qualifying purchases.