
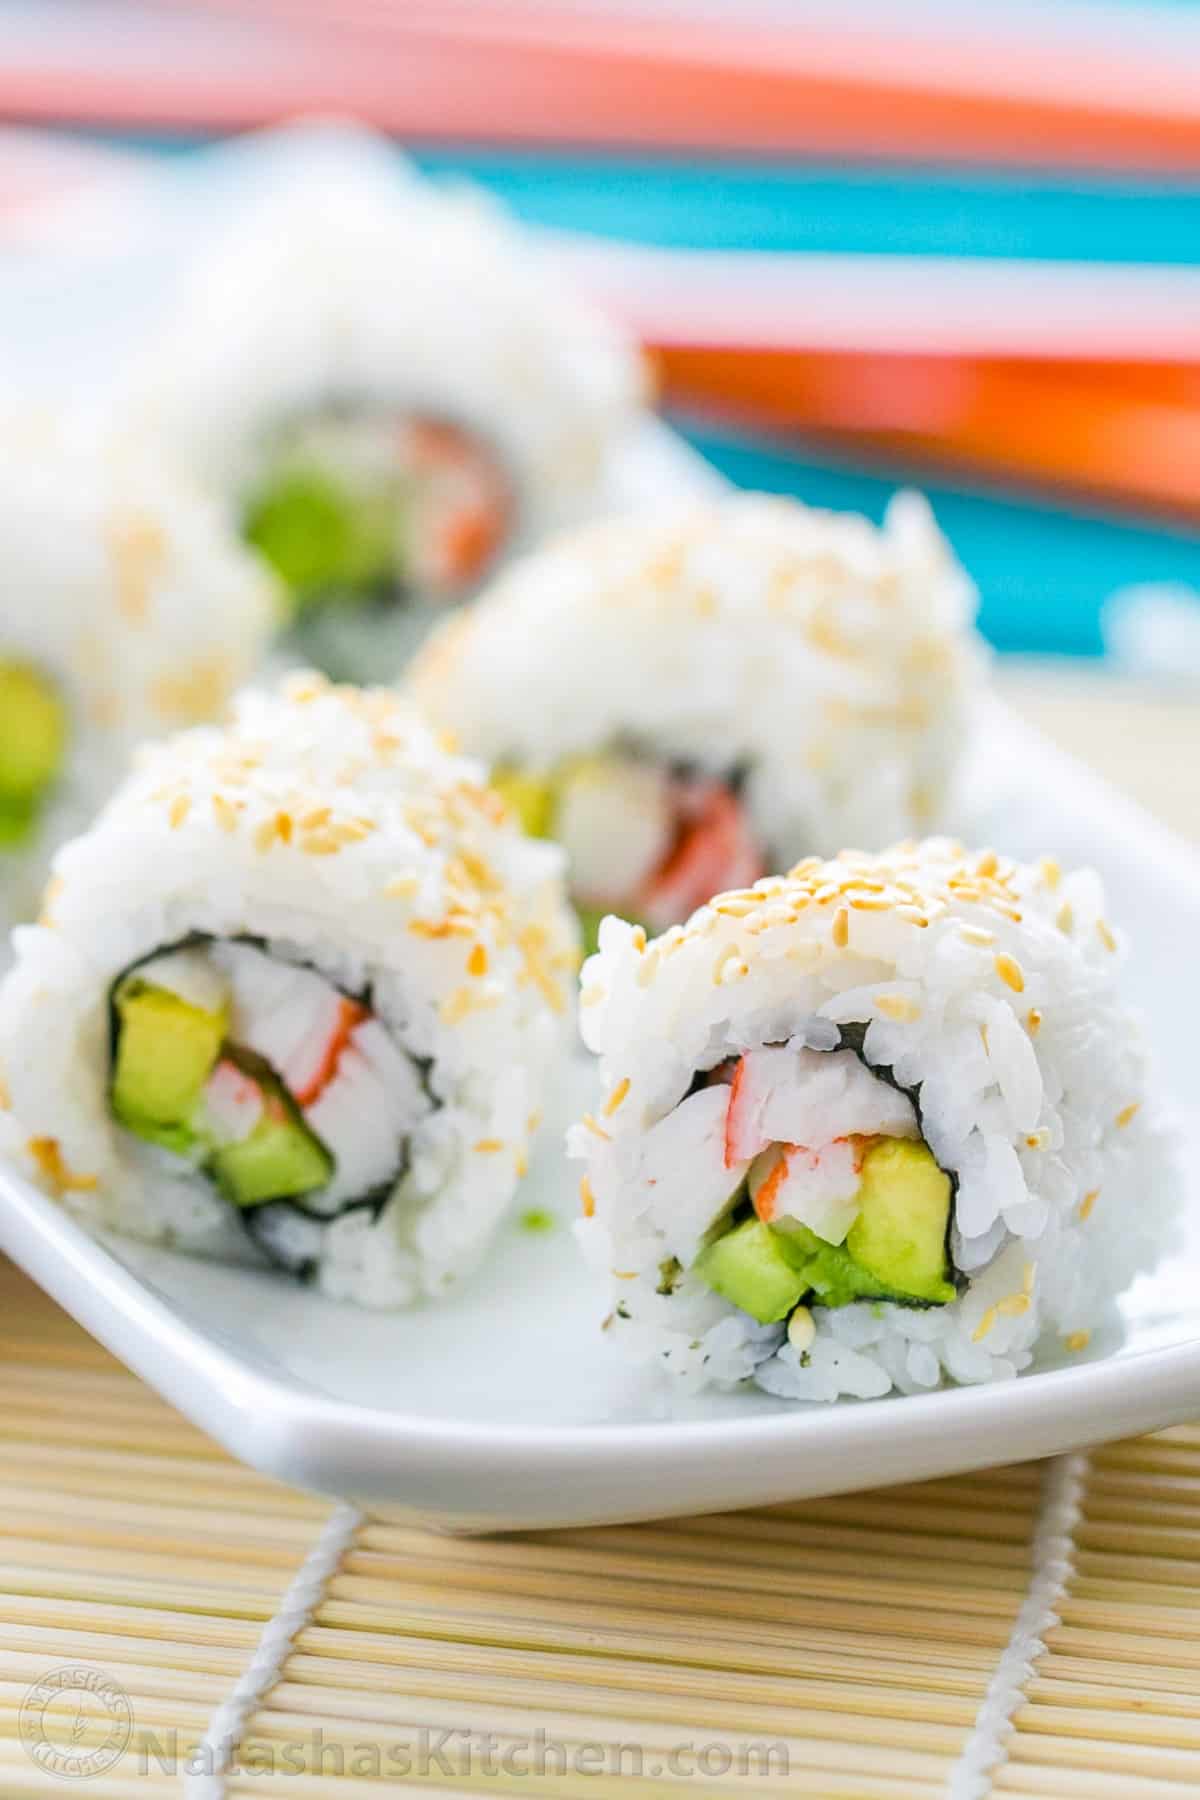
The California Roll, a staple of modern sushi menus, offers a delightful entry point into the world of Japanese cuisine for those new to raw fish or adventurous palates. Characterized by its “inside-out” construction (uramaki), where the rice is on the outside and the nori (seaweed) is on the inside, this roll is as approachable as it is delicious. Its popularity has transcended its origins, becoming a global phenomenon found in casual eateries to upscale sushi restaurants worldwide. This guide will walk you through the process of creating authentic and satisfying California Rolls in your own kitchen, transforming a culinary adventure into a rewarding home-based experience.

Mastering the Fundamentals: Rice and Nori
The foundation of any great sushi roll, including the California Roll, lies in perfectly prepared sushi rice and quality nori sheets.
The Art of Sushi Rice
Sushi rice, or shari, is not merely cooked rice; it’s a carefully seasoned medium that provides the characteristic subtle tang and sticky texture essential for sushi.
Selecting the Right Rice
Short-grain Japanese rice is the undisputed champion for sushi. Its high starch content allows it to become sticky when cooked, holding its shape beautifully in rolls. Varieties like Koshihikari or Nishiki are excellent choices. Avoid long-grain or medium-grain rice, as they will not achieve the desired texture.
The Cooking Process
- Washing: Thoroughly rinse the rice under cold running water, swirling it gently with your hand. Continue rinsing until the water runs clear. This removes excess surface starch, preventing the rice from becoming gummy.
- Soaking: After washing, let the rice drain for about 30 minutes. This allows the grains to absorb moisture evenly.
- Cooking: Use a rice cooker for optimal results, following the manufacturer’s instructions for sushi rice. If cooking on the stovetop, use a 1:1.1 ratio of rice to water (e.g., 1 cup rice to 1.1 cups water). Bring to a boil, then reduce heat to the lowest setting, cover tightly, and simmer for 15-20 minutes, or until all water is absorbed. Let it steam, covered, for another 10 minutes off the heat.
- Seasoning: While the rice is still hot, transfer it to a large, non-metallic bowl (traditionally a wooden hangiri). Prepare the sushi vinegar mixture by gently warming (not boiling) equal parts rice vinegar and sugar, stirring until the sugar dissolves. Add a pinch of salt. For every 2 cups of uncooked rice, use approximately ¼ cup of sushi vinegar mixture.
- Mixing: Gently fan the rice while drizzling the sushi vinegar mixture over it. Use a cutting motion with a rice paddle or spatula to separate the grains and distribute the seasoning evenly without mashing the rice. Continue fanning and mixing until the rice is cooled to room temperature and has a glossy sheen. It should be sticky enough to hold together but not mushy.
Working with Nori
Nori sheets are dried seaweed that provide the characteristic dark green wrapper for many types of sushi. For a California Roll, the nori will be placed inside the rice.
Choosing Quality Nori
Look for dark green, crisp sheets of nori that are free from holes and have a uniform texture. Higher quality nori will have a slight sheen and a richer, more distinct oceanic aroma.
Preparing Nori for Rolls
Nori sheets can be brittle. To make them more pliable for rolling, you can lightly toast them over a low gas flame or under a broiler for a few seconds, turning frequently. Be careful not to burn it. This process enhances its flavor and makes it easier to handle. For uramaki (inside-out rolls), you’ll often cut the nori sheet in half horizontally, providing a smaller piece that’s easier to manage when rolling with rice on the outside.
Assembling the California Roll
With your rice and nori prepped, it’s time to assemble the star of the show: the California Roll. This is where the iconic inside-out technique comes into play.
The Uramaki Method
Uramaki, meaning “inside-out roll,” is the hallmark of the California Roll. This technique involves spreading the rice on the outside of the nori, often encasing it in sesame seeds or roe.
Essential Tools
- Bamboo Sushi Mat (Makisu): This is crucial for rolling sushi evenly. You may want to cover your mat with plastic wrap for easier cleanup, especially for uramaki.
- Sharp Knife: A very sharp knife is essential for clean cuts.
- Small Bowl of Water with Vinegar (Tezu): Keep your hands slightly damp with this mixture to prevent the sticky rice from adhering to them.
Step-by-Step Assembly
- Prepare Your Workspace: Lay your plastic-wrapped bamboo mat flat. Place a halved sheet of nori (shiny side down) horizontally on the mat, with the longer edge facing you.
- Spread the Rice: Moisten your hands with the tezu. Take a generous portion of the prepared sushi rice (about ¾ to 1 cup for a half sheet of nori) and spread it evenly over the nori, leaving about a ½-inch strip of nori bare along the top edge (the edge furthest from you). This bare strip will help seal the roll. Gently press the rice down to create an even layer.
- Add Toppings (The Filling): Flip the nori sheet over so the rice is now facing down on the plastic wrap. Arrange your chosen fillings in a horizontal line across the nori, about a third of the way up from the bottom edge.
- Traditional Fillings: For a classic California Roll, the fillings typically include:
- Imitation Crab Sticks (Kani Kama): Flaked or whole.
- Avocado: Sliced thinly. Ripe but firm avocado is key.
- Cucumber: Seeded and cut into thin matchsticks.
- Optional Additions: Some variations include mayonnaise, shrimp, or even mango.
- Traditional Fillings: For a classic California Roll, the fillings typically include:
- The Roll:
- Using your thumbs, lift the edge of the bamboo mat closest to you, bringing it up and over the filling.
- Use your fingers to hold the filling in place.
- Tuck the mat and nori edge tightly around the filling, creating a firm, cylindrical shape.
- Continue to roll the mat forward, applying gentle, even pressure to shape the roll into a tight cylinder.
- Once rolled, press the mat around the roll to ensure it’s firm and evenly shaped.
- Sealing: The bare strip of nori at the top should now be exposed. Lightly dampen this strip with a little tezu or a few grains of rice to help seal the roll.
- Optional Coating: For the classic uramaki look, you can sprinkle toasted sesame seeds or masago (capelin roe) onto the plastic wrap before placing the rice-covered nori sheet on it. This will adhere to the rice. Alternatively, after rolling, you can gently roll the outside of the sushi roll in sesame seeds or roe.
Cutting and Serving Your California Rolls
The final steps involve slicing your beautifully rolled sushi and presenting it for enjoyment. Precision and a sharp knife are paramount here.
The Art of the Cut
A clean cut is essential for aesthetically pleasing sushi rolls that hold their shape.
Preparing to Slice
- Dampen Your Knife: Dip your sharp knife into the tezu and wipe off excess water, leaving it just damp. This prevents the sticky rice from clinging to the blade.
- Initial Cut: Cut the roll in half first. This provides more manageable pieces for subsequent cuts.
- Subsequent Cuts: Cut each half into thirds or quarters, yielding 6 or 8 pieces per roll. Remember to re-dampen and wipe your knife between cuts for the cleanest results.
- Presentation: Arrange the sushi pieces attractively on a plate.
Accompaniments and Serving Suggestions
A California Roll is rarely served alone. The traditional accompaniments enhance the dining experience.
The Classic Trio
- Soy Sauce: Use a good quality, low-sodium soy sauce for dipping.
- Wasabi: A small dab of green paste made from the wasabi plant, providing a pungent, spicy kick that complements the rice and fillings. Be warned, it’s potent!
- Pickled Ginger (Gari): Thinly sliced pickled ginger, often dyed pink, serves as a palate cleanser between different pieces of sushi. Its sweet and tangy flavor refreshes your taste buds, allowing you to fully appreciate the nuances of each bite.
Garnishes and Variations
While the classic is beloved, don’t hesitate to experiment. A sprinkle of tobiko (flying fish roe) or masago can add a pop of color and texture. Some might enjoy a drizzle of spicy mayonnaise for a touch of heat.

Enjoying Your Homemade Sushi
Creating California Rolls at home is a rewarding culinary endeavor. It allows you to control the ingredients, customize your fillings, and appreciate the delicate balance of flavors and textures that make this sushi roll so universally popular. Whether you’re hosting a dinner party or simply indulging in a solo treat, the satisfaction of making your own sushi is unparalleled. It’s a delightful way to bring a taste of Japan into your own home, offering a culinary experience that is both accessible and sophisticated.
LifeOutOfTheBox is a participant in the Amazon Services LLC Associates Program, an affiliate advertising program designed to provide a means for sites to earn advertising fees by advertising and linking to Amazon.com. Amazon, the Amazon logo, AmazonSupply, and the AmazonSupply logo are trademarks of Amazon.com, Inc. or its affiliates. As an Amazon Associate we earn affiliate commissions from qualifying purchases.