
The Soul of Texas in a Pot
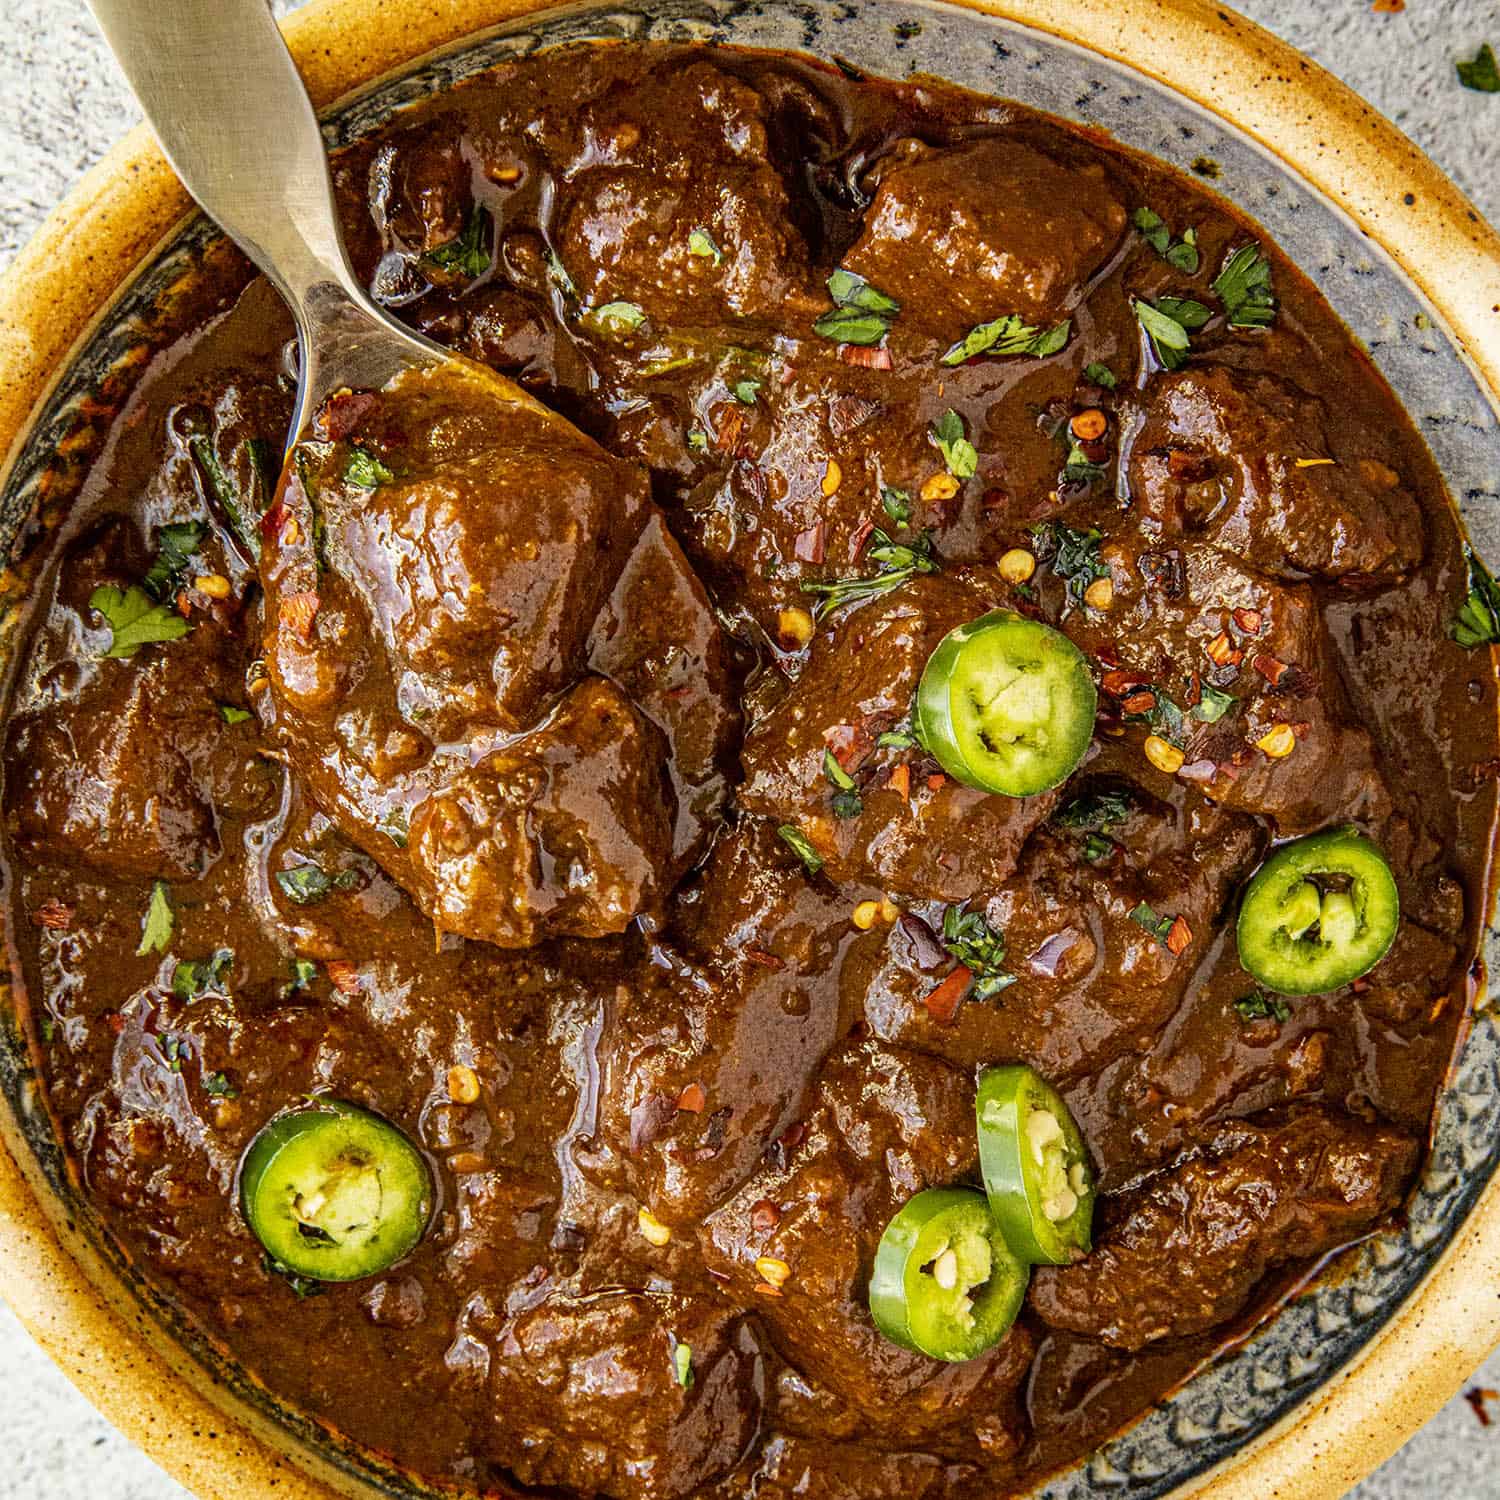
Texas chili is more than just a dish; it’s a culinary cornerstone, a point of fervent pride, and a rich tapestry woven from the state’s diverse heritage. Unlike its stew-like counterparts found elsewhere, true Texas chili is a celebration of meat, spice, and a deep, complex flavor profile, often devoid of beans or tomatoes. It’s a testament to the ingenuity and resourcefulness of early Texans, a hearty meal designed to sustain cowboys on long cattle drives and families gathered around communal fires. The origins are debated, with some pointing to the San Antonio Missions and the iconic Chili Queens who sold their creations from street carts in the late 19th and early 20th centuries. These women, often of Mexican heritage, are credited with popularizing a simpler, meat-centric chili that has evolved into the legendary dish we know today. The debate over what constitutes “real” Texas chili is as passionate as the love for the dish itself. While purists champion the unadulterated meat and chili pepper base, variations have emerged, incorporating elements like onions, garlic, and sometimes a hint of cocoa for depth. The beauty of Texas chili lies in its adaptability while staying true to its core principles: robust flavor, satisfying heartiness, and a connection to the spirit of the Lone Star State.

The Foundation: Choosing and Preparing Your Meat
The heart and soul of any authentic Texas chili lies in the quality and preparation of its meat. This is not a place for lean ground beef; the richness and texture derived from fattier cuts are paramount to achieving the characteristic unctuousness of this iconic dish.
The Ideal Cuts
- Chuck Roast: This is often considered the gold standard for Texas chili. Its natural marbling melts during the long cooking process, rendering the meat incredibly tender and infusing the chili with deep beefy flavor. It’s best cut into small cubes, approximately ½-inch to ¾-inch.
- Brisket: Another excellent choice, particularly for those who appreciate a slightly more shredded texture. Brisket, when slow-cooked, becomes exceptionally tender and flavorful. Cubes of brisket work well, or it can be slow-cooked until fork-tender and then shredded.
- Short Ribs: For an even richer, more decadent chili, consider boneless short ribs. Their high fat content and connective tissues break down beautifully, creating a luxurious mouthfeel.
The Grinding vs. Cubing Debate
While some recipes call for coarsely ground beef, many purists advocate for cubing the meat. Cubing allows for better control over the texture and ensures that each piece of meat holds its own throughout the cooking process, preventing the chili from becoming mushy. If you opt for grinding, ensure it’s done coarsely with a good amount of fat (preferably 80/20).
The Crucial Searing Step
Never skip the searing step. Properly searing the meat in batches is essential for developing complex flavor through the Maillard reaction. This browning process creates delicious fond on the bottom of the pot, which will be deglazed and incorporated into the chili’s base, adding another layer of depth. Ensure your pot is hot enough before adding the meat and resist the urge to overcrowd the pan, as this will steam the meat rather than sear it.
Crafting the Chili Base: Spices, Peppers, and Aromatics
Once the meat is prepared, the focus shifts to building the flavor foundation of the chili. This is where the chili’s character truly takes shape, through a carefully selected blend of spices and chili peppers.
The Chili Pepper Palette
The choice of chili peppers is critical. Texas chili relies on dried chili peppers for its foundational flavor and heat, rather than solely on chili powder.
- Ancho Chilies: These are dried Poblano peppers, offering a mild, smoky, and slightly sweet flavor. They form the backbone of many chili recipes.
- Guajillo Chilies: With a medium heat level and a bright, fruity, and slightly tangy flavor, guajillos add complexity and a pleasant warmth.
- Chipotle Chilies: Dried and smoked Jalapeño peppers, chipotles provide a distinctive smoky heat that is essential for many Texas chili enthusiasts.
- Arbol Chilies: For those seeking a spicier kick, arbol chilies offer a sharp, clean heat that can be adjusted to personal preference.
Preparing the Dried Chilies
The dried chilies need to be rehydrated and blended to create a flavorful paste.
- Toast: Lightly toast the dried chilies in a dry skillet over medium heat until fragrant. Be careful not to burn them, as this will result in a bitter taste.
- Seed and Stem: Remove the stems and as many seeds as possible. This step allows you to control the heat level.
- Soak: Submerge the toasted, stemmed, and seeded chilies in hot water for about 20-30 minutes, or until softened.
- Blend: Drain the chilies (reserving some of the soaking liquid) and blend them in a food processor or blender until a smooth paste forms. Add a little of the reserved soaking liquid if needed to achieve the desired consistency.
The Aromatic Ensemble
While some purists debate their inclusion, onions and garlic are often incorporated to add depth and balance to the chili’s robust flavor.
- Onions: Diced yellow or white onions are commonly used. They should be sautéed until softened and translucent, releasing their natural sweetness.
- Garlic: Minced garlic adds its pungent, savory notes. It’s typically added a minute or two before the chili peppers to prevent burning.
Simmering to Perfection: The Long, Slow Cook
The true magic of Texas chili unfolds during its slow simmer. This is where the flavors meld, the meat becomes fork-tender, and the chili develops its signature rich, complex character. Patience is a virtue here.
Building the Flavor Layers
- Sauté Aromatics: In a heavy-bottomed pot or Dutch oven (like a Le Creuset or Staub), sauté the onions in a bit of oil or rendered beef fat until softened. Add the minced garlic and cook for another minute until fragrant.
- Bloom the Spices: Add your ground spices to the pot. Common additions include cumin, oregano (Mexican oregano is preferred for its distinct flavor), and sometimes a touch of coriander. Toasting these spices briefly with the aromatics intensifies their flavor.
- Incorporate Chili Paste: Stir in the blended chili pepper paste. Cook for a few minutes, allowing the paste to toast and its flavors to deepen.
- Deglaze: Pour in a liquid to deglaze the pot, scraping up any browned bits from the bottom. This can be beef broth, beer (a Mexican lager works well), or even a bit of the reserved chili soaking liquid.
- Add the Meat: Return the seared meat to the pot.
- The Liquid: Add your primary cooking liquid. This is often beef broth, but some traditionalists use water or a combination. The goal is not to create a soupy consistency, but rather enough liquid to braise the meat and allow the flavors to meld.
- Seasoning: Season generously with salt and black pepper. Some recipes may call for a pinch of sugar to balance the acidity or a touch of unsweetened cocoa powder or dark chocolate for an extra layer of depth and richness. A splash of Worcestershire sauce can also add umami.
The Simmering Process
- Bring to a boil: Once all ingredients are combined, bring the chili to a gentle boil.
- Reduce heat and cover: Reduce the heat to low, cover the pot, and let it simmer.
- Low and Slow: The ideal simmering time is at least 2-3 hours, and often much longer, up to 4-6 hours, or even overnight in a slow cooker on the “warm” setting. The key is a very low, gentle simmer that barely bubbles.
- Stir Occasionally: Stir the chili every 30-60 minutes to prevent sticking and ensure even cooking.
- Adjust Consistency: If the chili becomes too thick during simmering, add a little more broth or water. If it’s too thin, uncover it for the last hour of cooking to allow some of the liquid to evaporate.
Serving and Garnishing: The Final Flourish
The presentation of Texas chili is as much a part of the experience as its preparation. While the chili itself is the star, well-chosen accompaniments can elevate the dish from excellent to extraordinary.
The True Texas Style
In its purest form, Texas chili is served unadorned. The focus is solely on the rich, complex flavor of the meat and chili base. However, certain classic accompaniments are widely accepted and enhance the dining experience.
Essential Garnishes and Sides
- Shredded Cheese: A sharp, aged cheddar or a Monterey Jack cheese is often offered on the side for diners to add to their own bowls.
- Chopped Onions: Finely diced white or yellow onions provide a fresh, pungent counterpoint to the richness of the chili.
- Sour Cream or Crema: A dollop of cooling sour cream or Mexican crema can temper the heat and add a creamy texture.
- Jalapeños: Freshly sliced jalapeños, or pickled jalapeños, offer a burst of fresh heat and acidity.
- Cornbread: A sturdy, slightly sweet cornbread is the quintessential side for soaking up every last drop of chili. It’s a classic pairing that has stood the test of time.
- Saltine Crackers: For those who prefer a simpler crunch, saltine crackers are a common offering.

Beyond the Basics
While the above are the most traditional, some may venture to include a side of Fritos corn chips, especially when serving chili as a “Frito pie” (though this is a departure from strict Texas chili tradition). The key is to offer a selection that allows each diner to customize their bowl according to their preferences, ensuring everyone can savor the authentic taste of Texas.
LifeOutOfTheBox is a participant in the Amazon Services LLC Associates Program, an affiliate advertising program designed to provide a means for sites to earn advertising fees by advertising and linking to Amazon.com. Amazon, the Amazon logo, AmazonSupply, and the AmazonSupply logo are trademarks of Amazon.com, Inc. or its affiliates. As an Amazon Associate we earn affiliate commissions from qualifying purchases.