
The culinary landscape of Boston is rich and varied, extending far beyond its historical cobblestone streets and revolutionary spirit. For those seeking to immerse themselves in the local food scene, understanding iconic dishes is paramount. Among these, the “Boston Butt” holds a special place, often misunderstood but deeply cherished. While the name might evoke images of the city’s historic Boston Common or the legendary Fenway Park, its origins are firmly rooted in the art of slow cooking. This article delves into the savory world of cooking a Boston Butt in your own oven, transforming a humble cut of pork into a centerpiece of flavor and comfort, echoing the hearty traditions found in the taverns and kitchens of Massachusetts.
Understanding the Boston Butt
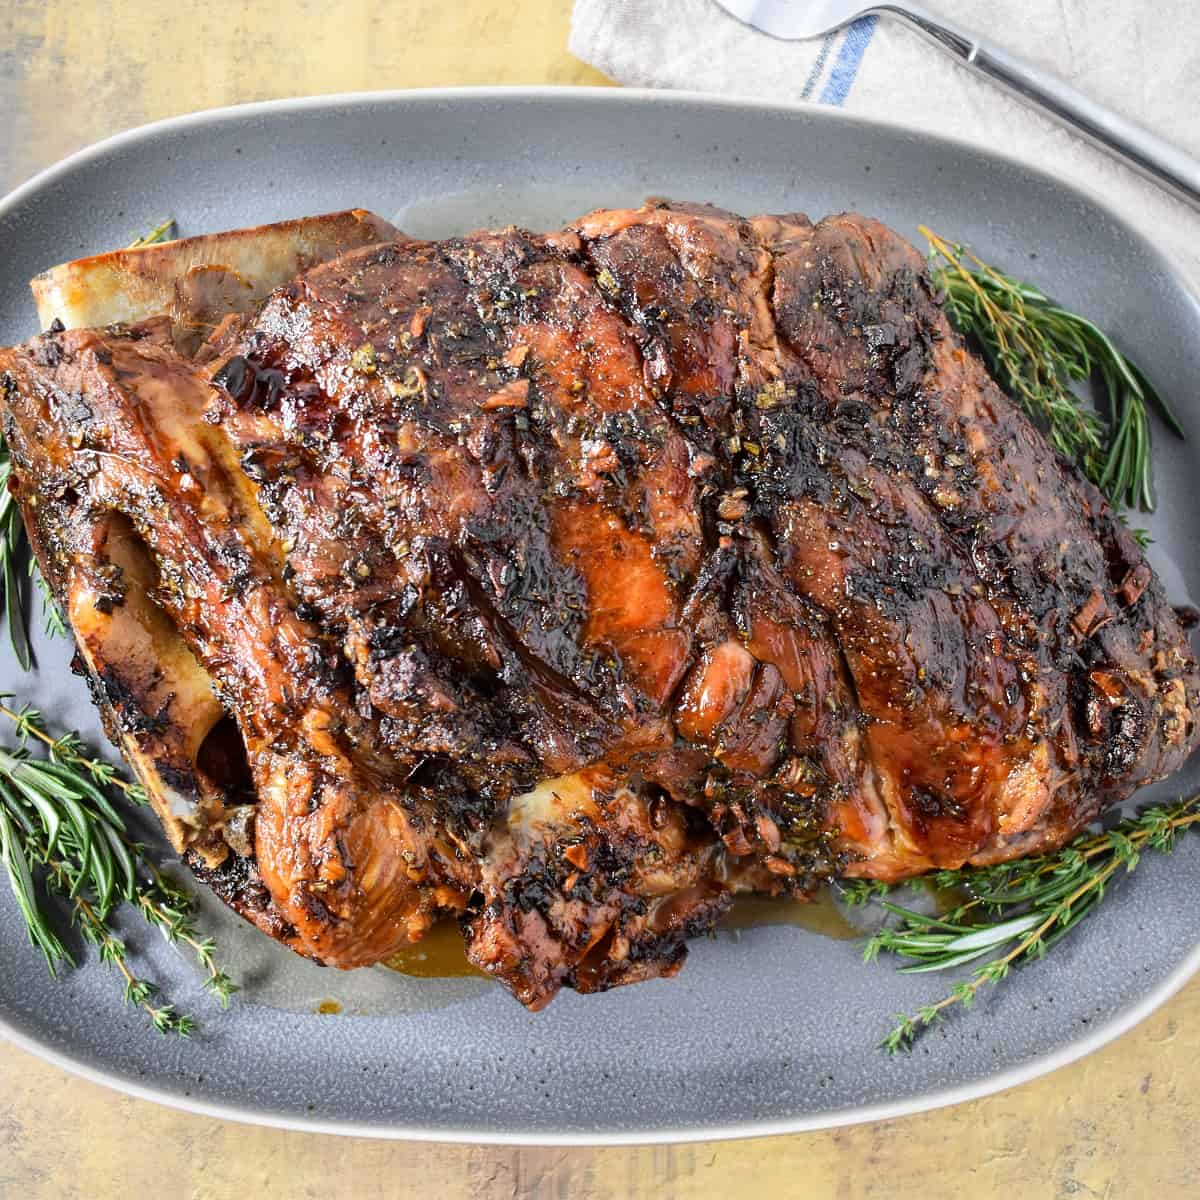
Before embarking on the cooking journey, it’s essential to clarify what a “Boston Butt” truly is. Contrary to what its name might suggest, it’s not a cut from a human or even directly from the city itself. Instead, it refers to a specific cut of pork, also known as a pork shoulder or pork blade roast. This cut comes from the upper shoulder of the hog, containing a significant amount of intramuscular fat and connective tissue. It’s this abundance of fat and collagen that makes the Boston Butt ideal for slow cooking methods, as it breaks down during the prolonged cooking process, resulting in incredibly tender, moist, and flavorful meat. The “butt” designation historically referred to the wooden barrel or “butt” in which this cut was packed and shipped by butchers. While the term is most commonly associated with New England cuisine, particularly in regions like Boston, its preparation methods and appeal have spread widely.
The Anatomy of Pork Shoulder
- Pork Shoulder (Boston Butt): This is the primary cut we will be focusing on. It typically weighs between 5-10 pounds and includes both the top blade (or chuck portion) and the lower portion, which contains the money muscle.
- Pork Collar (Copia / Neck Roast): Often found as part of the Boston Butt, this section is particularly rich in marbling and is highly prized for its tenderness and flavor.
- Fat Cap: The thick layer of fat on one side of the roast is crucial for moisture and flavor during slow cooking. It should generally be left intact.
- Connective Tissue: The seams of collagen within the meat will dissolve during slow cooking, basting the meat from within and contributing to its succulent texture.
The inherent toughness of the Boston Butt is precisely what makes it a perfect candidate for low and slow cooking. Unlike lean cuts that can dry out quickly, the Boston Butt benefits from extended cooking times, allowing the tough muscle fibers to relax and the connective tissues to render into gelatin. This process creates a melt-in-your-mouth texture that is difficult to achieve with other pork cuts. It’s this transformation that makes the Boston Butt a staple for events and gatherings, reminiscent of the communal meals shared in places like Quincy Market.
Preparing Your Boston Butt for the Oven
The journey to a perfectly cooked Boston Butt begins with proper preparation. While the cut itself is forgiving, a few key steps will elevate your dish from good to exceptional. This involves selecting the right roast, trimming if necessary, and applying a flavorful rub that will penetrate the meat as it cooks. Think of this stage as laying the groundwork for the symphony of flavors that will emerge from your oven, much like the careful planning that goes into a tour of the historic Freedom Trail.
Selecting the Right Roast
When purchasing a Boston Butt, look for a roast that has good marbling throughout. The fat content is your friend here. If you have a choice, opt for a roast that has a nice, thick fat cap on one side. This will serve as a natural basting mechanism during the cooking process. While some pre-packaged roasts might appear trimmed, it’s often beneficial to assess and adjust the fat cap yourself.
Trimming and Scoring (Optional)
Most commercially available Boston Butts will have a substantial fat cap. It’s generally recommended to leave this intact. However, if the fat cap is excessively thick (more than half an inch), you might consider trimming it slightly to prevent it from becoming overly greasy. A shallow scoring of the fat cap in a crosshatch pattern can also help with rendering, allowing the rub to penetrate more effectively. Be careful not to cut into the meat itself.
The Art of the Rub
A dry rub is fundamental to developing a flavorful crust, often referred to as “bark,” on the exterior of the Boston Butt. The ingredients can be simple or complex, but they should complement the rich flavor of the pork. Classic components often include:
- Salt: Essential for drawing out moisture and enhancing overall flavor. Kosher salt or sea salt are excellent choices.
- Black Pepper: Freshly ground black pepper provides a pungent counterpoint to the richness of the pork.
- Brown Sugar: Adds a touch of sweetness and aids in caramelization, contributing to the development of a beautiful dark crust.
- Paprika (Sweet or Smoked): Contributes color and a subtle smoky or sweet flavor. Smoked paprika can add an extra layer of complexity.
- Garlic Powder & Onion Powder: These aromatics form a savory base that complements pork exceptionally well.
- Other Spices (Optional): Consider adding chili powder for a mild heat, cumin for an earthy note, or a pinch of cayenne for a spicier kick. Many regional variations exist, drawing inspiration from the diverse culinary influences found across the United States, perhaps even reaching as far as the vibrant food markets of New Orleans.
Generously coat the entire Boston Butt with your chosen dry rub, ensuring it’s evenly distributed. Gently massage the rub into the meat, paying attention to all sides, nooks, and crannies. Allow the rubbed roast to sit at room temperature for at least 30 minutes, or ideally, refrigerate it, uncovered, for a few hours or even overnight. This allows the salt in the rub to begin its work, drawing out some moisture and creating a more intense flavor profile.
Slow Roasting for Tender Perfection
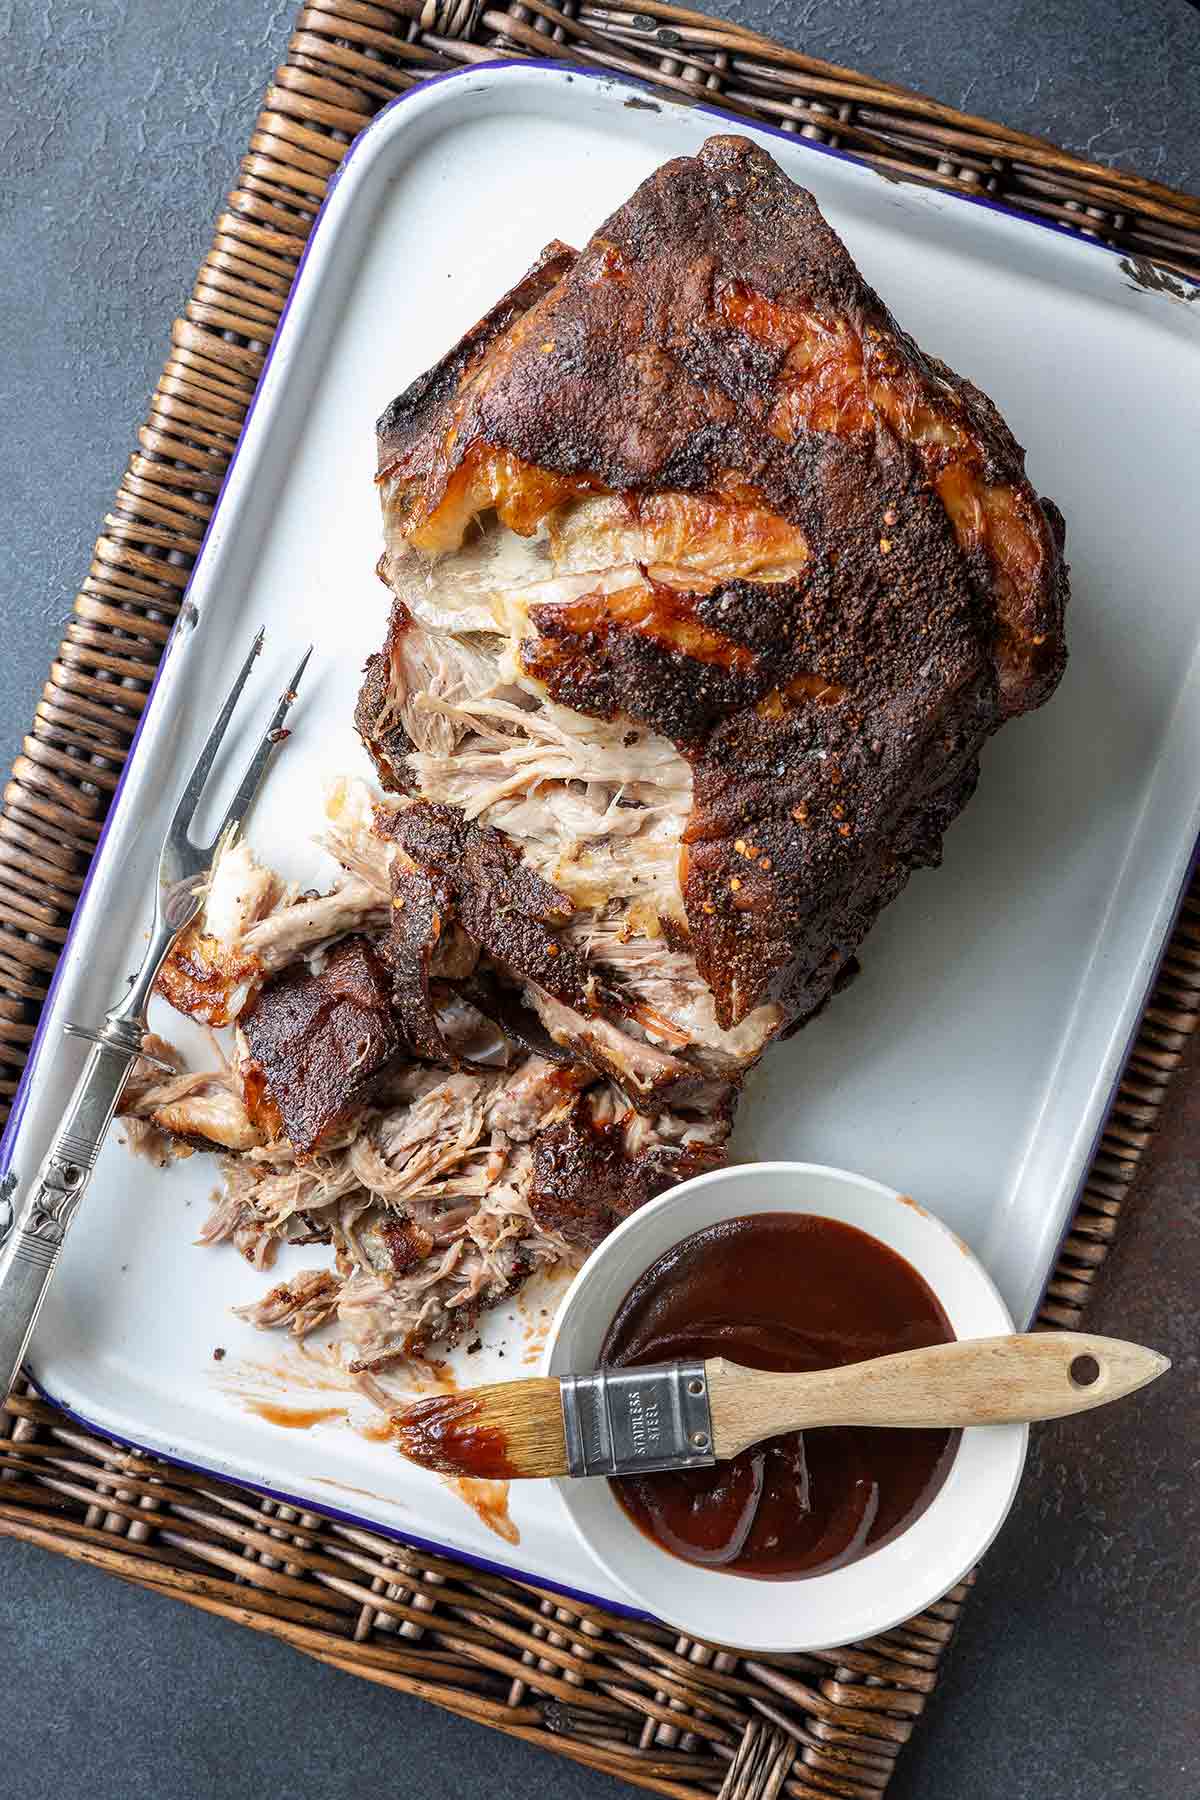
The magic of cooking a Boston Butt in the oven lies in its slow transformation. This isn’t a dish for the impatient; it’s a testament to the rewards of time and gentle heat. The goal is to break down the tough connective tissues and render the fat, resulting in a pull-apart tender masterpiece. The process can be approached in a couple of ways, each yielding slightly different, yet equally delicious, results.
The Roasting Process
- Preheat the Oven: Preheat your oven to a low temperature, typically between 275°F (135°C) and 325°F (160°C). Lower temperatures will result in a longer cooking time but can yield exceptionally tender results. A slightly higher temperature will expedite the process.
- Prepare the Roasting Pan: Place the rubbed Boston Butt, fat-side up, in a sturdy roasting pan. You can place it directly in the pan or on a roasting rack. Adding a small amount of liquid to the bottom of the pan (about 1 cup of water, broth, or apple cider) can help create steam and prevent drippings from burning.
- Initial Roasting: Place the roasting pan in the preheated oven. The initial roasting phase is crucial for developing the bark. Cook for approximately 3-4 hours, or until the internal temperature reaches around 160°F (71°C). At this point, you should start to see the exterior develop a nice, dark crust.
- The Braising Stage (Optional but Recommended): For maximum tenderness and moisture, consider moving the Boston Butt to a braising stage. This involves wrapping the roast tightly in heavy-duty aluminum foil or placing it in a covered Dutch oven.
- Foil Method: Once the bark has formed, carefully remove the roast from the oven. Wrap it tightly in several layers of heavy-duty aluminum foil. Return the foil-wrapped roast to the oven.
- Dutch Oven Method: If using a Dutch oven with a tight-fitting lid, simply cover it and return it to the oven.
- Continue Cooking: Continue to cook the Boston Butt at the same low temperature. The braising stage allows the meat to steam in its own juices, further tenderizing it. This can take another 2-4 hours, depending on the size of the roast and the exact temperature.
- Checking for Doneness: The Boston Butt is done when it is incredibly tender and easily pulls apart with a fork. The internal temperature should reach at least 195°F (90°C) to 205°F (96°C) for maximum shreddability. Use an instant-read thermometer to check the internal temperature in the thickest part of the roast, avoiding bone if present.
The aroma that will fill your kitchen during this slow roasting process is a testament to the culinary traditions of regions known for their barbecue and slow-cooked meats, perhaps even rivaling the scents that waft from the kitchens preparing dishes for festivals in cities like Savannah.
Resting is Key
Once the Boston Butt reaches its target internal temperature and is fork-tender, remove it from the oven. This is a critical step: allow the roast to rest. If you foil-wrapped it, keep it wrapped. If it was in a Dutch oven, keep it covered. Let it rest for at least 30 minutes, and up to an hour, before attempting to shred or slice it. This resting period allows the juices to redistribute throughout the meat, ensuring that every bite is moist and succulent. Skipping this step will result in a drier roast, as the juices will run out when you cut into it.
Serving Your Oven-Cooked Boston Butt
The versatility of a perfectly cooked Boston Butt is astounding. Its tender, shreddable texture makes it a cornerstone for a myriad of dishes, from classic pulled pork sandwiches to more elaborate culinary creations. The rich, savory flavor profile lends itself well to both simple accompaniments and more complex sauces, mirroring the diverse flavors found in the culinary scene of Charleston.
Shredding or Slicing
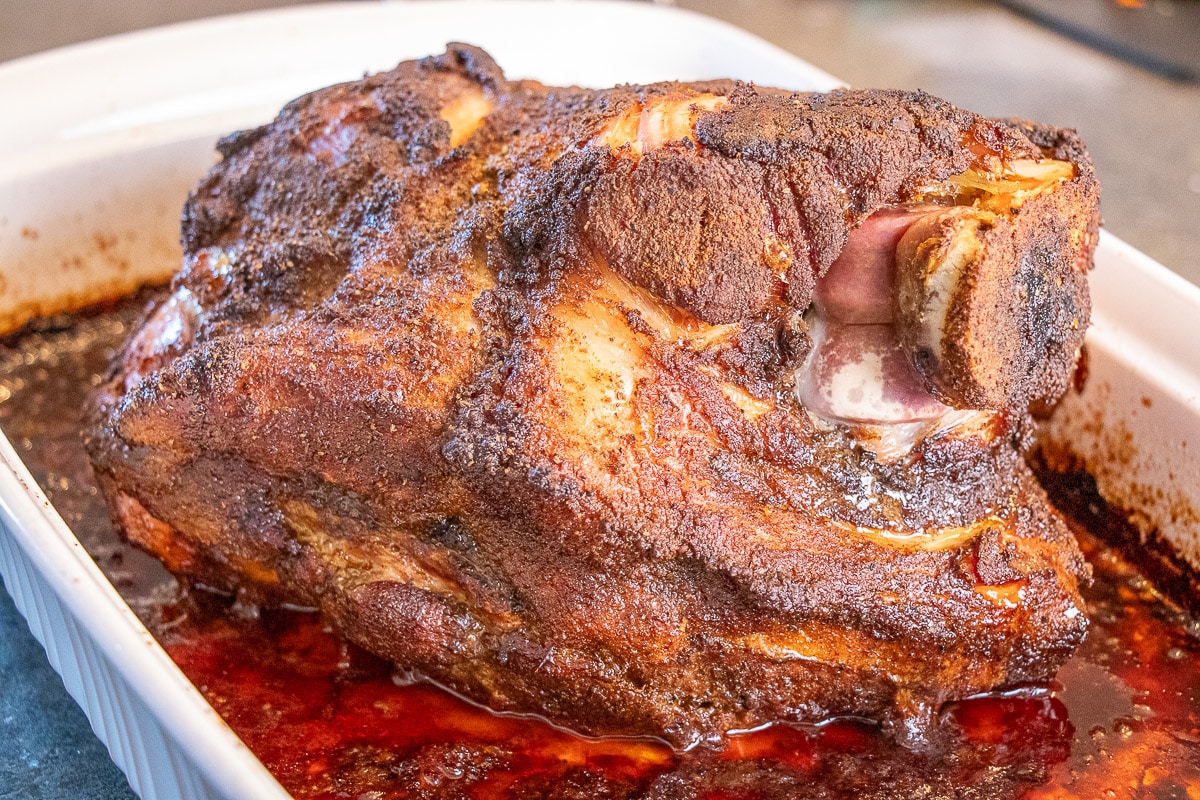
After resting, carefully unwrap the Boston Butt. The meat should be so tender that it falls off the bone (if a bone-in roast was used) and can be easily shredded with two forks. For pulled pork, use two forks to pull the meat apart into strands. Discard any large pieces of fat or the bone. If you prefer a sliced presentation, you can carefully slice the roast, though shredding is generally preferred for its texture and ability to absorb sauces.
Sauce and Accompaniments
While the meat itself is incredibly flavorful, it often benefits from a complementary sauce.
- Barbecue Sauce: A classic pairing, barbecue sauce can be tossed with the shredded pork to create iconic pulled pork. Choose your favorite style – tangy, sweet, smoky, or spicy. Many regional barbecue sauces, from the Carolina vinegar-based style to the Kansas City sweet and thick variety, would pair wonderfully.
- Pan Juices: Don’t discard the drippings in the roasting pan! These are packed with flavor. You can skim off excess fat and deglaze the pan with a little broth or cider to create a simple jus to spoon over the meat.
- Vinegar Mop: Some cooks like to add a “mop” of liquid (often a mixture of vinegar, water, and spices) during the last hour or so of cooking to keep the meat moist and build flavor. This can be used as a sauce base as well.
Classic side dishes that complement oven-cooked Boston Butt include:
- Coleslaw: The crisp, tangy nature of coleslaw provides a refreshing contrast to the rich pork.
- Macaroni and Cheese: A creamy, comforting staple that pairs perfectly with pulled pork.
- Baked Beans: Sweet and savory baked beans are another classic accompaniment.
- Cornbread: A slightly sweet, crumbly cornbread is ideal for soaking up any extra sauce.
- Pickles: Dill pickles or pickled red onions add a sharp, acidic counterpoint.
Culinary Applications
Beyond sandwiches, consider using your oven-cooked Boston Butt for:
- Tacos or Nachos: Shredded pork makes a fantastic filling for tacos or a topping for nachos.
- Stuffed Potatoes or Sweet Potatoes: Heap the shredded pork onto baked potatoes for a hearty meal.
- Casseroles: Incorporate it into savory casseroles.
- Hash: Dice the pork and fry it with potatoes and onions for a delicious breakfast hash.
The process of cooking a Boston Butt in the oven is a rewarding culinary adventure that brings the spirit of slow-cooked tradition into your home kitchen. Whether you’re hosting a gathering or simply looking to prepare a comforting meal, this cut of pork offers unparalleled flavor and tenderness when cooked with care and patience, a true testament to the enduring appeal of classic American cuisine, much like the iconic food stalls found at events near the Museum of Fine Arts, Boston.
LifeOutOfTheBox is a participant in the Amazon Services LLC Associates Program, an affiliate advertising program designed to provide a means for sites to earn advertising fees by advertising and linking to Amazon.com. Amazon, the Amazon logo, AmazonSupply, and the AmazonSupply logo are trademarks of Amazon.com, Inc. or its affiliates. As an Amazon Associate we earn affiliate commissions from qualifying purchases.