
The New York strip steak, a cut revered for its balanced marbling, tender texture, and robust beefy flavor, is a cornerstone of classic steakhouse dining. Achieving its perfect rendition at home is not an insurmountable culinary challenge. It requires understanding the nuances of the cut, mastering heat control, and employing a few key techniques that elevate a good steak to an extraordinary one. This guide will walk you through the essential steps to unlock the full potential of a New York strip, transforming your kitchen into a destination for steak perfection.
Understanding the New York Strip
Before embarking on the cooking journey, a foundational understanding of the New York strip itself is paramount. This knowledge will inform every decision, from selection to preparation.
The Anatomy of Excellence
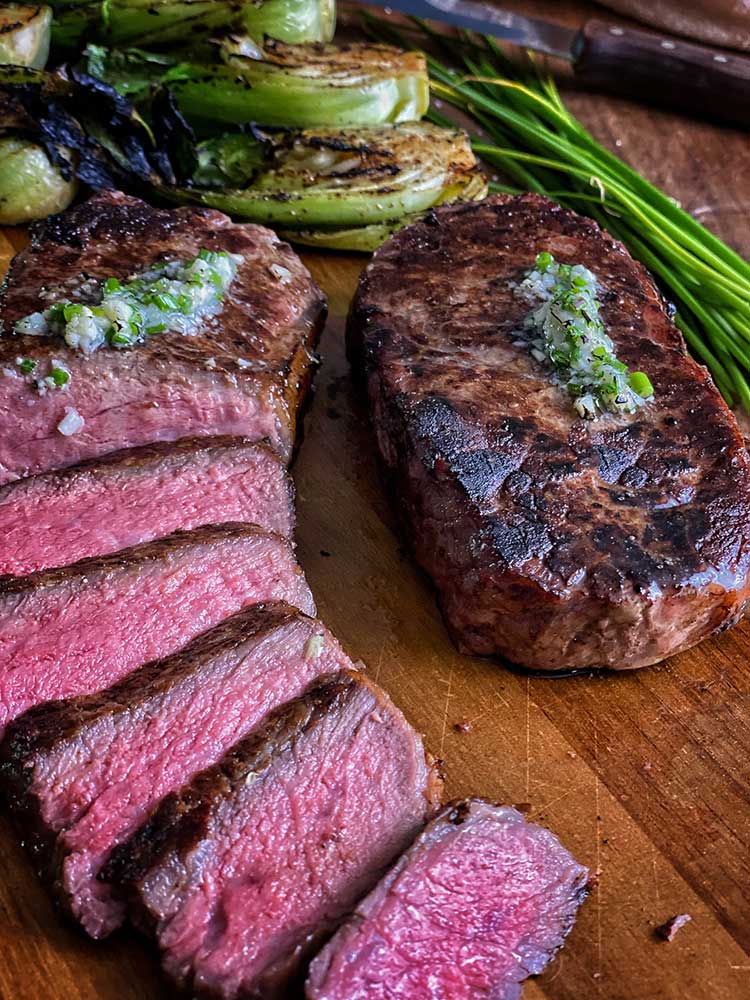
The New York strip, also known as a Kansas City strip or a strip loin, is derived from the short loin primal cut of the cow. This region of the animal is relatively inactive, contributing to the steak’s inherent tenderness. A defining characteristic of the New York strip is its consistent marbling – the intramuscular fat that renders during cooking, basting the meat from within and imparting rich flavor and succulence. The strip also typically features a firmer texture compared to more tender cuts like the filet mignon, providing a satisfying chew. A thin, edible cap of fat often runs along one edge, which can be rendered to add an extra layer of flavor and crispness.
Selecting the Finest Cut
The quality of your steak is intrinsically linked to the quality of the cut you choose. Several factors contribute to an exceptional New York strip.
- Grading: Look for USDA Prime or Choice grades. Prime steaks have the most marbling, offering the highest tenderness and flavor. Choice is a close second and often more accessible. Select grade is leaner and may be less forgiving in cooking.
- Thickness: Aim for a steak that is at least 1 to 1.5 inches thick. Thicker cuts are more forgiving, allowing for a beautiful crust to form without overcooking the interior. Thinner steaks cook too quickly, making it challenging to achieve the desired balance of sear and doneness.
- Marbling: Examine the steak for even distribution of white flecks of fat throughout the red meat. This is the marbling that promises flavor and juiciness. Avoid steaks with large, uneven patches of fat or very little marbling.
- Color: The meat should be a vibrant, cherry-red color, indicating freshness. Avoid steaks that appear dull or brownish.
- Aging: Dry-aged steaks, while typically more expensive, offer a concentrated, nutty flavor due to moisture loss and enzymatic breakdown of proteins. This process significantly enhances the steak’s complexity.
The Art of Preparation
Proper preparation is crucial for coaxing the best results from your New York strip. These steps, often overlooked, lay the groundwork for culinary success.
Bringing the Steak to Room Temperature
This is arguably one of the most critical, yet frequently skipped, steps. A cold steak will cook unevenly. The exterior will cook much faster than the interior, leading to a grey band of overcooked meat.
- Timing: Remove your New York strip from the refrigerator at least 30 to 60 minutes before cooking, depending on the thickness and ambient temperature.
- Benefits: Allowing the steak to come to room temperature ensures that the heat penetrates the meat more uniformly, resulting in a perfectly cooked interior from edge to edge. This also allows for a better sear, as the surface is less likely to cool down the pan upon contact.
Seasoning for Success
Less is often more when it comes to seasoning a high-quality New York strip. The inherent flavor of the beef should be the star.
- Simplicity: Coarse sea salt (like Maldon) and freshly ground black pepper are the classic and most effective seasonings. The salt draws out some moisture initially, which then reabsorbs, seasoning the meat more deeply. The pepper adds a pungent counterpoint.
- Generosity: Do not be shy with the salt. Apply it liberally to all sides of the steak just before cooking. A common guideline is to season as if you were salting pasta water – it should taste noticeably seasoned before cooking.
- Optional Additions: For those who enjoy a slightly more complex flavor profile, a light dusting of garlic powder or a touch of smoked paprika can be added. However, reserve more intricate marinades or rubs for less inherently flavorful cuts.
Mastering the Cook: Sear and Sizzle
The cooking method is where the transformation from raw ingredient to culinary masterpiece truly occurs. For the New York strip, a combination of searing and controlled cooking is key.
The Pan-Sear Method
The pan-sear method is ideal for achieving a beautiful, caramelized crust while maintaining control over the internal temperature.
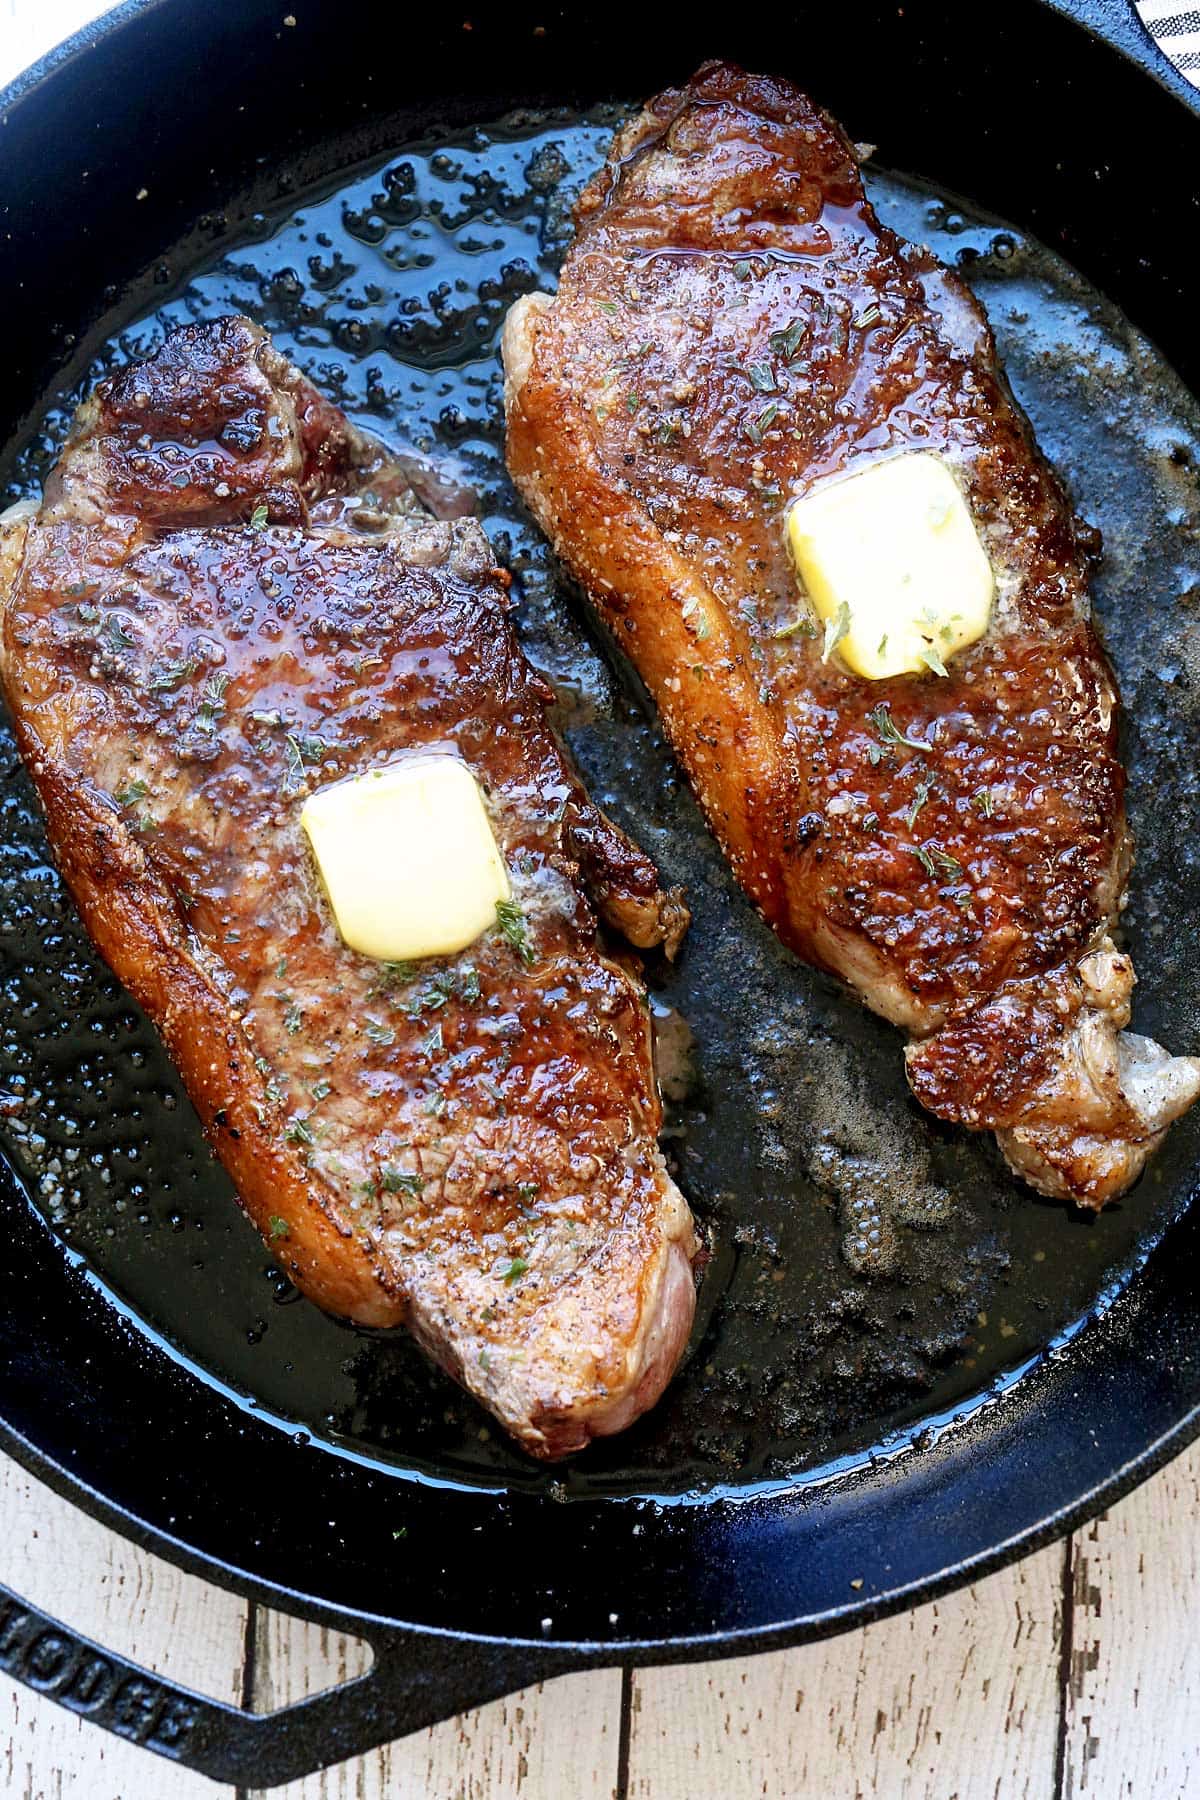
- Choosing Your Pan: A heavy-bottomed cast-iron skillet is the undisputed champion for searing steaks. Its ability to retain and distribute heat evenly is unparalleled. Stainless steel pans can also work well. Avoid non-stick pans, as they generally do not reach the high temperatures required for an optimal sear.
- High Heat: Place your cast-iron skillet over medium-high to high heat. Allow it to preheat for several minutes until it is smoking lightly. This ensures an immediate, aggressive sear that builds the crust.
- Fat of Choice: Add a high-smoke-point oil, such as avocado oil, grapeseed oil, or canola oil, to the hot pan. A tablespoon or two is usually sufficient. Wait for the oil to shimmer before adding the steak.
- Searing Technique: Carefully lay the steak into the hot pan, away from you to avoid splattering. Do not overcrowd the pan; cook steaks in batches if necessary. Let the steak sear undisturbed for 2 to 3 minutes per side, until a deep brown crust forms.
- Rendering the Fat Cap: If your New York strip has a significant fat cap along one edge, use tongs to hold the steak on its side, allowing the fat to render and crisp up for a minute or two. This adds incredible flavor and texture.
Basting for Richness (Optional but Recommended)
Once the initial sear is achieved and the steak is flipped, basting with butter, aromatics, and herbs elevates the steak’s flavor and moisture.
- The Aromatics: After flipping the steak for the second side sear, reduce the heat slightly to medium. Add 2-3 tablespoons of unsalted butter, a few crushed garlic cloves, and a sprig or two of fresh rosemary or thyme to the pan.
- The Basting Process: As the butter melts and the aromatics infuse, tilt the pan and use a spoon to continuously ladle the melted butter and infused oil over the steak. This process, known as basting, not only adds flavor but also helps to cook the steak gently and evenly. Continue basting for the remainder of the cooking time.
Achieving Perfect Doneness
The final, crucial stage is cooking the steak to your desired level of doneness. This requires careful monitoring and, ideally, a meat thermometer.
- Doneness Levels:
- Rare: 120-125°F (49-52°C) – Cool red center.
- Medium-Rare: 130-135°F (54-57°C) – Warm red center. This is often considered the ideal for New York strip.
- Medium: 135-140°F (57-60°C) – Warm pink center.
- Medium-Well: 140-145°F (60-63°C) – Slightly pink center.
- Well-Done: 150°F+ (65°C+) – Little to no pink.
- Using a Meat Thermometer: Insert an instant-read meat thermometer into the thickest part of the steak, avoiding bone or fat pockets. For optimal results, remove the steak from the heat 5 degrees below your target temperature, as it will continue to cook while resting.
- The Finger Test (Experienced Cooks): With practice, one can gauge doneness by pressing the steak. Comparing the firmness to the fleshy part of your thumb base can offer an approximate indication, but a thermometer is far more accurate.
The Essential Rest: Patience Rewarded
This step is as vital as the cooking itself. Cutting into a steak too soon will cause its juices to escape onto the cutting board, leaving you with a dry, less flavorful piece of meat.
- The Purpose: Resting allows the muscle fibers to relax and reabsorb the juices that were pushed to the center during cooking. This redistribution ensures that every bite is moist and succulent.
- The Process: Transfer the cooked steak from the skillet to a clean cutting board or a warm plate. Tent it loosely with aluminum foil.
- The Duration: Rest the steak for at least 5 to 10 minutes. For thicker cuts, a longer rest of 10-15 minutes may be beneficial. Do not skip this step; it is the secret to a truly perfect steak.

Slicing and Serving: The Grand Finale
With the steak rested and its juices settled, it is time for the final presentation.
- Against the Grain: To ensure maximum tenderness, always slice your New York strip against the grain. Observe the direction in which the muscle fibers are running and make your cuts perpendicular to them. This shortens the fibers, making them easier to chew.
- Presentation: Arrange the slices artfully on a warm plate. A sprinkle of flaky sea salt and a twist of fresh pepper can enhance the visual appeal and provide a final flavor boost.
- Accompaniments: The perfect New York strip pairs beautifully with a variety of classic steakhouse sides. Consider creamy mashed potatoes, crisp asparagus, sautéed mushrooms, or a simple garden salad. A rich red wine, such as a Cabernet Sauvignon or a Bordeaux blend, is a classic beverage pairing.
By adhering to these principles, from selection and preparation to cooking and resting, you can confidently achieve the perfect New York strip steak, a testament to your culinary prowess and a delicious reward for your attention to detail. This classic cut, when treated with respect and proper technique, delivers an unparalleled steakhouse experience in the comfort of your own home.
LifeOutOfTheBox is a participant in the Amazon Services LLC Associates Program, an affiliate advertising program designed to provide a means for sites to earn advertising fees by advertising and linking to Amazon.com. Amazon, the Amazon logo, AmazonSupply, and the AmazonSupply logo are trademarks of Amazon.com, Inc. or its affiliates. As an Amazon Associate we earn affiliate commissions from qualifying purchases.