
Boston butt, a cut of pork shoulder, is a backyard barbecue staple, prized for its rich marbling and ability to transform into tender, succulent pulled pork when slow-cooked. Grilling this cut offers a unique smoky flavor and a delightful crust that pan-frying or oven-roasting can’t quite replicate. Mastering the art of grilling Boston butt is a rewarding culinary achievement, perfect for gatherings and deeply satisfying. This guide will walk you through every step, from selecting the right cut to achieving that perfect smoky finish.
Selecting and Preparing Your Boston Butt
The foundation of a great grilled Boston butt lies in choosing the right cut and preparing it properly. This initial stage sets the stage for the entire cooking process and significantly impacts the final texture and flavor.
Choosing the Right Cut
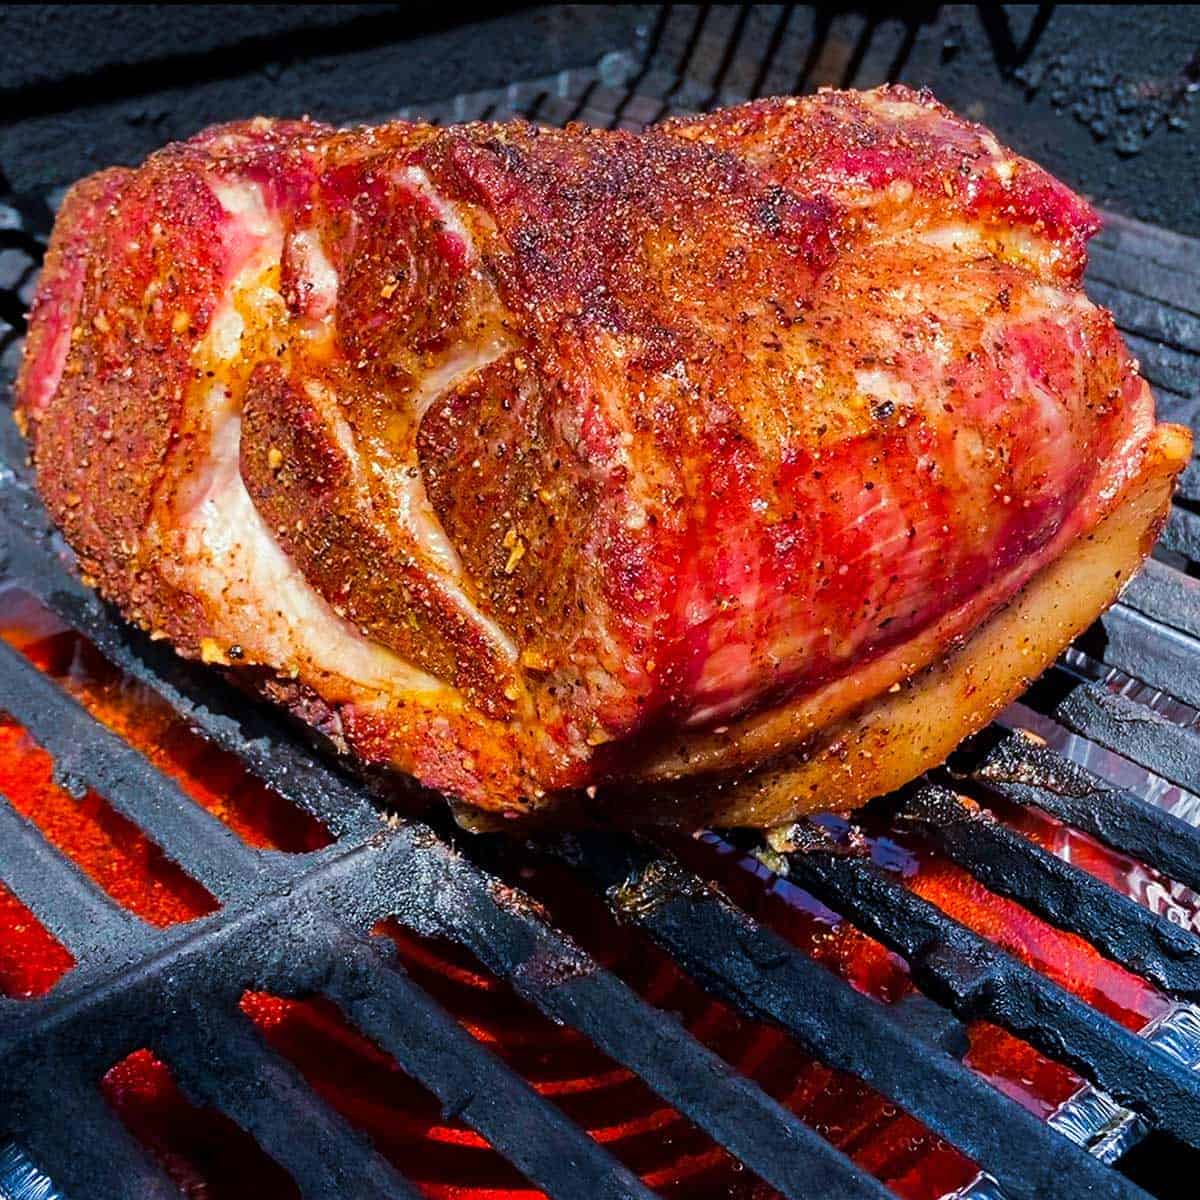
Boston butt, also known as pork shoulder or pork butt, comes from the upper part of the pig’s shoulder. Look for a cut that is well-marbled with intramuscular fat, as this fat renders during the slow cooking process, imparting moisture and flavor. A bone-in Boston butt is often preferred by pitmasters for its potential to add even more flavor to the meat, though boneless cuts are also available and can be more convenient. Aim for a cut that is at least 3-4 pounds; smaller cuts may dry out before they have a chance to become tender.
Trimming and Prepping
Once you have your Boston butt, it’s time to prepare it for the grill.
Trimming Excess Fat
Boston butt is naturally fatty, which is a good thing for pulled pork. However, you’ll want to trim any particularly thick, hard caps of external fat. Leaving a ¼-inch layer of fat on the surface is beneficial, as it will help baste the meat during the long cooking process.
Injecting Flavor (Optional)
For an extra layer of moisture and flavor, consider injecting the Boston butt. A simple injection can consist of apple cider vinegar, apple juice, or a mixture of both, perhaps with a touch of Worcestershire sauce or your favorite BBQ rub’s liquid component. Inject the liquid deep into the meat in several spots, ensuring even distribution.
Applying a Rub
A dry rub is essential for developing a flavorful crust, often referred to as the “bark.” A classic pork rub includes brown sugar, paprika, chili powder, garlic powder, onion powder, black pepper, and a pinch of cayenne for heat. You can create your own signature blend or use a high-quality store-bought rub. Apply the rub generously to all surfaces of the Boston butt, pressing it firmly into the meat. Allow the rub to adhere for at least 30 minutes, or ideally, let it sit uncovered in the refrigerator for several hours or overnight. This allows the salt in the rub to begin its work, tenderizing the meat and drawing out moisture to form a base for the bark.
Setting Up Your Grill for Success
The type of grill you use and how you set it up are critical for achieving the desired low and slow cooking environment required for Boston butt.
Charcoal vs. Gas Grills
Both charcoal and gas grills can be used to grill Boston butt, but they offer different experiences and flavor profiles.
Charcoal Grills
Charcoal grills, particularly kettle grills, are often favored for their ability to impart a more intense smoky flavor due to the burning charcoal and wood chunks. The process is more hands-on, requiring careful management of coals and vents to maintain a consistent temperature.
Gas Grills
Gas grills offer greater convenience and easier temperature control. To achieve a smoky flavor on a gas grill, you’ll need to use a smoker box filled with wood chips or chunks. While the smoke flavor might be less pronounced than with charcoal, the consistent heat makes temperature management simpler.
Indirect Heat Setup
Boston butt is not cooked directly over the heat source. Instead, you’ll want to set up your grill for indirect heat.
For Charcoal Grills
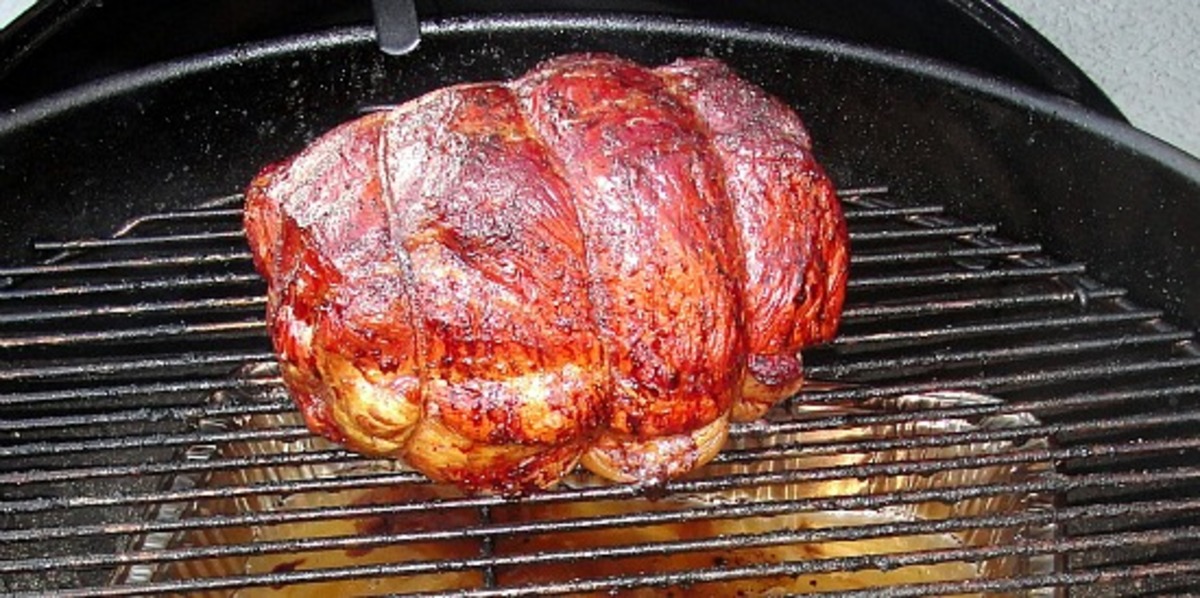
Arrange your lit charcoal to one side of the grill, leaving the other side empty. Place a drip pan filled with water, apple juice, or a mixture of both in the empty side, directly beneath where the Boston butt will sit. This drip pan will catch drippings, prevent flare-ups, and add moisture to the grilling environment. Add wood chunks (such as hickory, mesquite, or applewood) to the coals to produce smoke.
For Gas Grills
Preheat your grill to the desired temperature. Turn on only one or two burners, depending on the size of your grill, leaving the other burners off. Place your smoker box filled with soaked wood chips or chunks over the lit burner. Position the Boston butt over the unlit burners for indirect cooking. Place a drip pan beneath the meat.
Maintaining Temperature
The ideal temperature for grilling Boston butt is between 225°F and 275°F (107°C to 135°C). This low and slow cooking method allows the tough connective tissues in the pork shoulder to break down, resulting in incredibly tender meat.
Temperature Monitoring
Use a reliable meat thermometer and a grill thermometer to monitor the internal temperature of the grill and the meat. Adjust your vents (on a charcoal grill) or gas settings as needed to maintain the target temperature range. Patience is key; avoid the temptation to cook at higher temperatures, as this can lead to dry, tough meat.
The Grilling Process: Low and Slow Mastery
Once your grill is set up and the temperature is stable, it’s time to place the Boston butt on the grill and begin the patient process of slow cooking.
Initial Cooking Phase
Place the seasoned Boston butt on the indirect heat side of the grill, fat-side up. Close the lid and allow it to cook. Resist the urge to open the lid too frequently, as each time you do, you lose precious heat and smoke. Aim to check the temperature every hour or so.
Monitoring Smoke and Moisture
The goal is to create a consistent, thin, blue smoke. If the smoke is too thick and white, it can impart a bitter flavor. If you’re using wood chunks, you’ll typically add a few more every 1-2 hours, depending on their size and the cooking duration. The drip pan will help keep the environment moist, but you can also spritz the Boston butt with apple cider vinegar, apple juice, or water every hour or two after the initial few hours of cooking to help keep the surface from drying out and to aid in bark formation.
The Stall and Wrapping
A phenomenon known as “the stall” often occurs when the internal temperature of the pork reaches around 150°F to 165°F (65°C to 74°C). At this point, the rate of temperature increase slows dramatically, or even stops altogether. This is due to evaporative cooling as moisture is released from the surface of the meat. Don’t panic; this is a normal part of the process.
When the stall hits, or when the bark has developed to your liking (typically after 4-6 hours), it’s time to wrap the Boston butt. This helps to push through the stall, retain moisture, and speed up the cooking process. Use heavy-duty aluminum foil or unwaxed butcher paper. Wrap the butt tightly, ensuring a good seal.
Continued Cooking and Final Temperature
Return the wrapped Boston butt to the indirect heat on the grill. Continue cooking until the internal temperature reaches 195°F to 205°F (90°C to 96°C). The meat should be probe-tender, meaning a thermometer or skewer slides into the thickest part with very little resistance, like inserting it into soft butter. This can take anywhere from 6 to 12 hours, or even longer, depending on the size of the butt and the consistency of your grill temperature.
Resting and Pulling Your Boston Butt
The final stages of preparation are just as crucial as the grilling itself for achieving that perfect pulled pork.
Resting the Meat
Once the Boston butt has reached the desired internal temperature and is probe-tender, remove it from the grill. Leave it wrapped, and let it rest for at least 1 hour, and ideally 2-3 hours, in a cooler or a warm oven (turned off). Resting allows the juices to redistribute throughout the meat, resulting in a more moist and tender final product. Skipping this step will cause a lot of delicious juices to run out when you cut or pull the meat.
Pulling the Pork
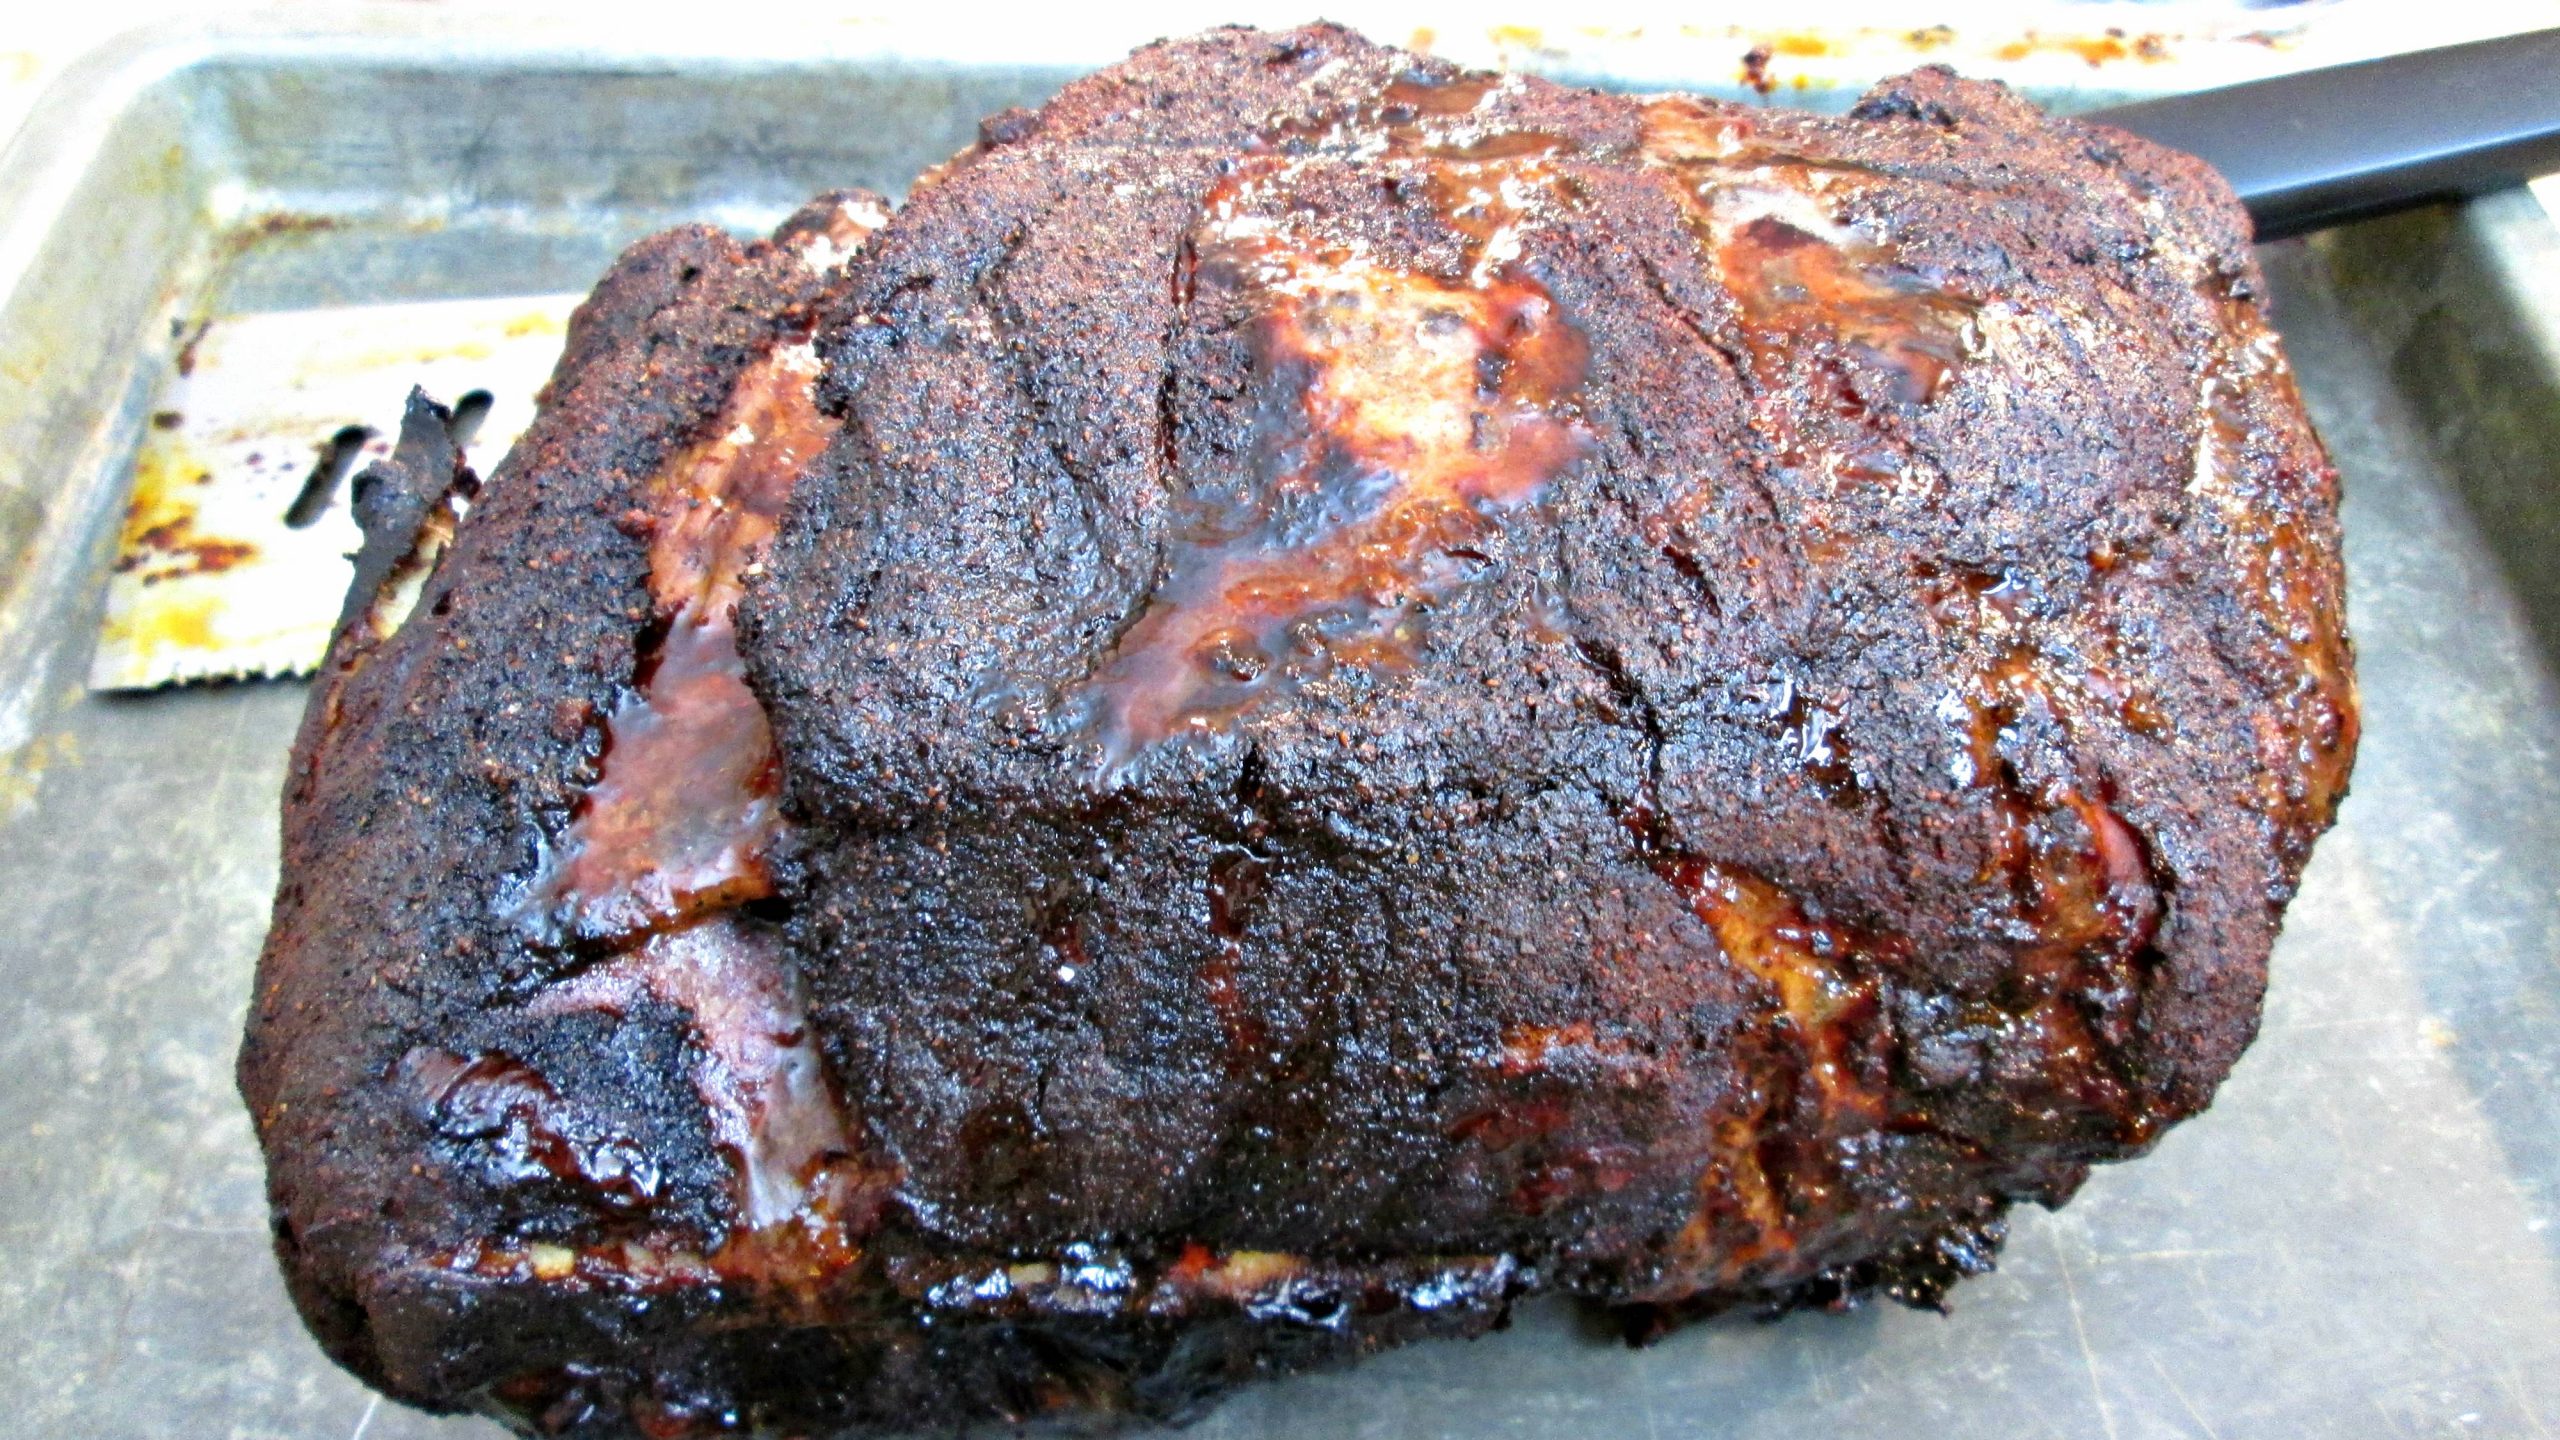
After resting, unwrap the Boston butt. You’ll notice a beautiful, dark, and flavorful bark. The meat should be fall-apart tender. Use two forks, meat claws, or your hands (with gloves) to shred the pork. Discard any large pieces of unrendered fat or connective tissue that remain.
Achieving the Perfect Texture
The goal is to create strands of tender, juicy pork. Don’t over-shred; leave some larger chunks for textural contrast. You can mix some of the rendered juices from the resting period back into the pulled pork to enhance moisture and flavor.
Serving Suggestions
Pulled Boston butt is incredibly versatile. It’s a classic for pulled pork sandwiches, often served on a bun with coleslaw and your favorite BBQ sauce. It’s also fantastic as a topping for baked potatoes, nachos, or as a centerpiece for a BBQ platter. Consider serving it with classic sides like macaroni and cheese, potato salad, and cornbread.
Mastering grilled Boston butt is a journey that rewards patience and attention to detail. From the initial selection and seasoning to the careful management of grill temperatures and the crucial resting period, each step contributes to an unforgettable culinary experience. So fire up your grill, embrace the process, and prepare to serve up some of the best pulled pork your friends and family have ever tasted.
LifeOutOfTheBox is a participant in the Amazon Services LLC Associates Program, an affiliate advertising program designed to provide a means for sites to earn advertising fees by advertising and linking to Amazon.com. Amazon, the Amazon logo, AmazonSupply, and the AmazonSupply logo are trademarks of Amazon.com, Inc. or its affiliates. As an Amazon Associate we earn affiliate commissions from qualifying purchases.